Managing the farrowing unit
Newborn breeding litters – increased survival rates and quality assurance
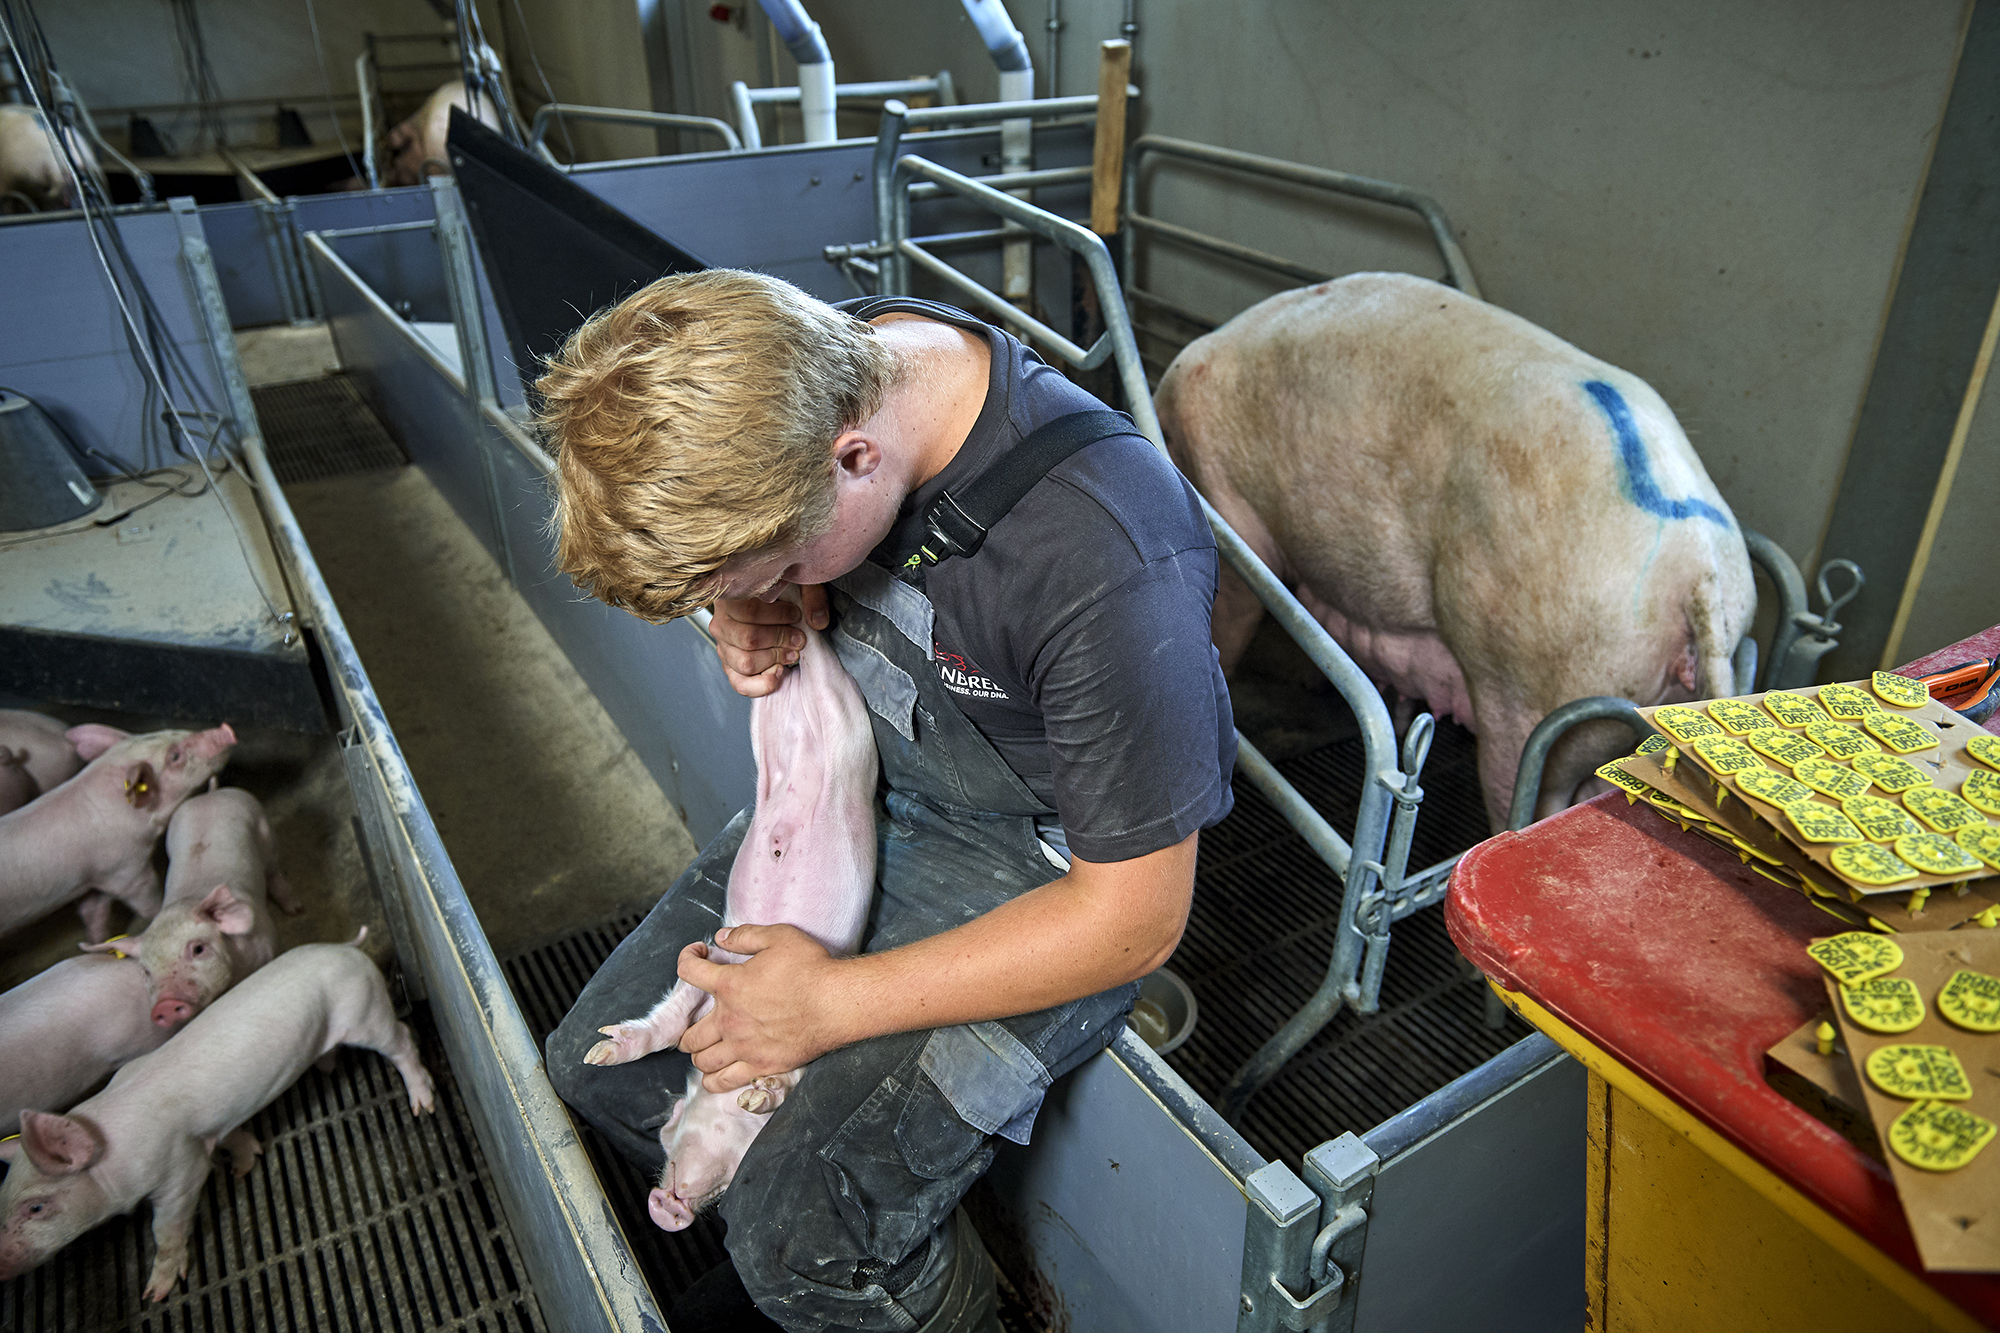
In the farrowing unit, we are handling the future breeding animals for the first time. Breeding litters should receive some extra care and attention, to ensure the very best conditions for future genetic material. Additional attention should also be incorporated into everyday routines so as to ensure uniform and optimal growth of future breeding animals.
|
|
|
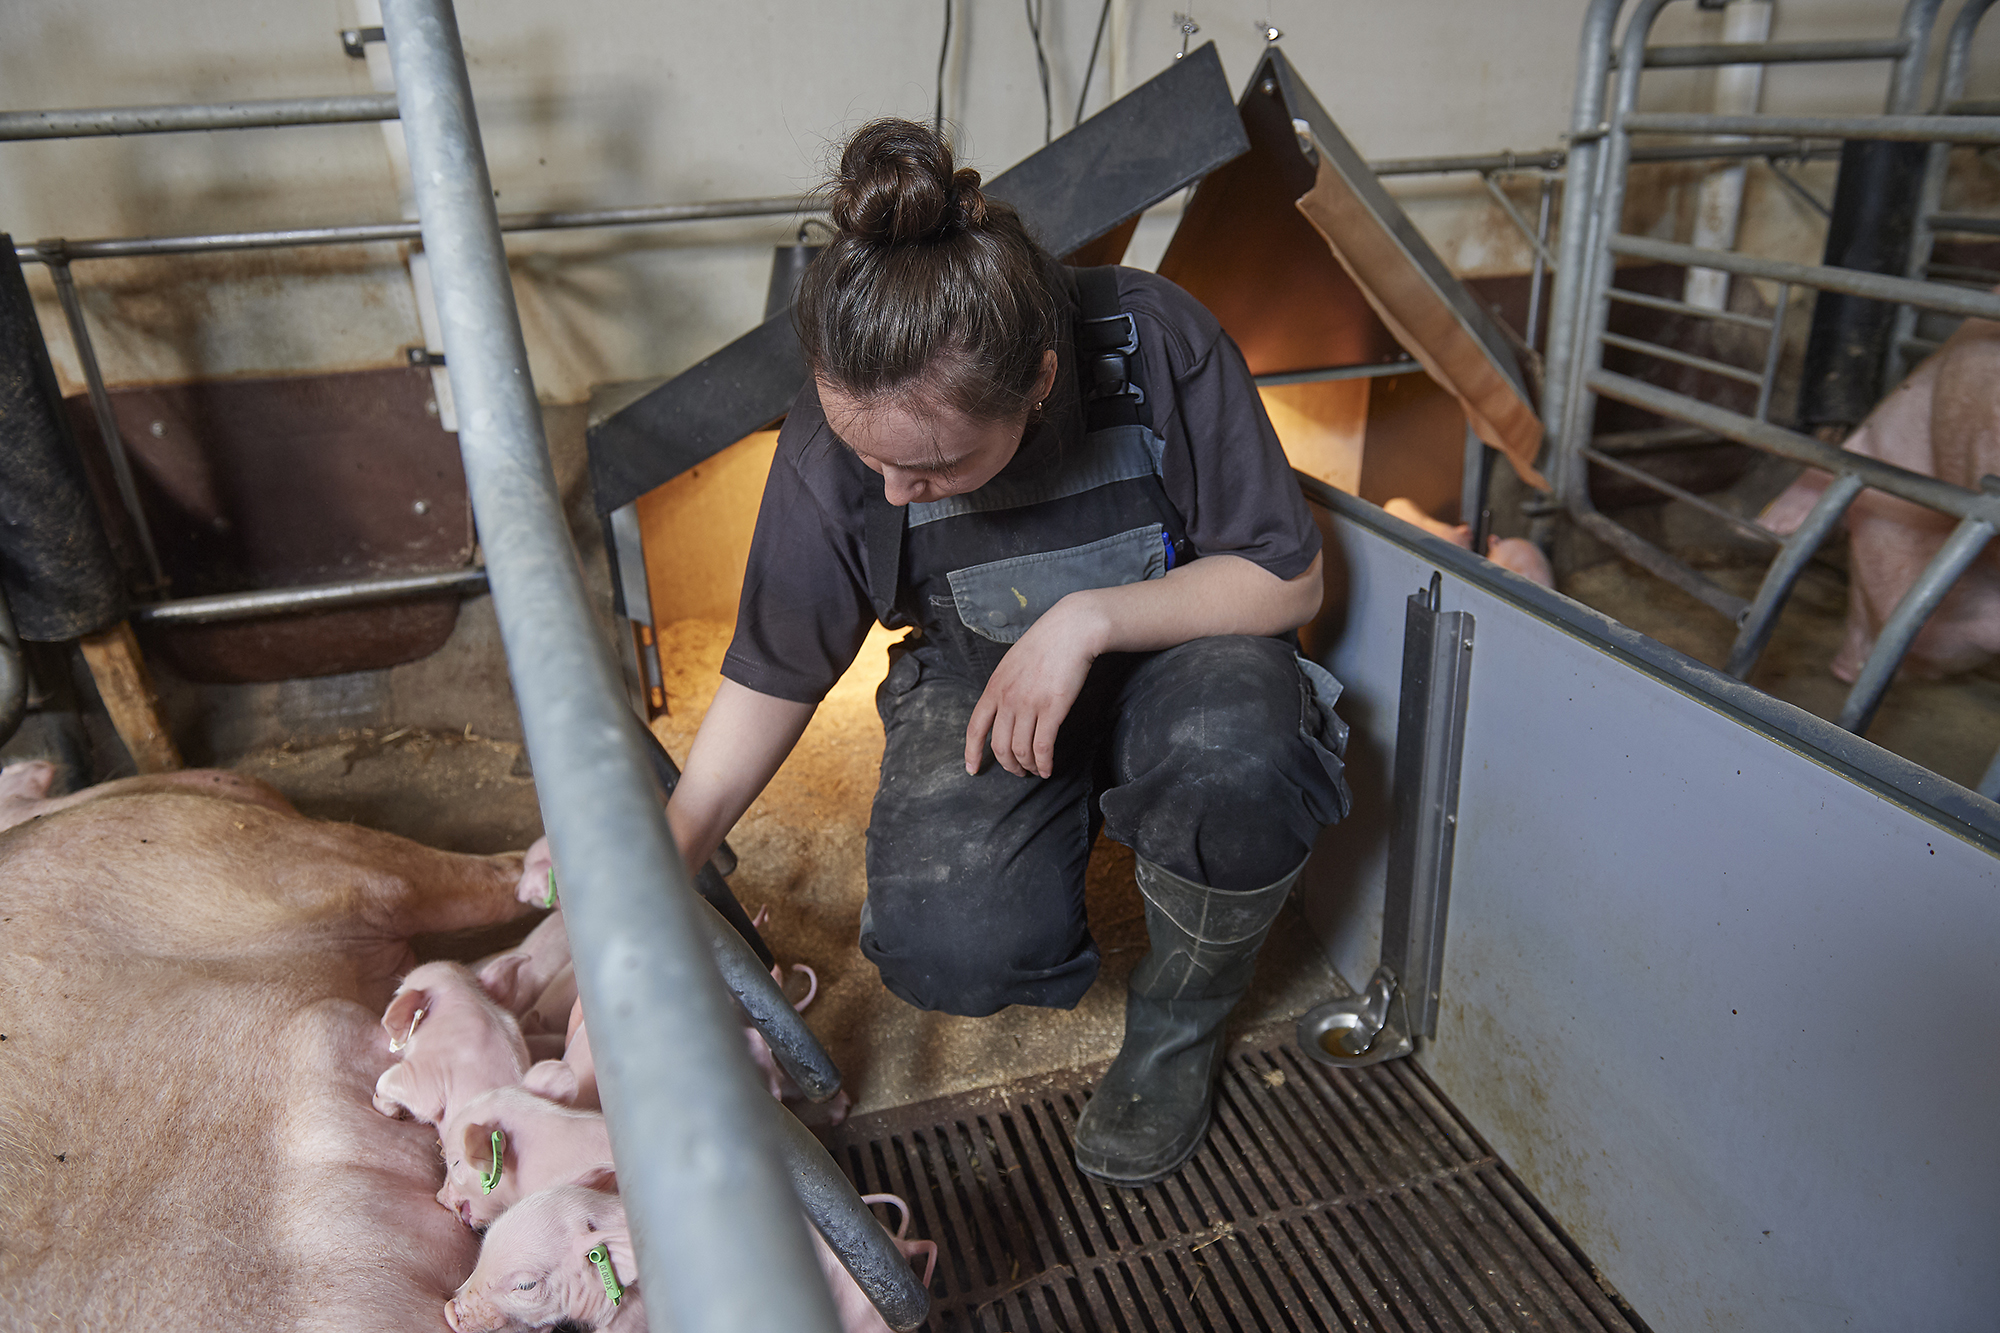
Even though breeding litters are potentially more challenging, the more demanding or extraordinary routines are planned on the first day of life and can be combined with already existing routines. Therefore it is possible to combine more procedures in one workflow, hence minimising the time spent per litter.
Ensuring colostrum intake
Colostrum supply is essential for the piglets, which also applies to the breeding litters. Colostrum is vital for newborn piglets, supplying antibodies which form the basis of the piglets’ immune defence for the first weeks of life. In addition to antibodies, colostrum also ensures restored energy deposits after farrowing where energy is scarce in addition to an increased weight of the intestinal tract and increased enzyme activity, further increasing the survival rate.
Optimal colostrum supply can be ensured in many ways, but overall there are some basic principles that are crucial to the intake of colostrum in the piglets:
- The sow must be well immunised according to the herds’ health status – the sows’ immunisation is the foundation of antibodies transferred to the piglets.
- The sow should be healthy.
- Is the udder nice and soft?
- Does the sow stand up and lie down effortlessly?
- Does the sow have a good and normal appetite?
- Does the sow have clear, light yellow urine?
- The sows should be fever free – temperatures above 39.5 °C require action.
|
|
|
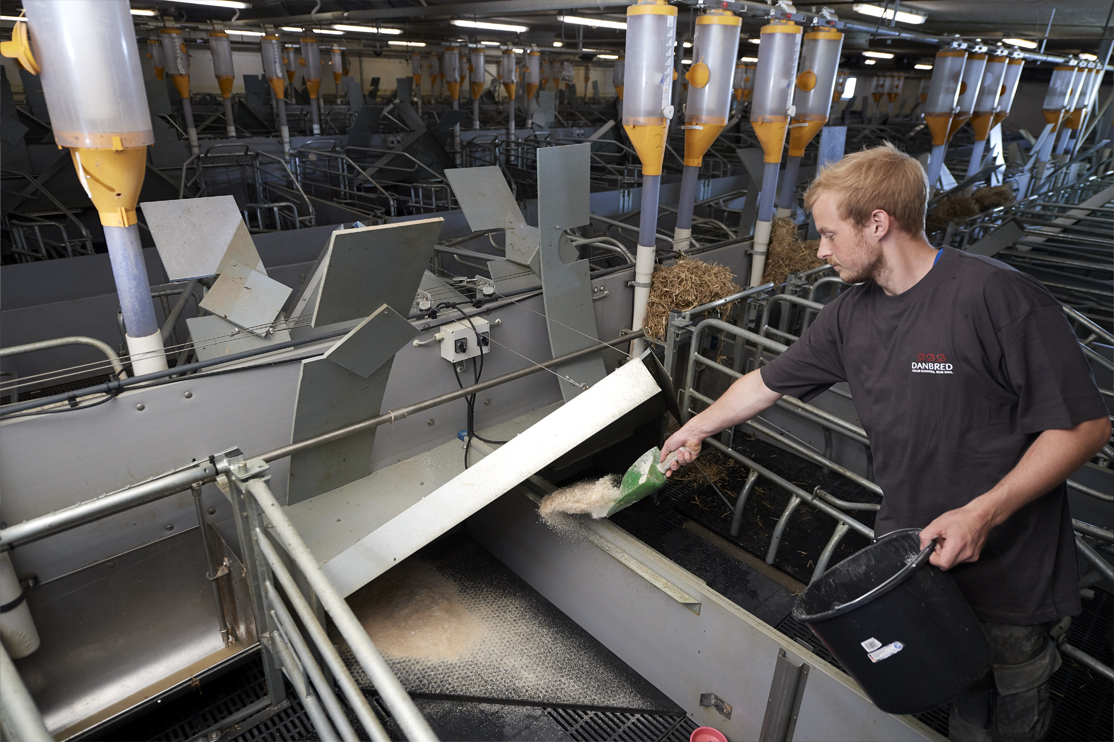
- The sows should be fed according to recommendations – including free access to fresh, clean cool water.
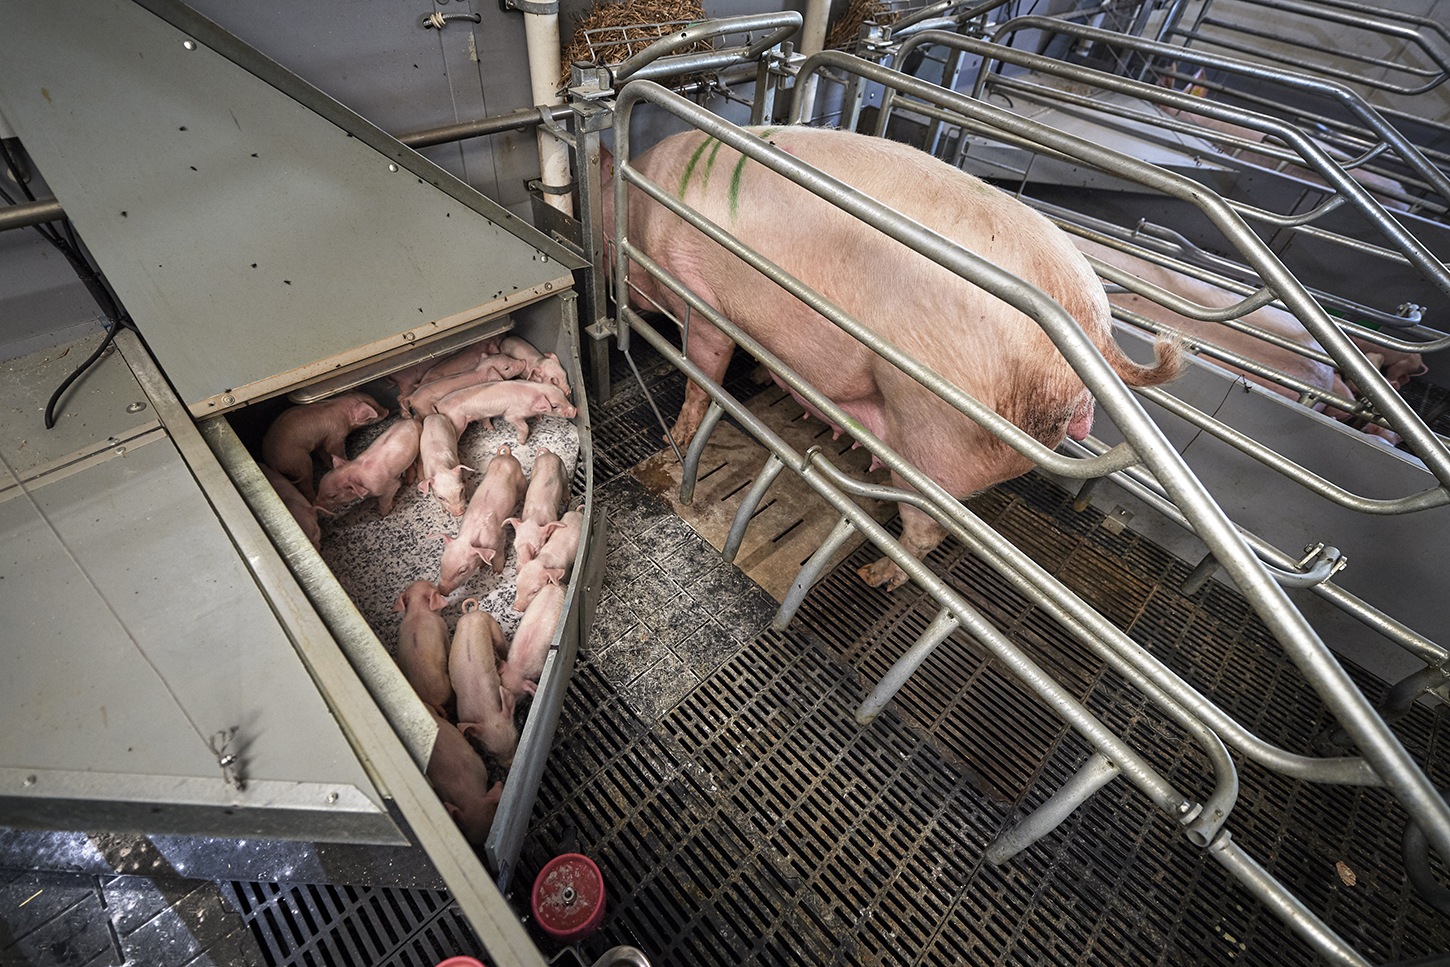
- The piglets need free access to the udder – if the piglets are cold or weak, they should be warmed up so they have more energy to suckle.
|
|
|

- The piglets must have a minimum of 8-12 hours for colostrum intake– i.e., no litter equalisation before the piglets have consumed a sufficient amount of colostrum (10-20 mL).
- Spilt suckling is an effective way to ensure optimal colostrum supply for all piglets if it is not possible to equalise the litter immediately.
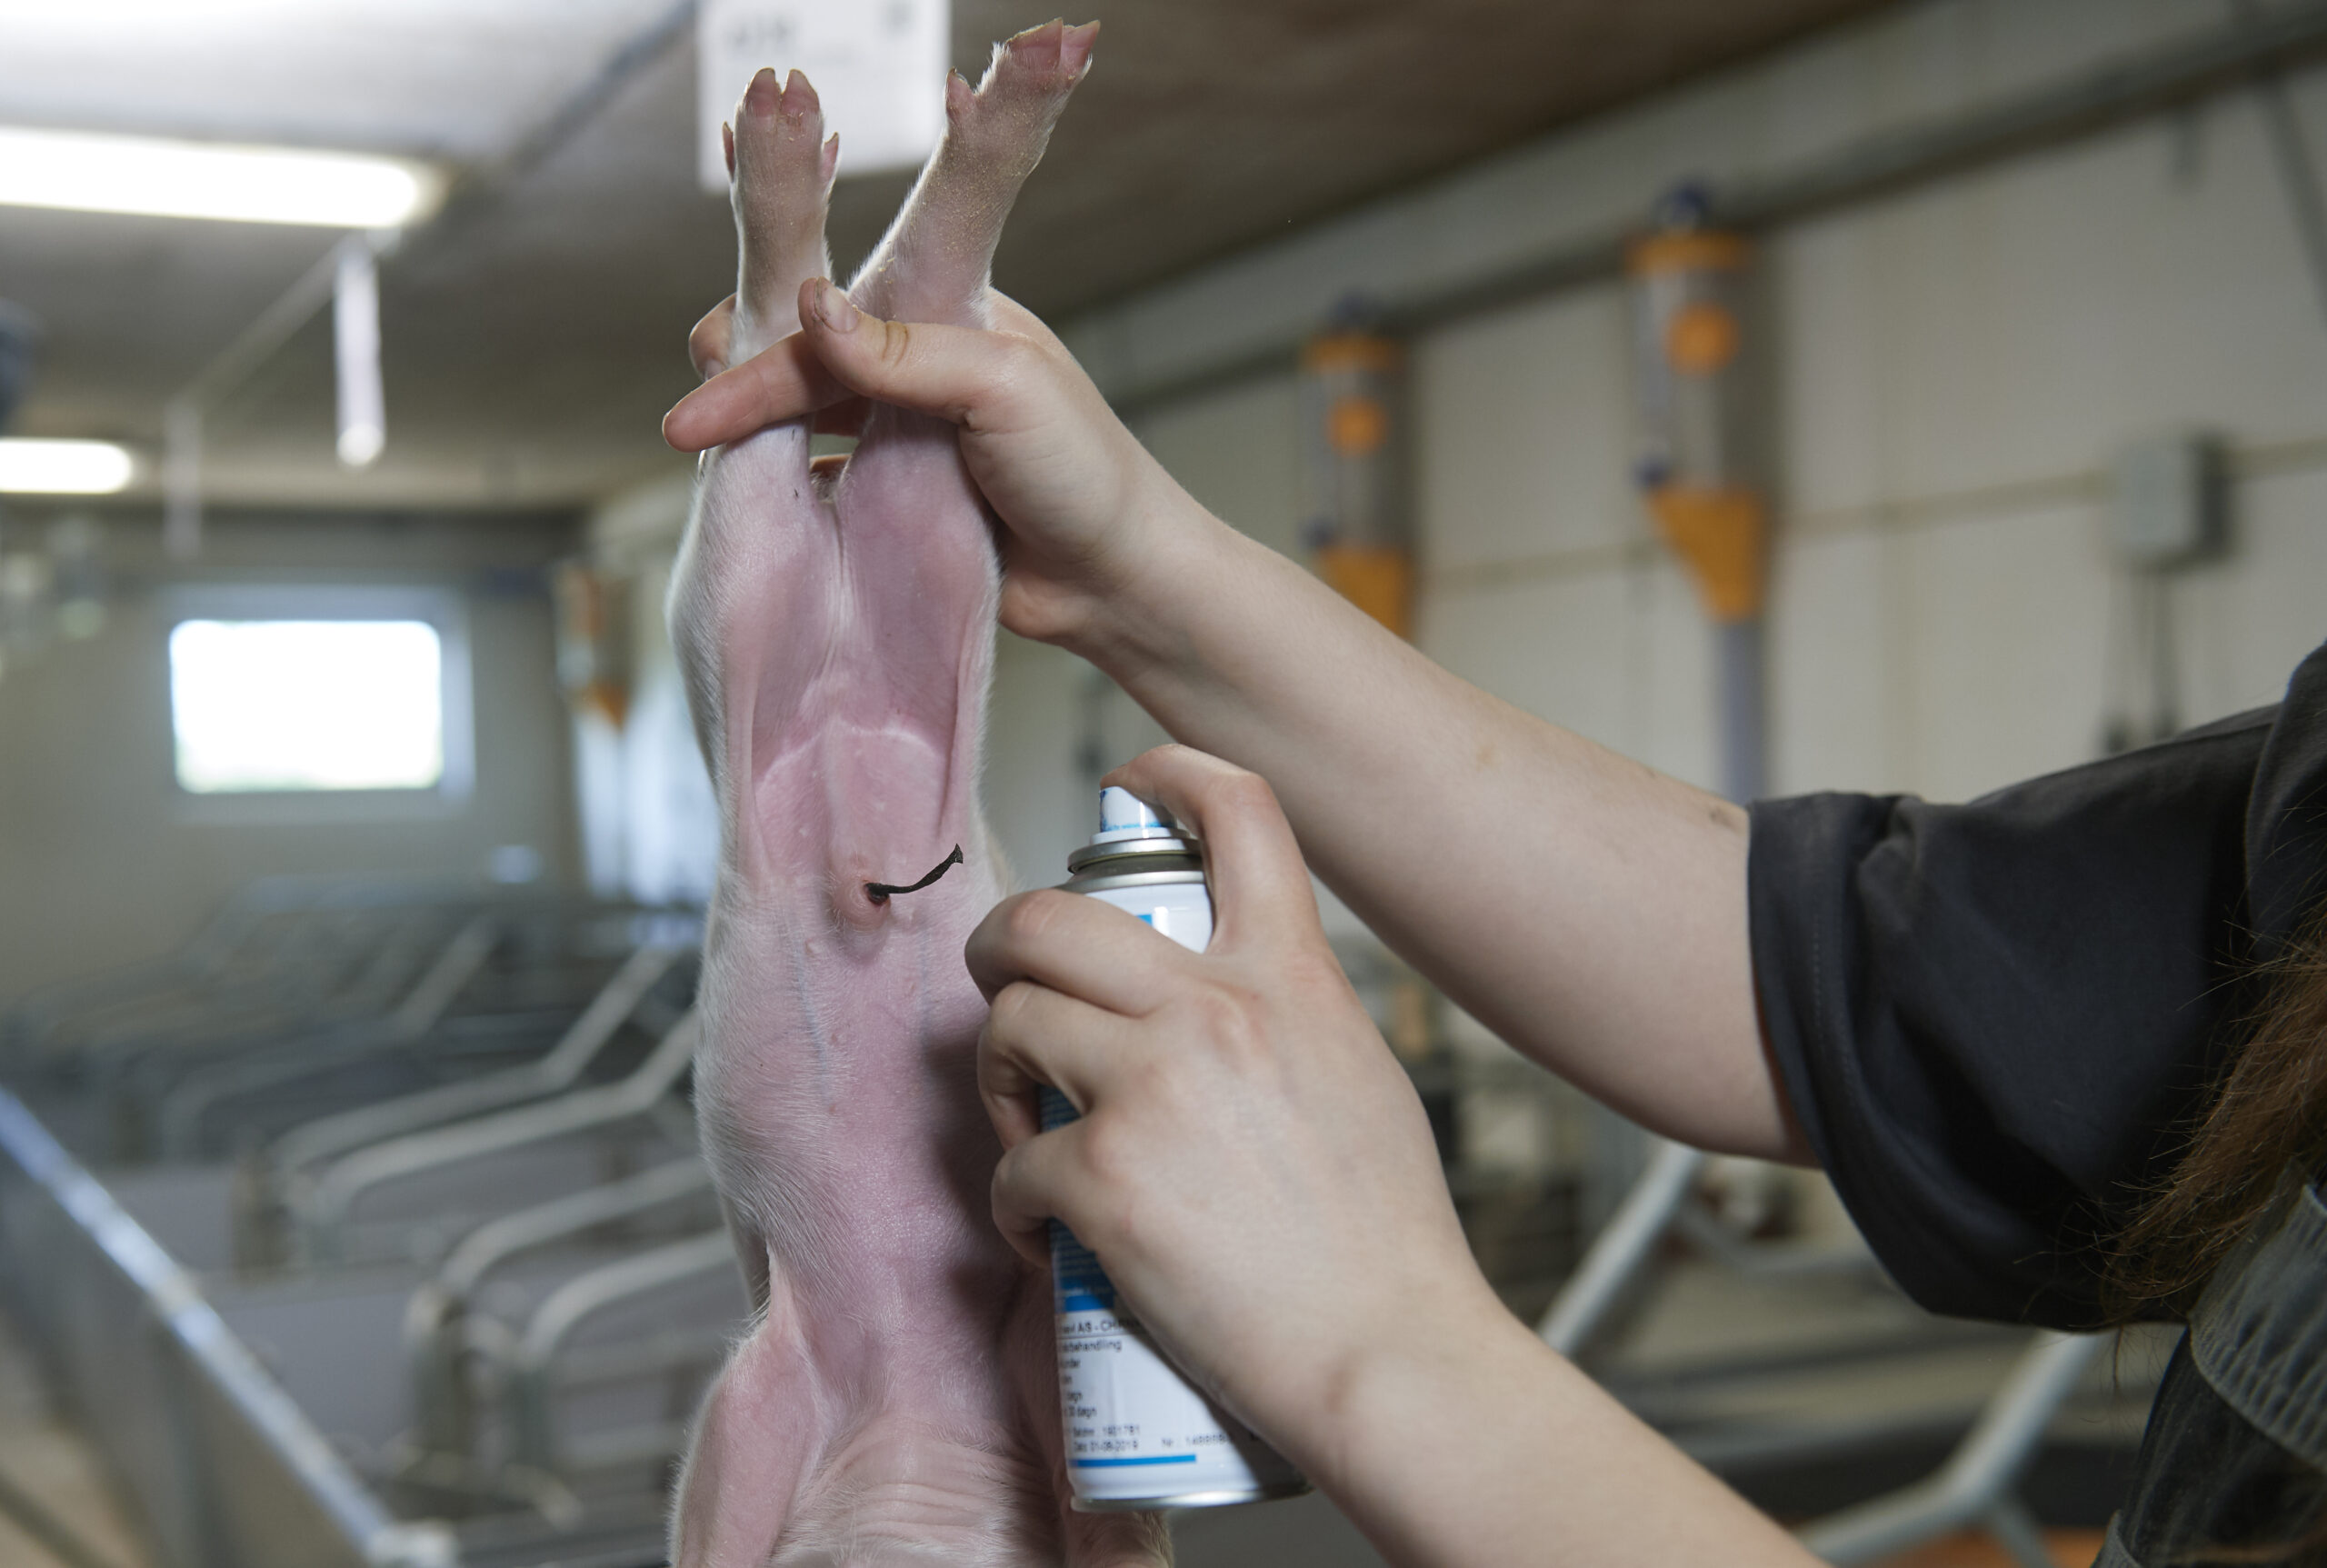
- A dry umbilical cord is a good indication of sufficient time for an adequate intake of colostrum.
- Feel the abdomen, to check for a full stomach.
|
|
|
Litter equalisation
When the piglets have had sufficient time for colostrum intake, it is time for litter equalisation, which as with all other routines must be systematised and practised when needed. It is however essential to emphasise that equalisation should only be made when necessary in order to avoid unnecessary stress and the potential spread of infection. Newborn litters will often be offspring of first parity sows that show good mothering abilities, decreasing the need for litter equalisation in the breeding litters.
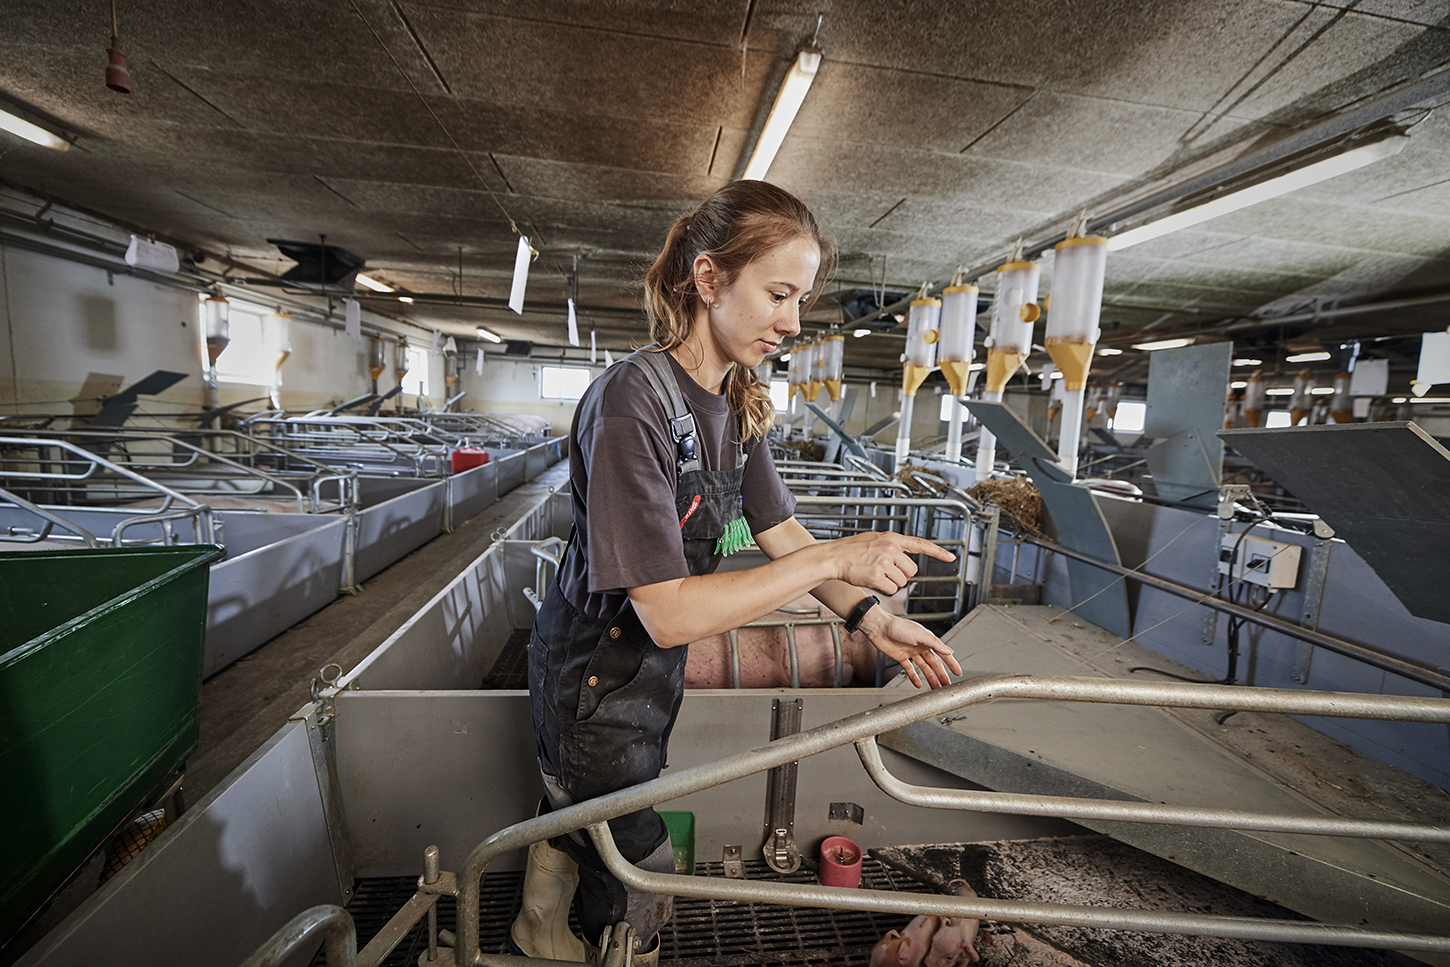
The essential thing to keep in mind is the survival rate of the piglets – which requires regular supervision and a quick response when needed.
When should litter equalisation be made?
Litter equalisation can be used in different ways, and will often be specific to each individual herd. Common for all, is that equalisation should focus on the survival of the piglets by providing the best conditions possible – it is not just about equalising to more uniform litters. Focusing on the best possible conditions for the piglets also entails that the sow and piglets match one another. But the real question is when should we equalise the litters and when should we make a foster sow – and where does each piglet go?
- In larger litters – move the largest piglets, as they are often the first piglets to drink colostrum.
- Excess piglets are moved to a foster sow– large piglets should be transferred to a regular two-step foster sow and smaller piglets to a newly farrowed sow or a foster sow for all the smallest piglets.
|
|
|

- If the sow and piglets are not a match? This is mostly seen in herds with older sows where the sizes of the teats are different.
- Smaller piglets = need small teats and an easily accessible udder.
- Larger piglets = are ok with larger teats, and they have a better ability to access the udder.
|
|
|

- Signs of sickness in the sow (farrowing fever (M.M.A.)).
- Sows with M.M.A. (Mastitis, Metritis and Agalactia) and hard udders should receive larger piglets to help the sow.
Once the decisions on piglets and sows have been made, there are some important considerations to also take into account to ensure the quality of the breeding litters.
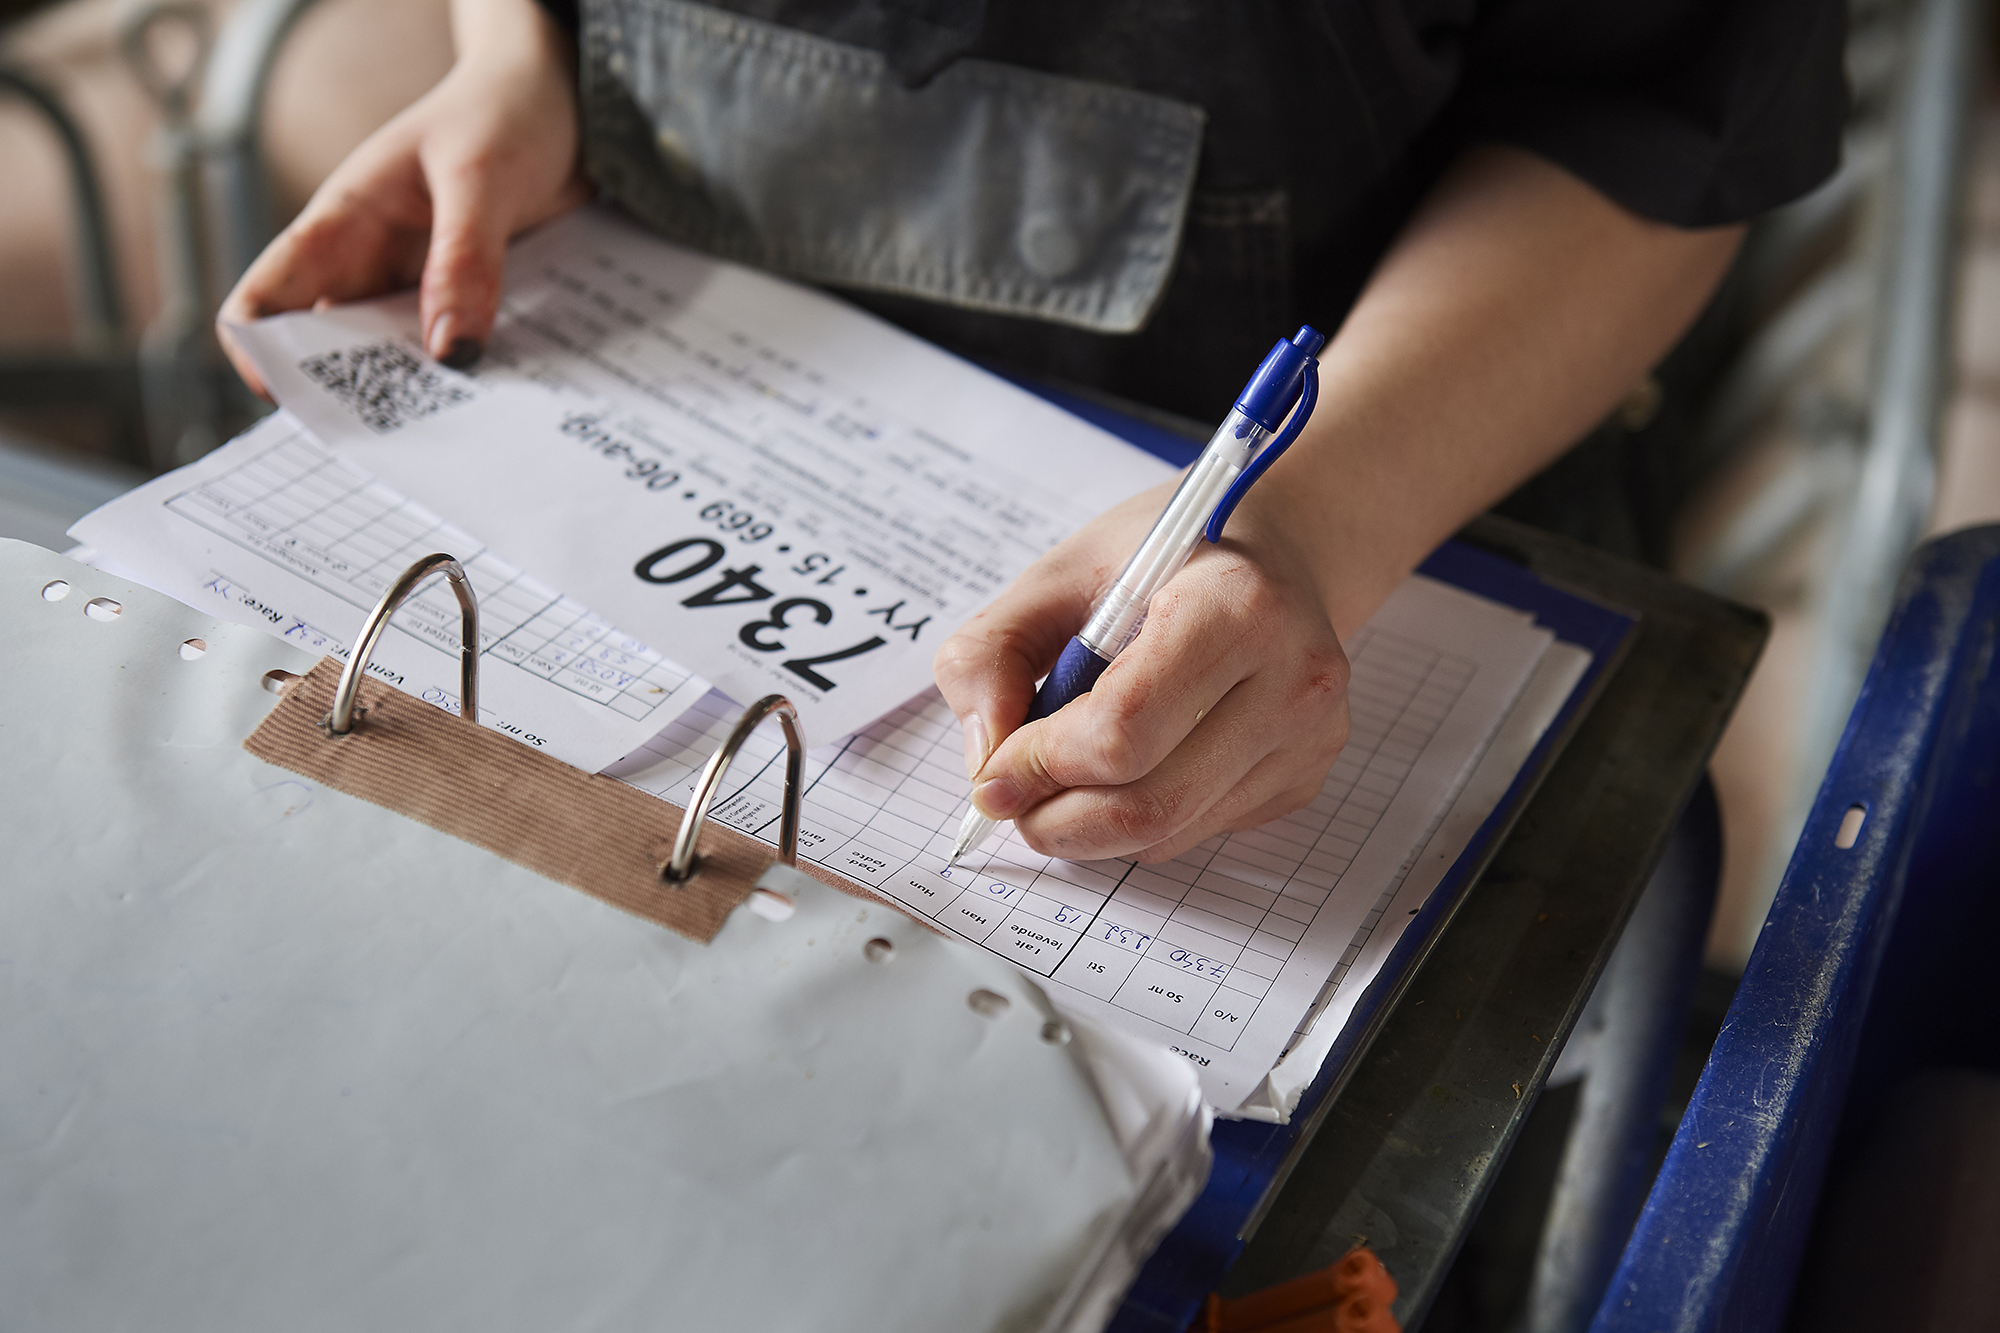
- Focus on the big picture – farrowing lists, the number of functional teats, and the number of piglets born alive can be helpful in everyday routines and help keep track of the breeding litters.
- It can be a good idea to gather piglets from breeding litters, to keep an easy overview of their progress every day.
|
|
|
- Litters must be tagged prior to equalisation – before moving the piglets between litters, it is of the utmost importance that they are tagged individually beforehand
|
|
|


Remember that litter equalisation should always consider the health status of the herd – as a general rule equalisation should only be made within the first 48 hours of life unless other agreements are made in consultancy with your advisor or herd veterinarian.
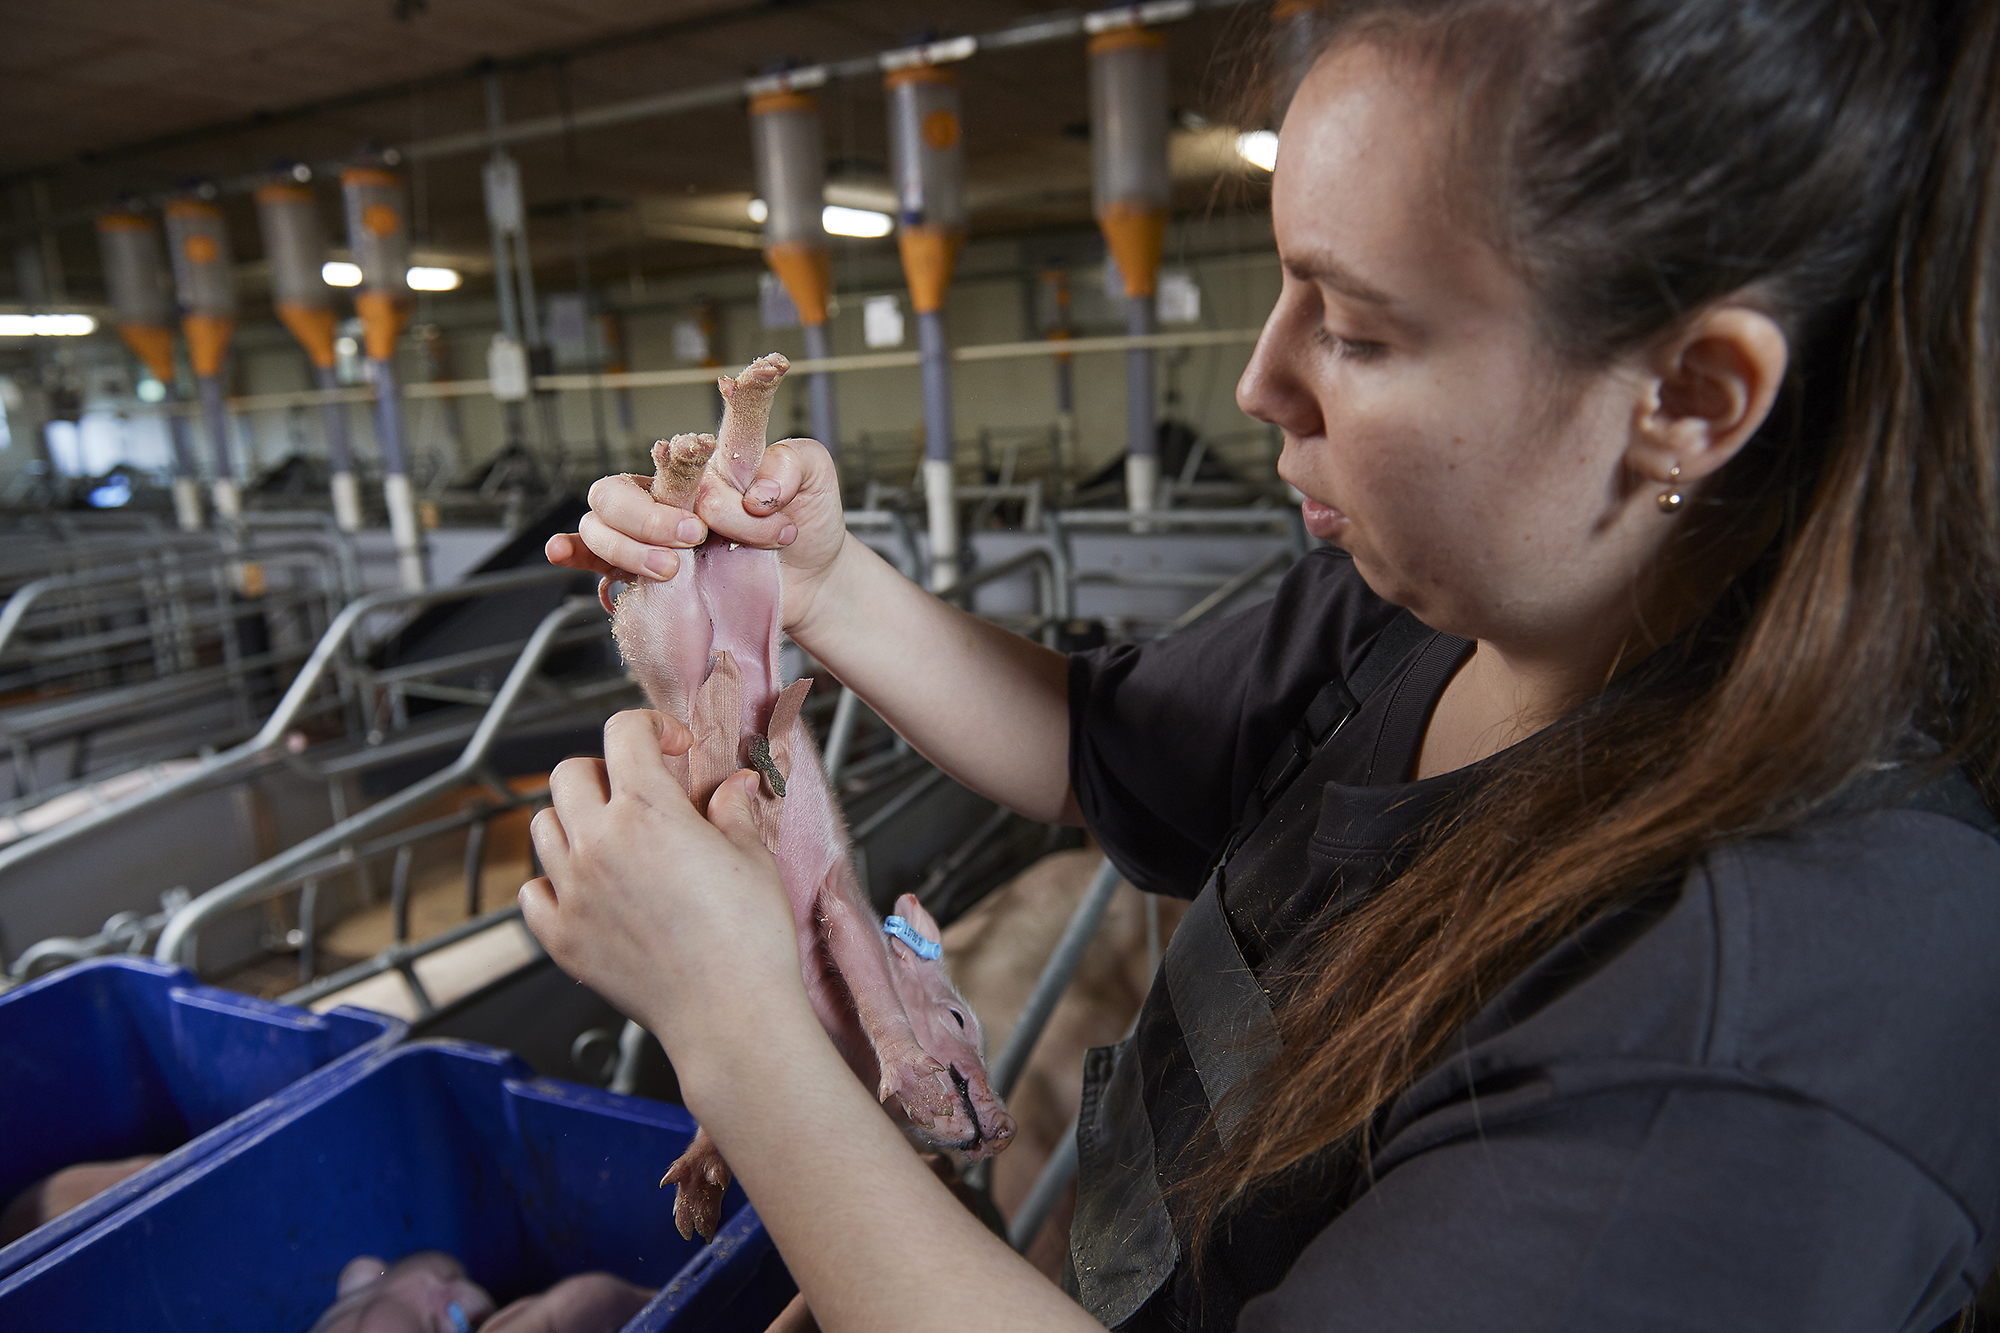
Navel and teats – health and quality
Rejection of breeding animals is a natural part of production but should be minimised in all matters possible. There are simple measurements to be made in the reduction of rejected breeding animals e.g. because of outpouchings at the navel/ umbilical hernias.
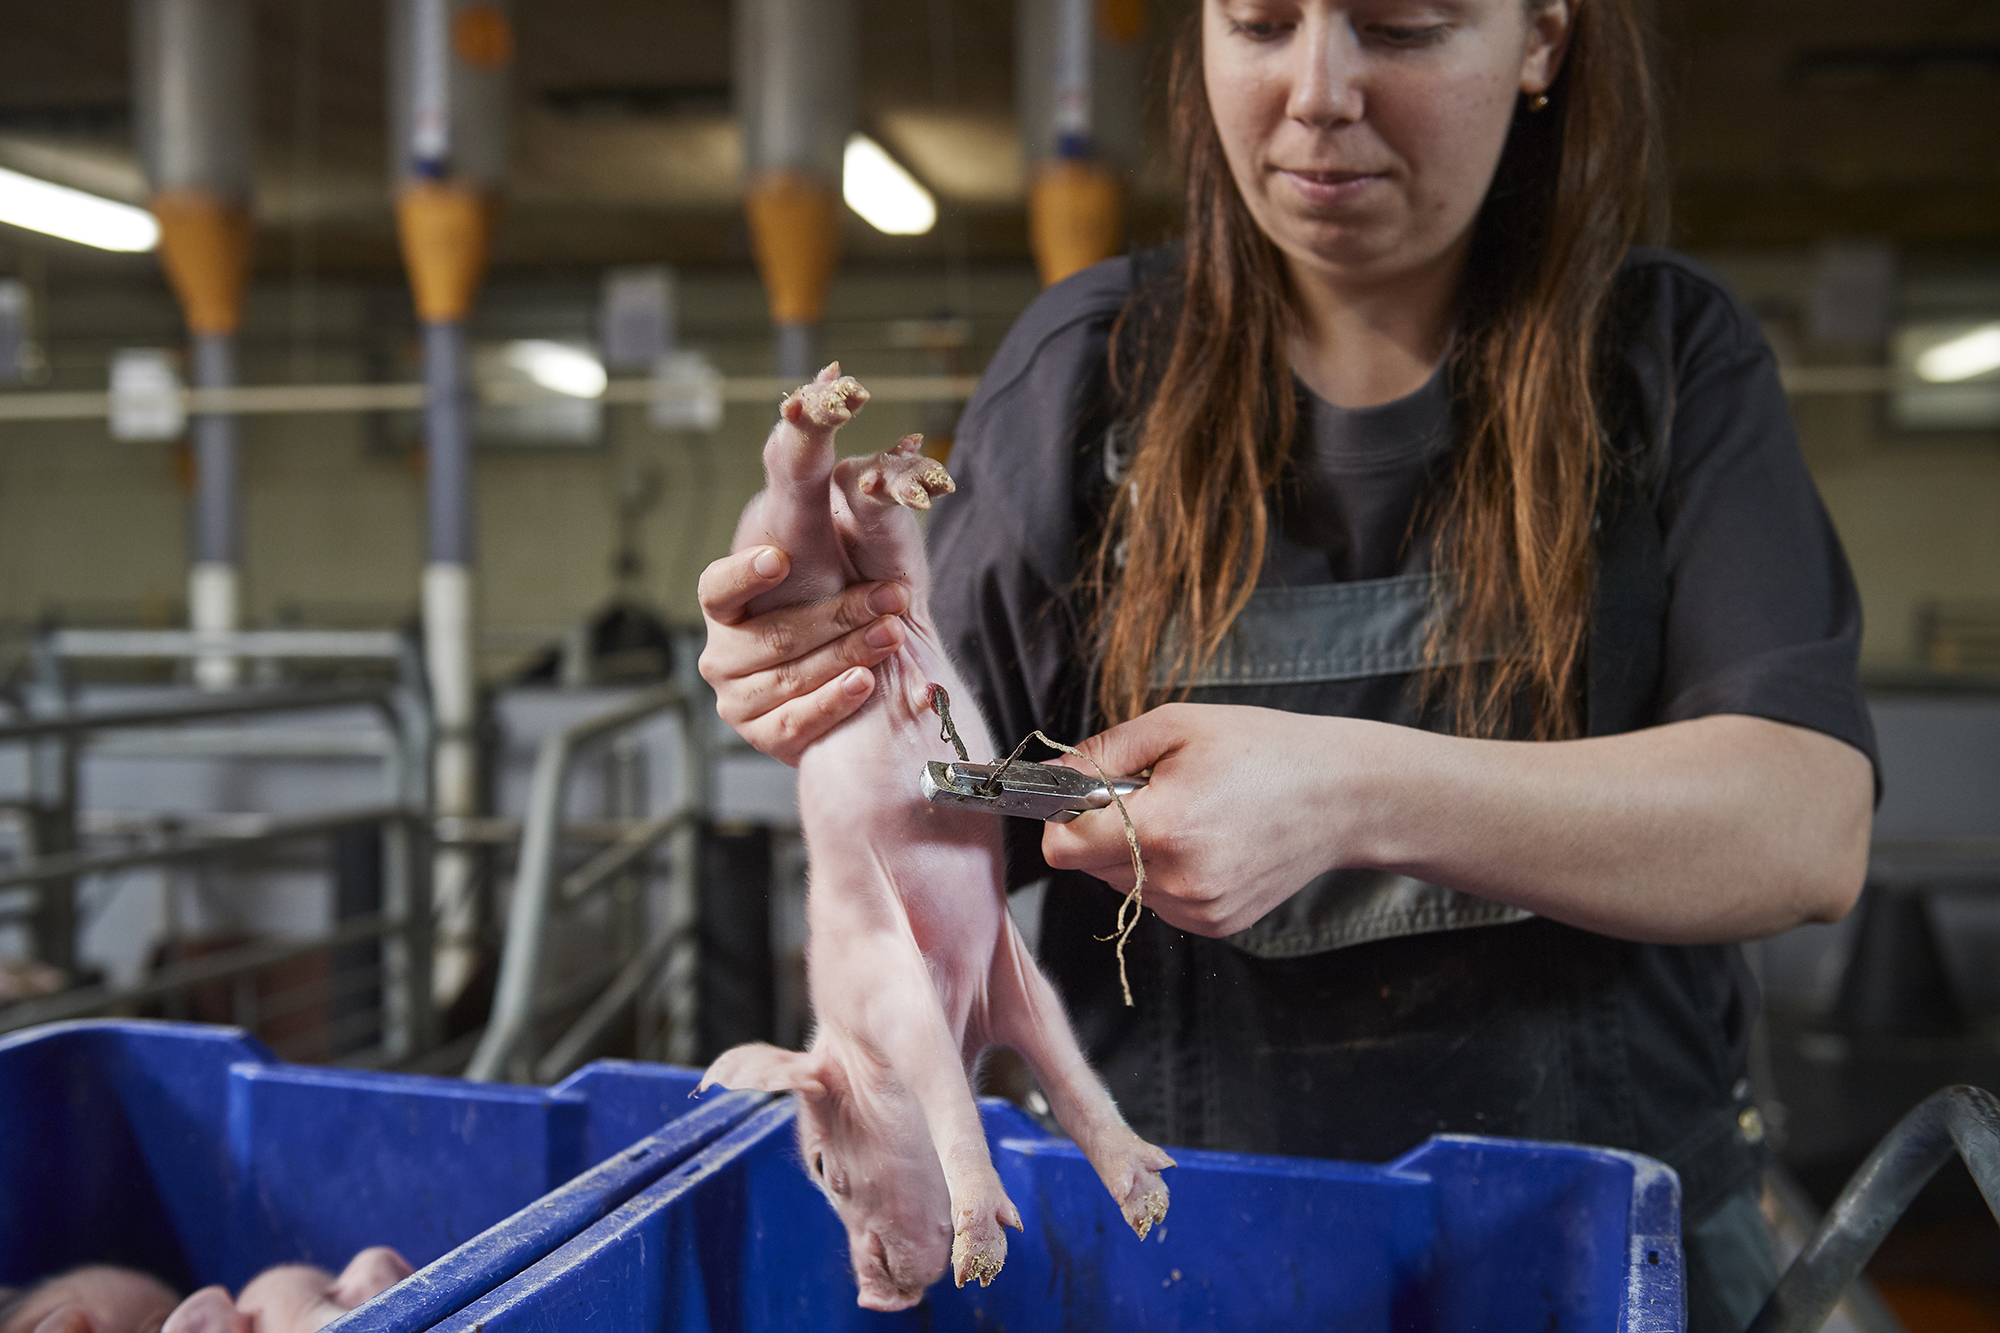
- The umbilical cord should be shortened to 3-4 cm as soon as possible – if possible, wait until it is dry.
- Be sure to burn or cut the umbilical cord, so it doesn’t get pulled and cause bleeding.
- If scissors or tongs are used, remember to make sure that they are disinfected between each piglet.
|
|
|

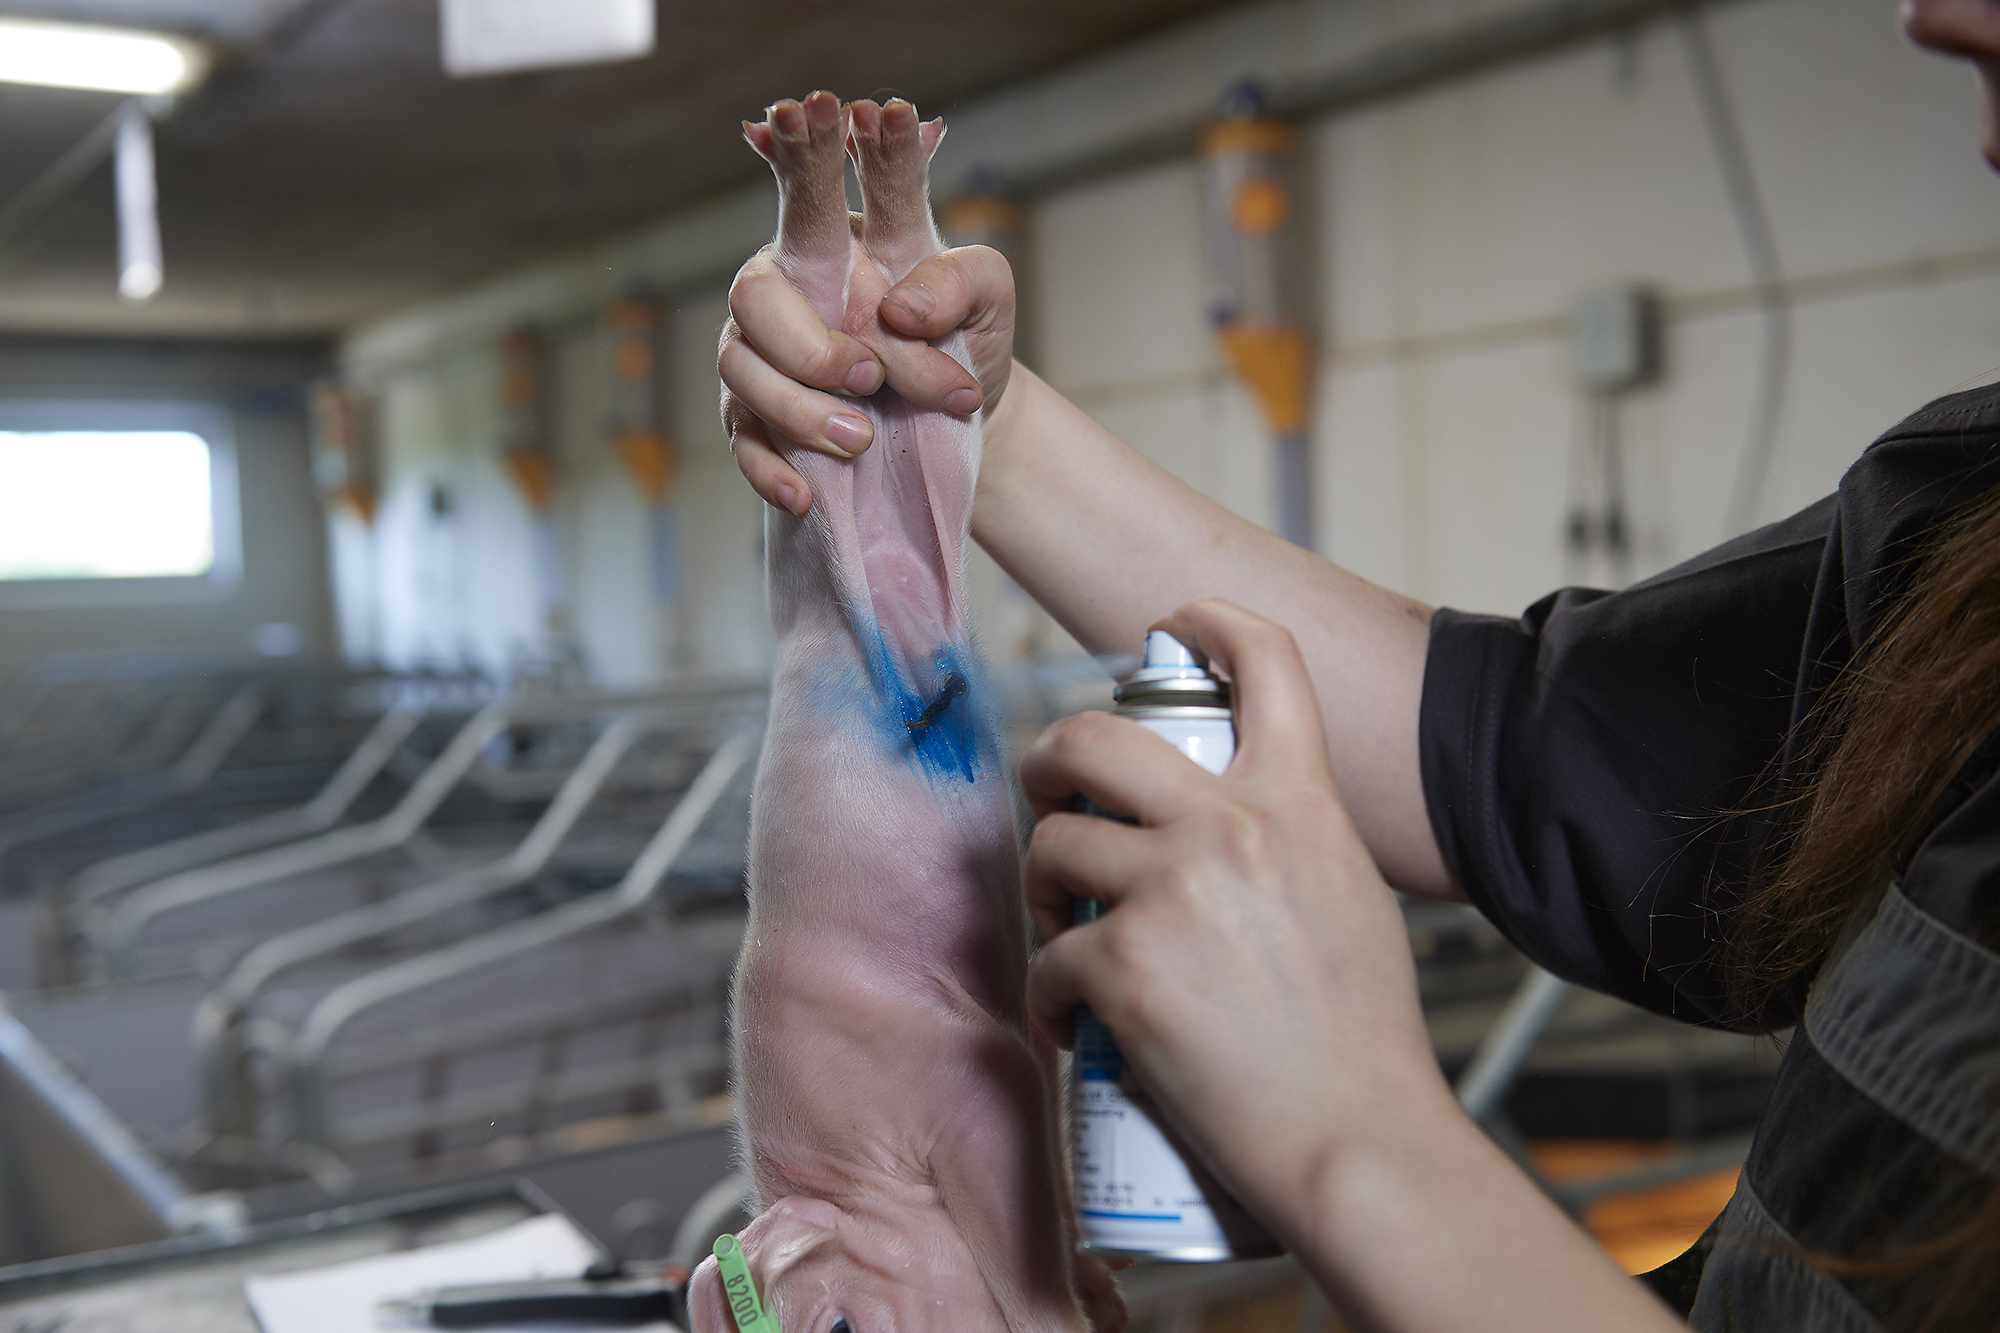
- The navel should be disinfected after the umbilical cord is cut – use chlorhexidine or tincture of iodine.
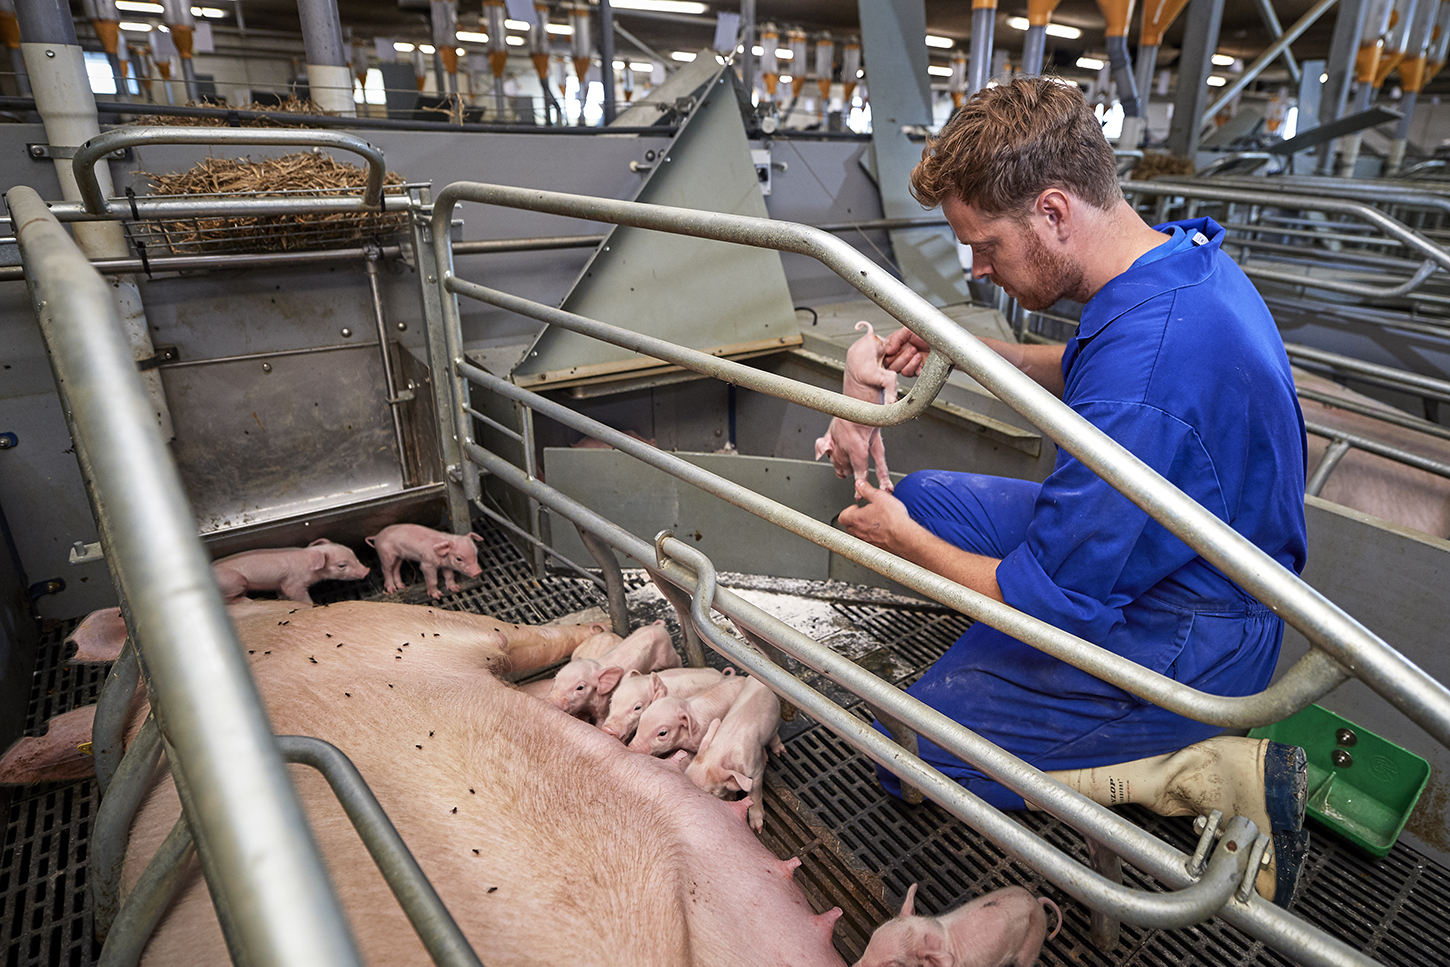
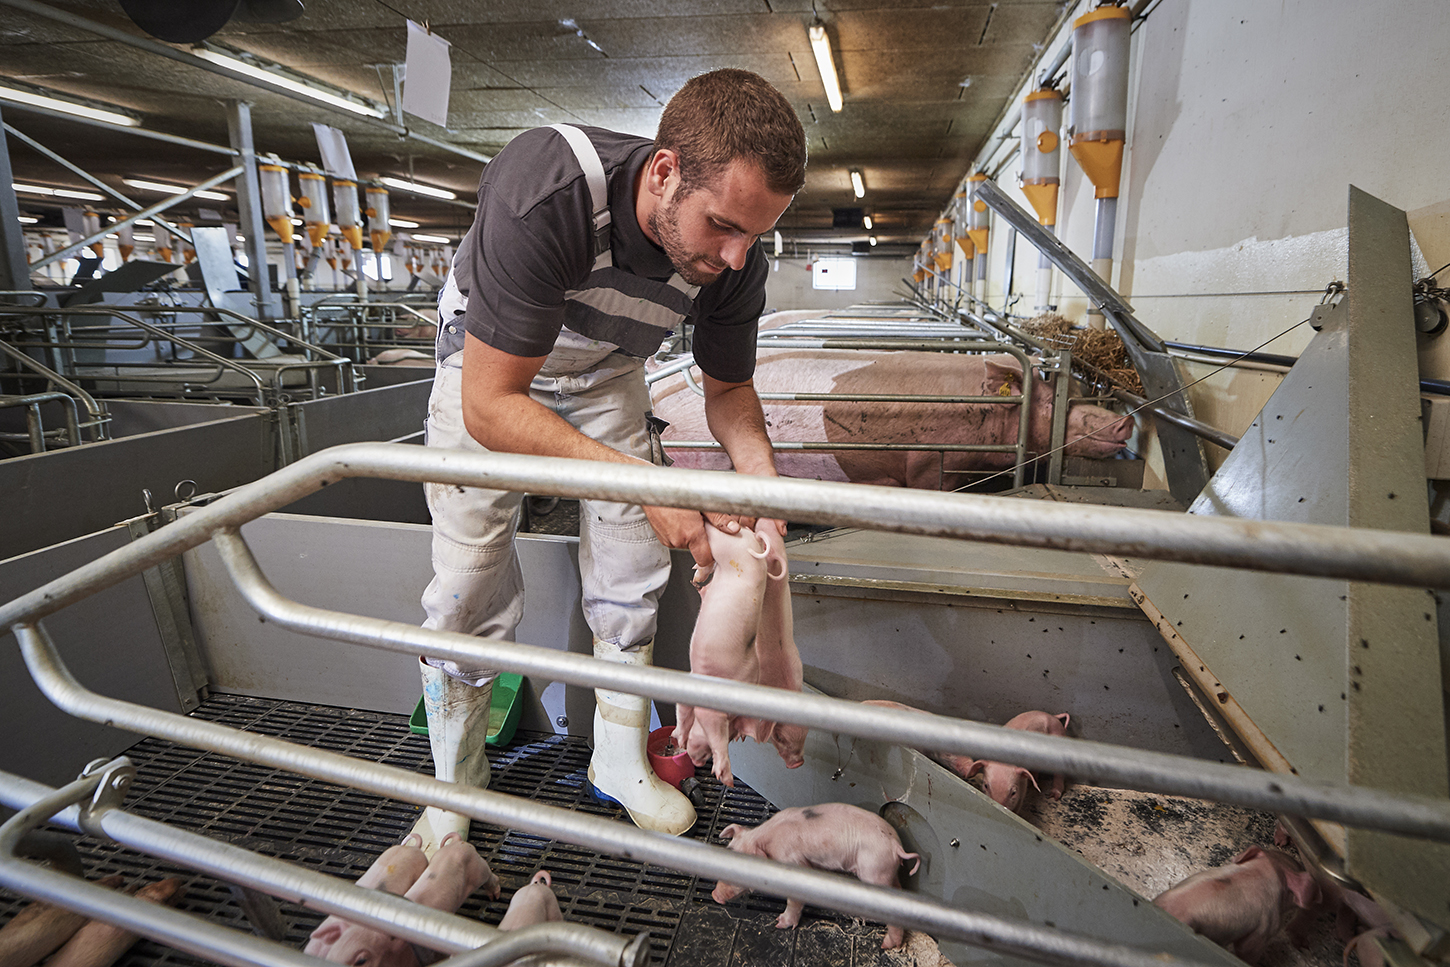
- Always lift the piglets correctly – no squeesing the groin or stomach and remember to support them with one hand below the stomach, or by grabbing them in the rear legs.
|
|
|
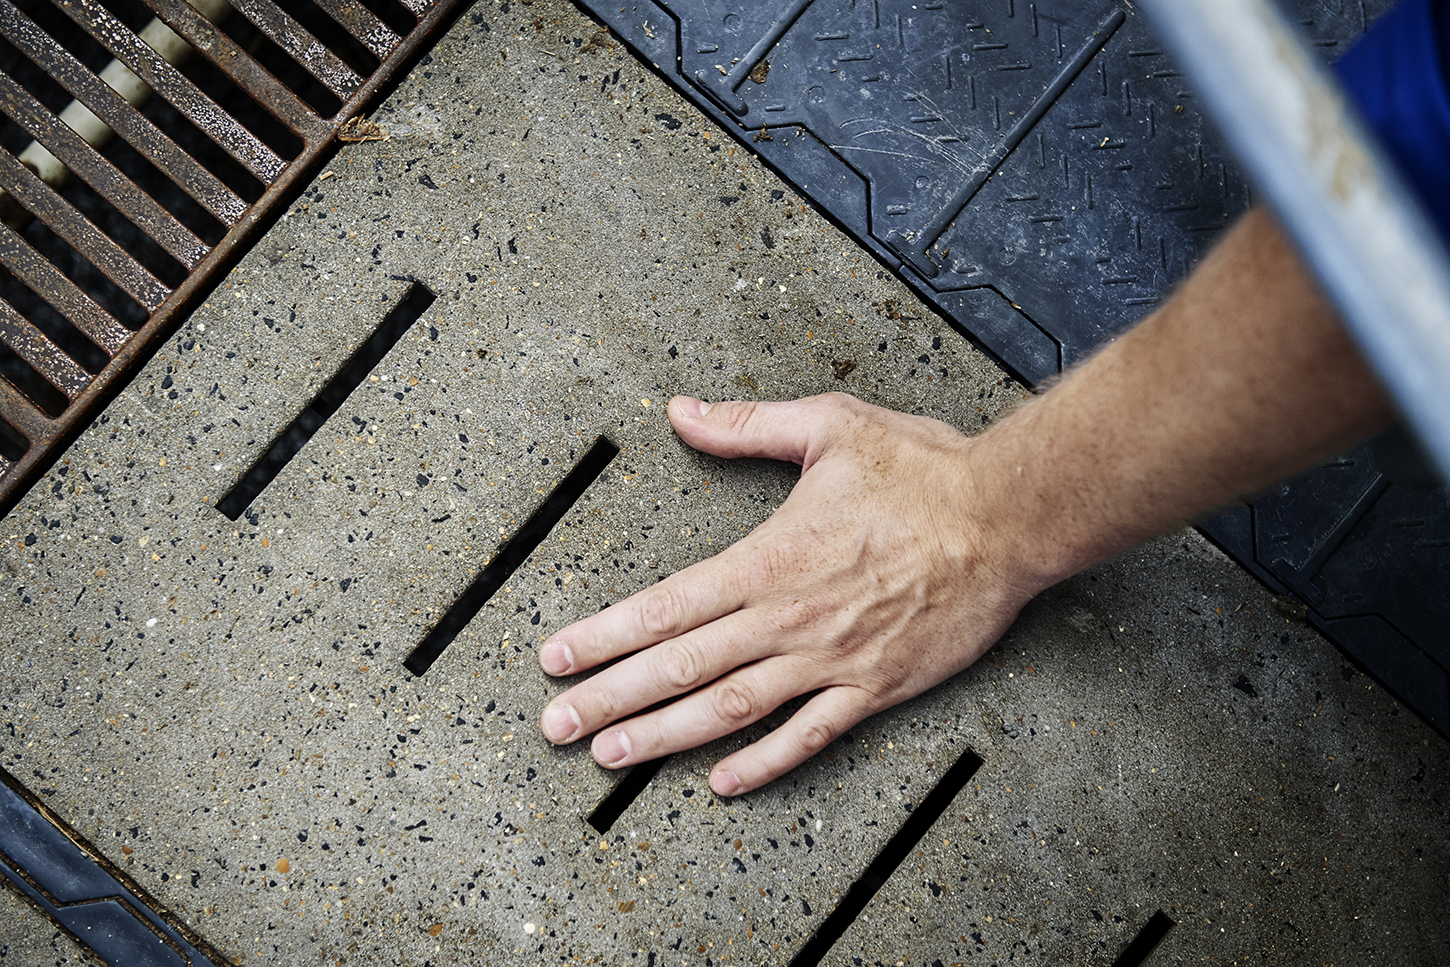
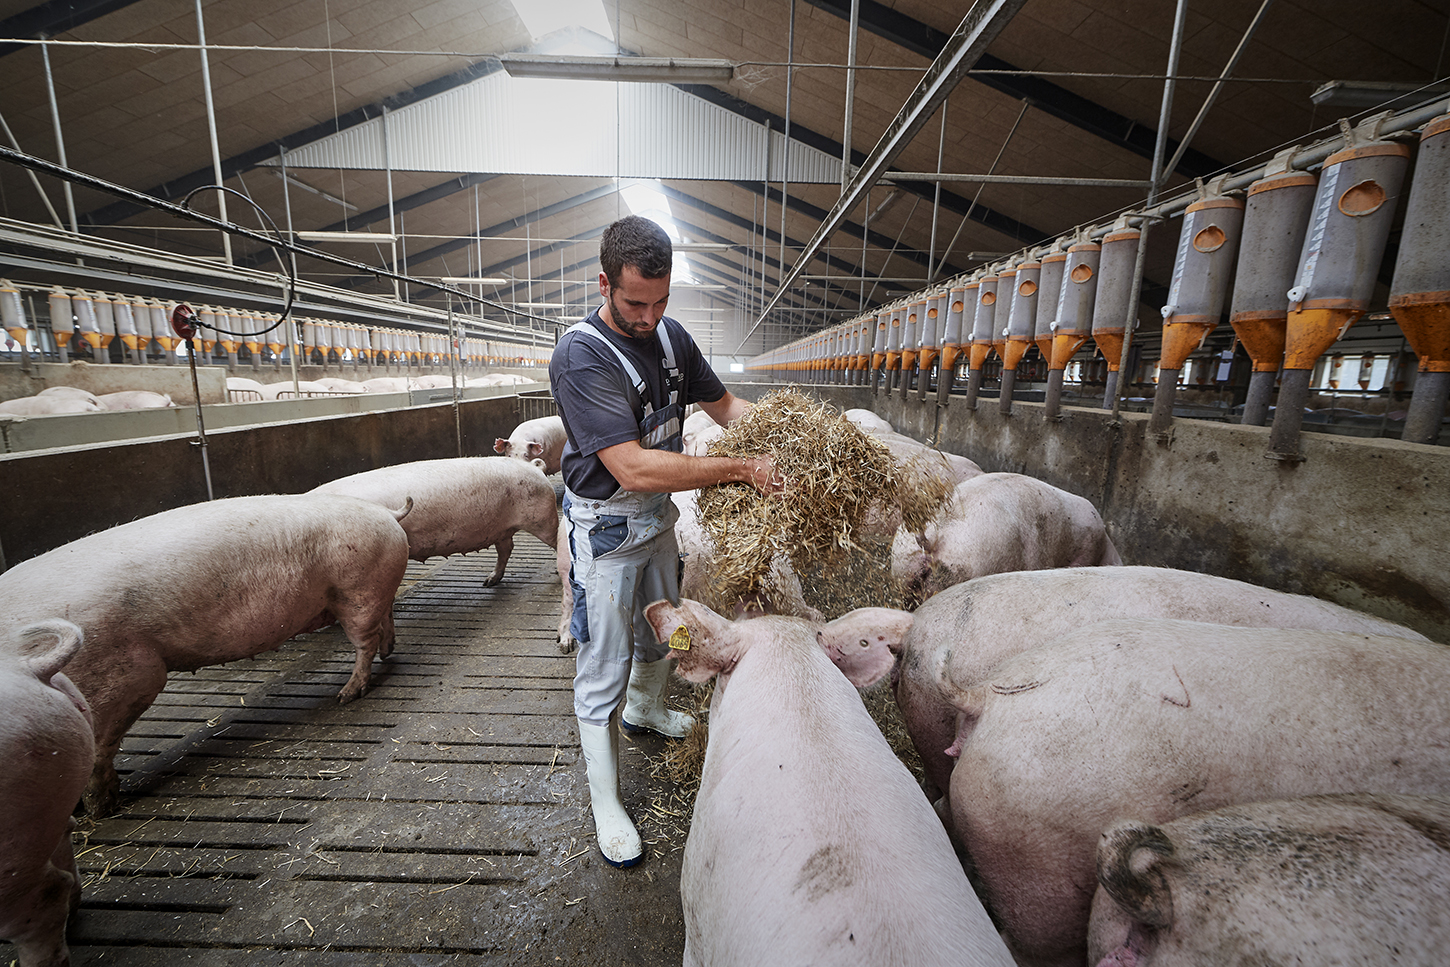
- Make sure the pens are always clean and dry – wet pens increase the risk of infection.
- Use a moderate amount of bedding in the creep area – be careful not to use bedding that can get stuck in the navel. A viable example could be sawdust mixed with potato flour and a light disinfectant powder.
|
|
|
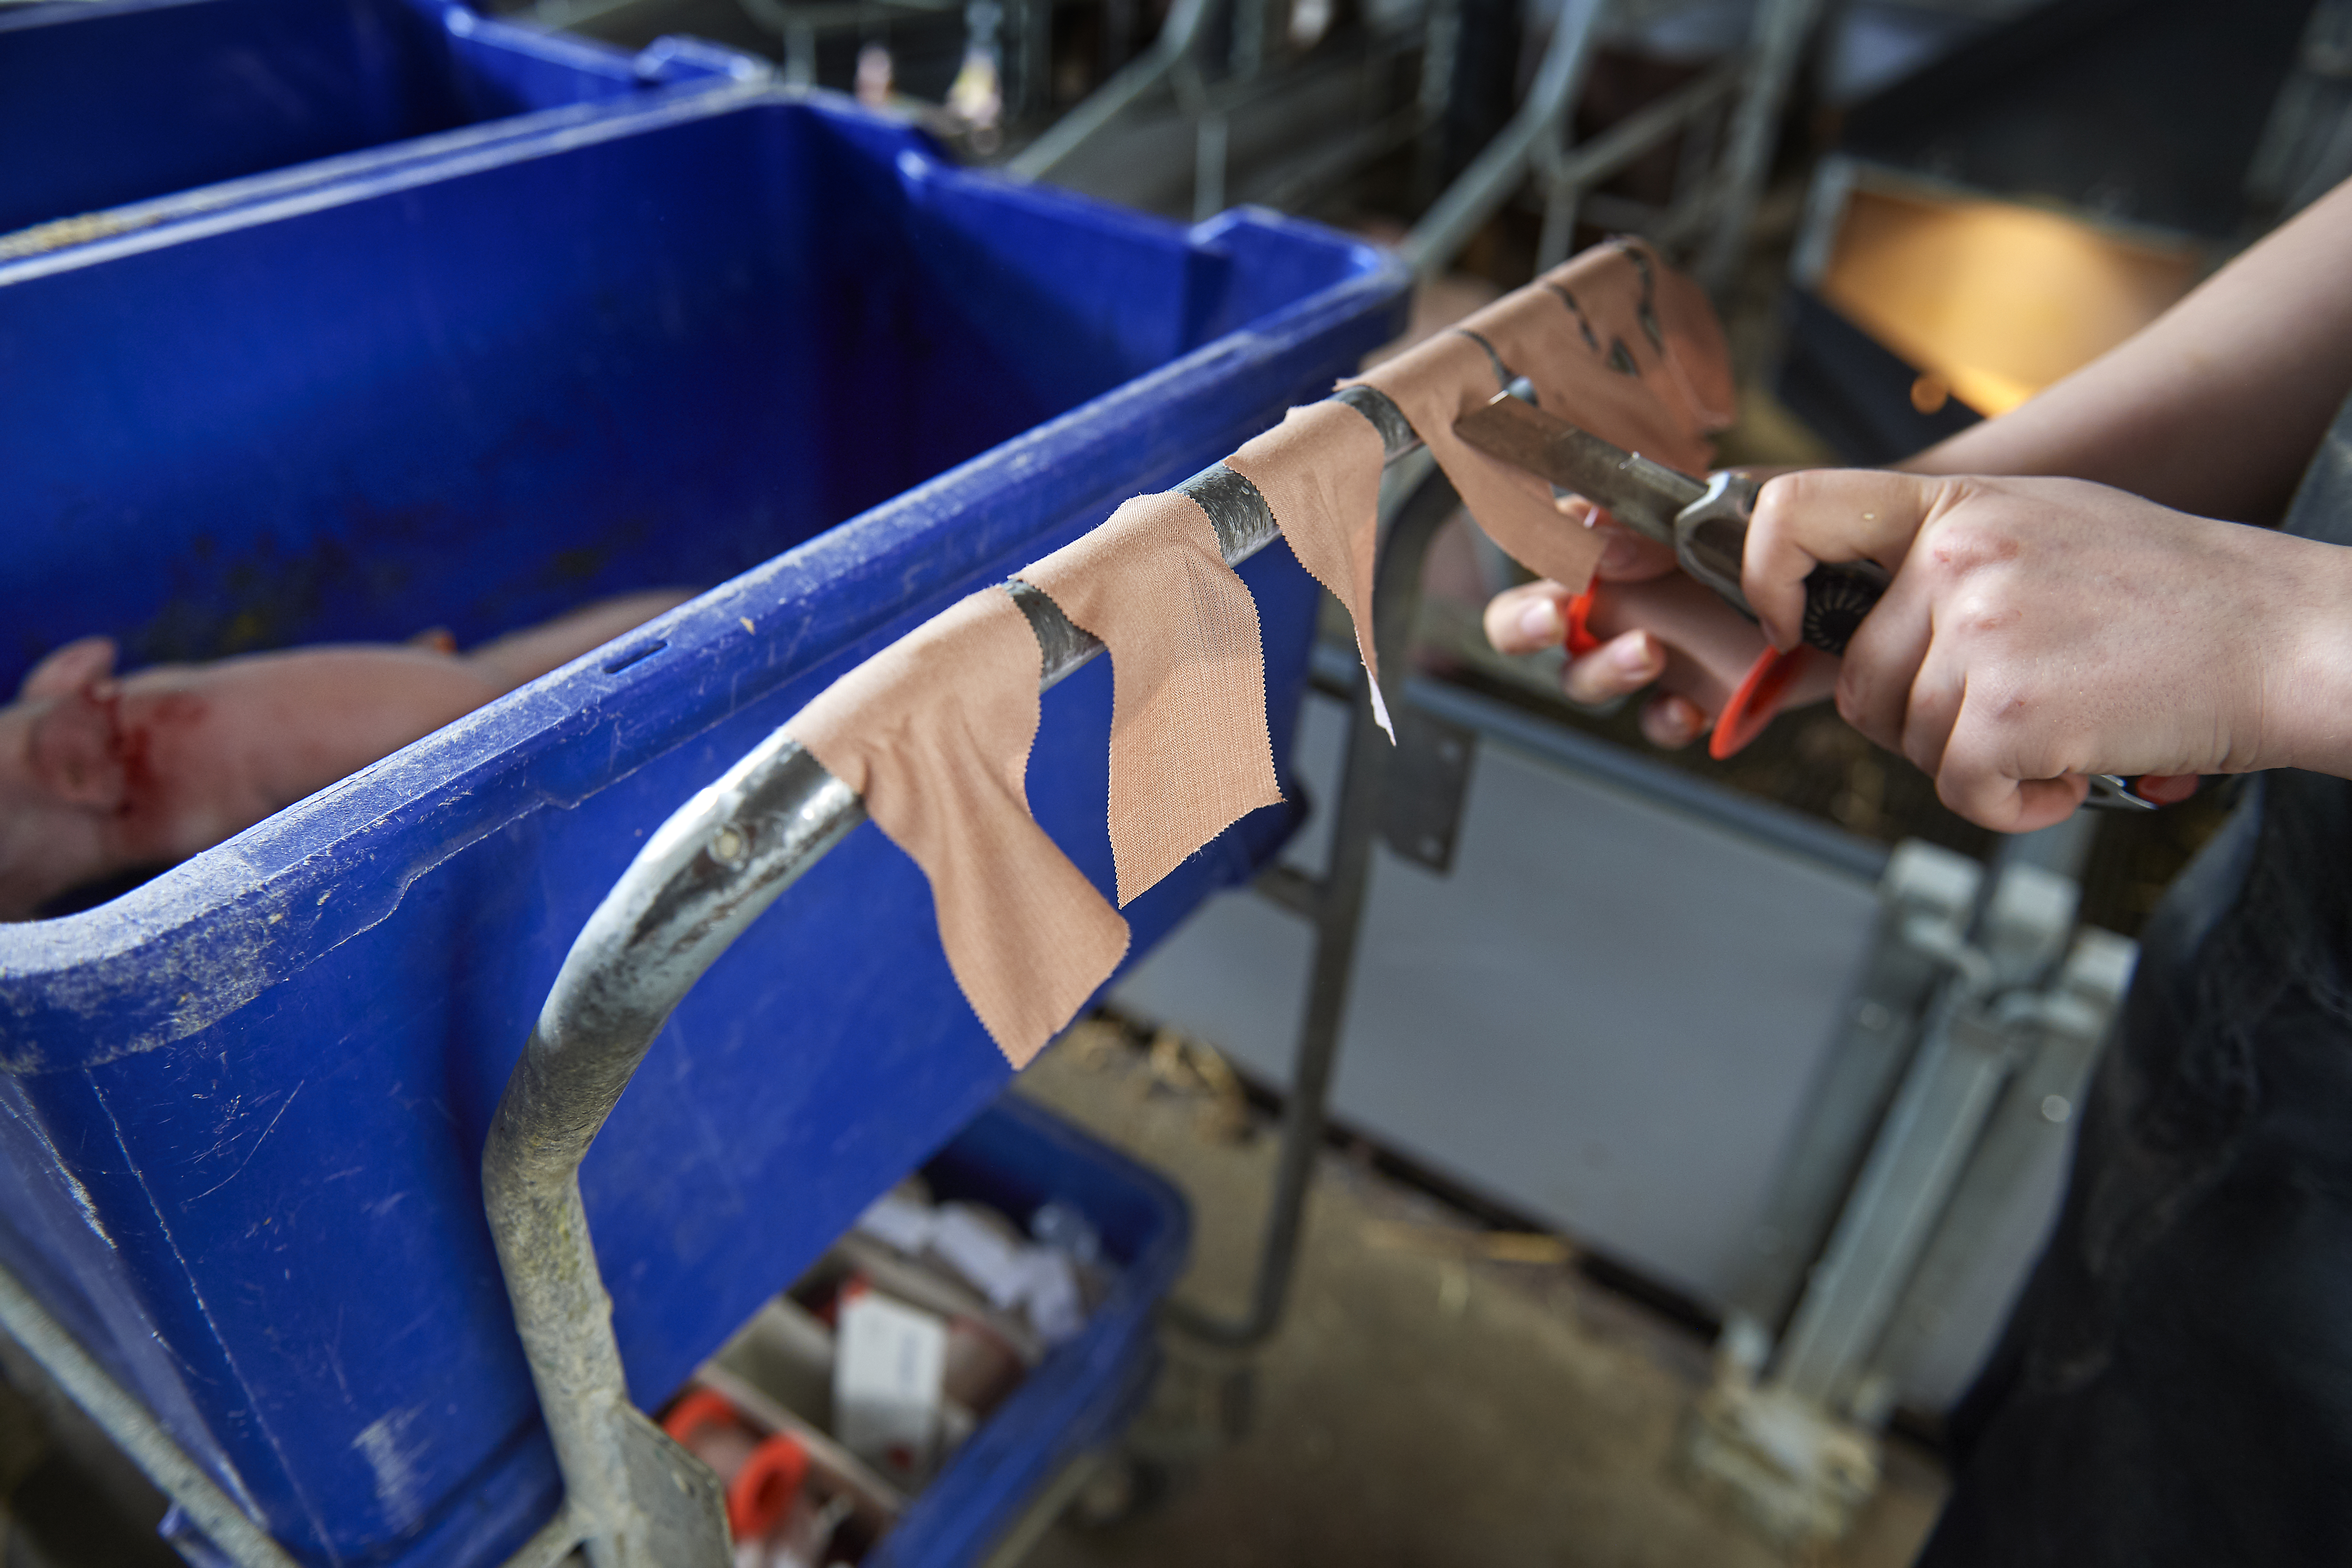
One of the essential quality parameters for breeding animals is the quality and function of the teats. It is crucial to also ensure a maximum number of functional teats, and this should already be a focus area in the farrowing unit with newborn litter.
- The front teats up to and including the navel should be protected with tape (Leucoplast) – this will reduce the tear on the teats during suckling for the first days.
|
|
|
Teeth grinding
Grinding of the teeth can be implemented as a standard routine if the udders of the sows are showing signs of damage. This can also be applied if there is increased competition at the udder, and the piglets are injuring each other as this allows for the entry of bacteria.
Tail docking
Tail docking can be a regular routine if there are issues with tail biting within the herd, thus compromising the animal welfare and quality of the animals. Make sure that local legislation is followed at all times.
- Tail docking should be made with a cauterisation knife within the first 2-4 days of life, the following precautions should be followed:
- The knife should be sufficiently heated – if the wound bleeds after tail docking, the knife is not hot enough.
- Burn the tails instead of cutting them – spend as much time as needed to reduce the risk of blood poisoning.
- The tails should be burned in an even line – if not, the healing process will be longer thus increasing the risk of infection.
- Clean and disinfect the tail burner frequently and make sure it is burning properly.
- Remove as little as possible- and no more than 50 % of the tail (local legislation might apply).
- Make sure that all tails are cut to the same length to further minimise the risk of tail biting.
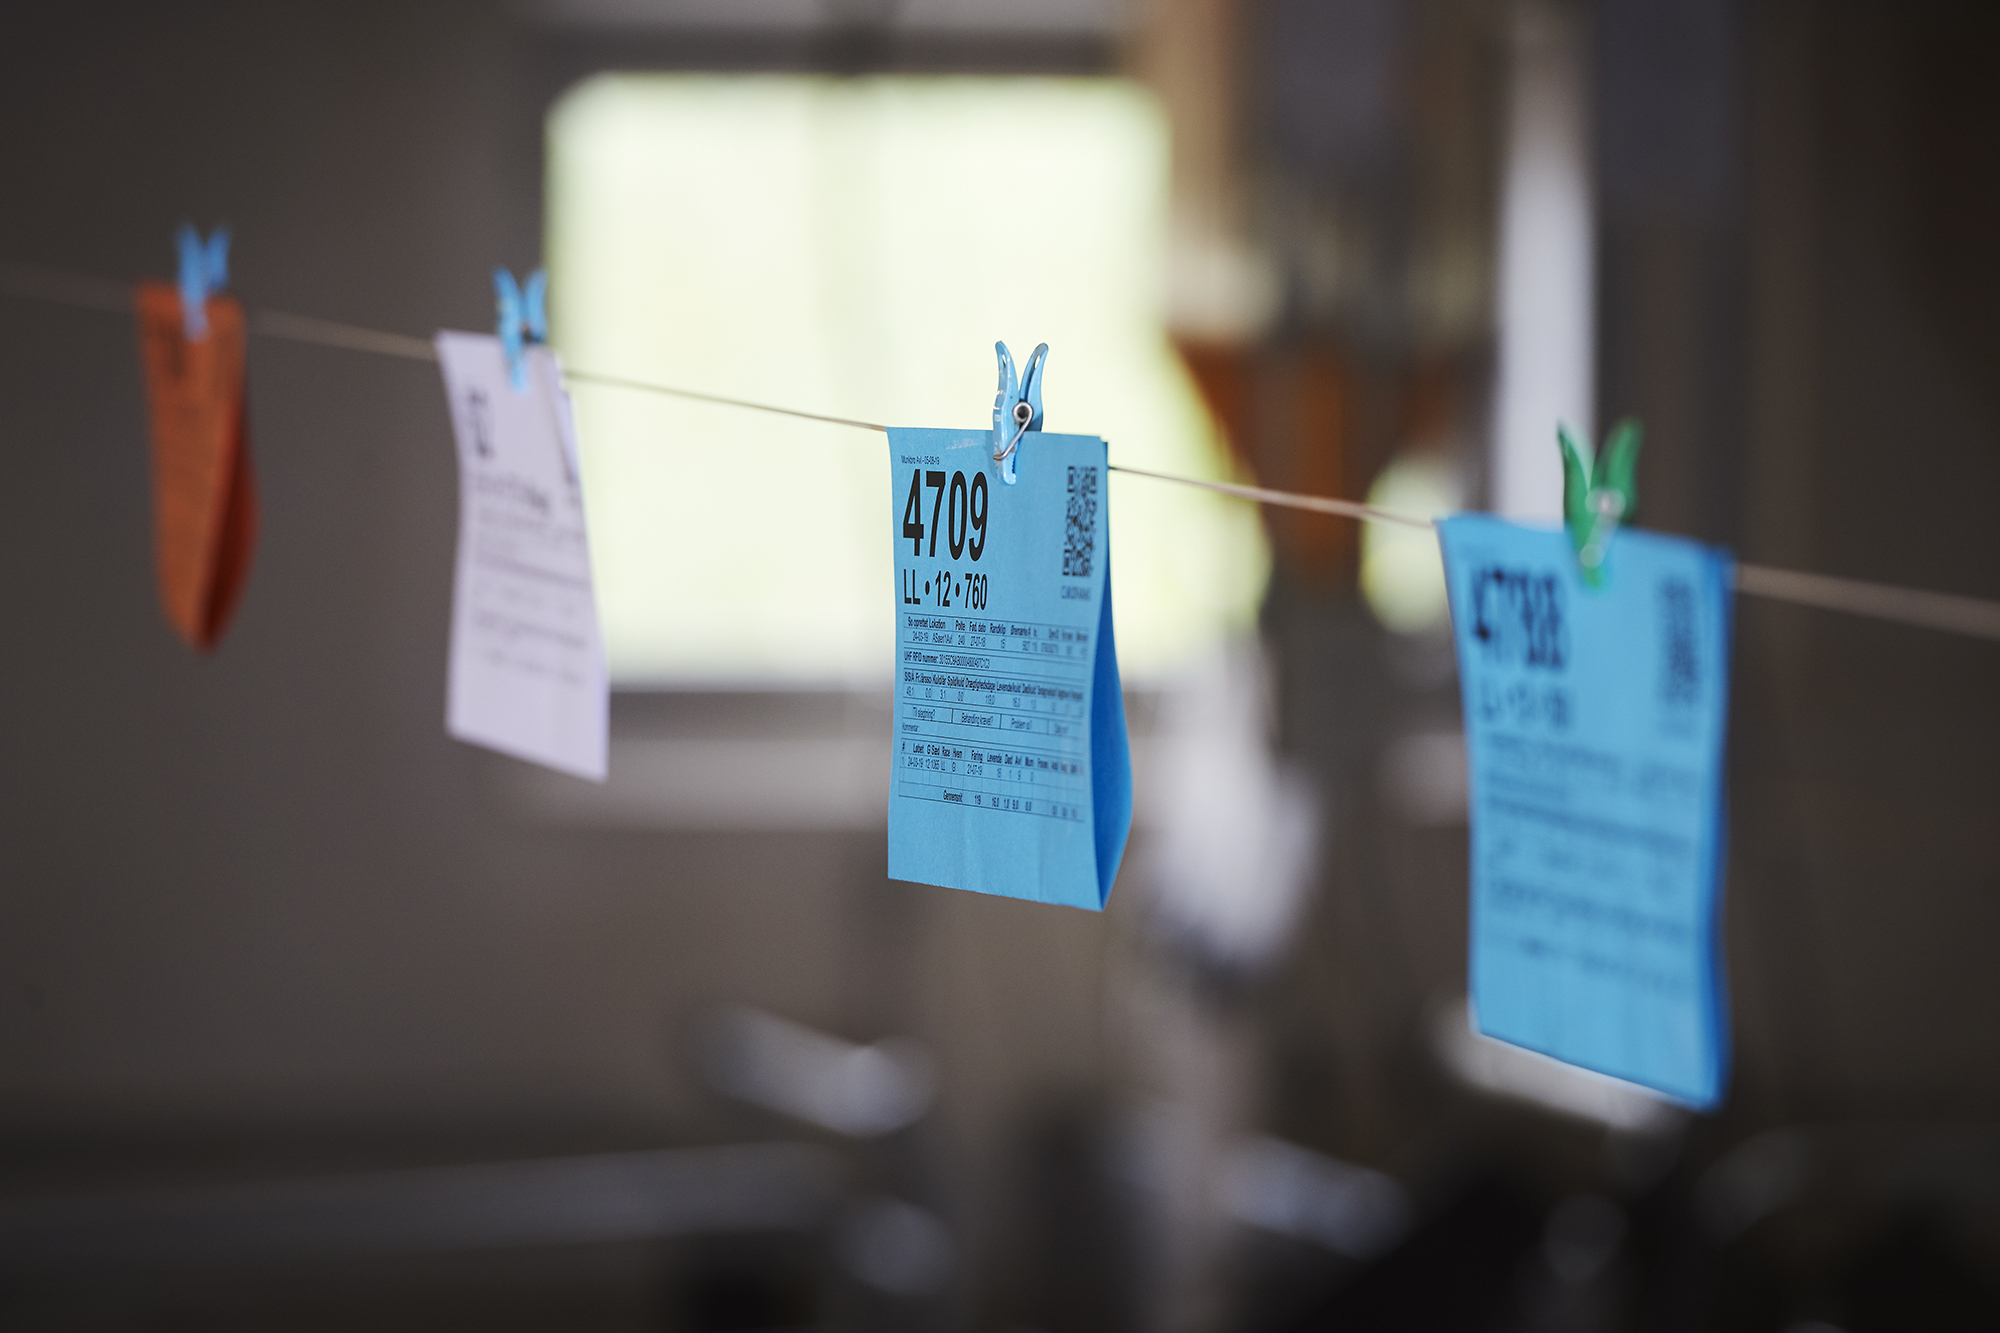
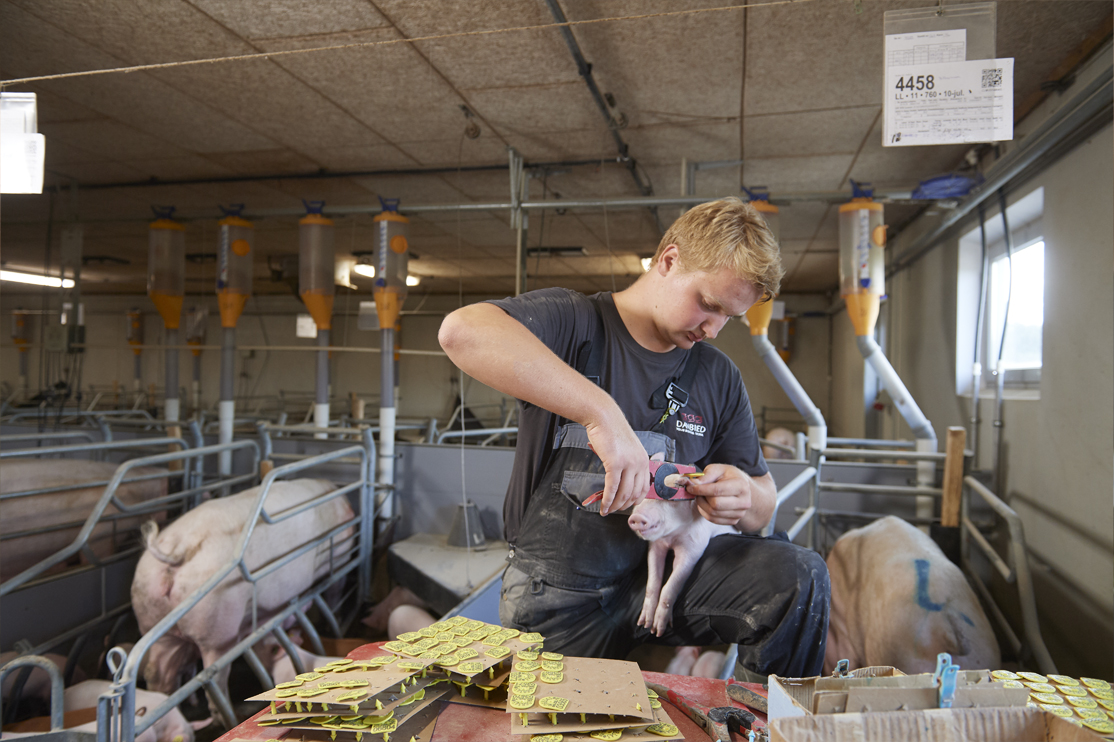
Tagging and registration of breeding litters
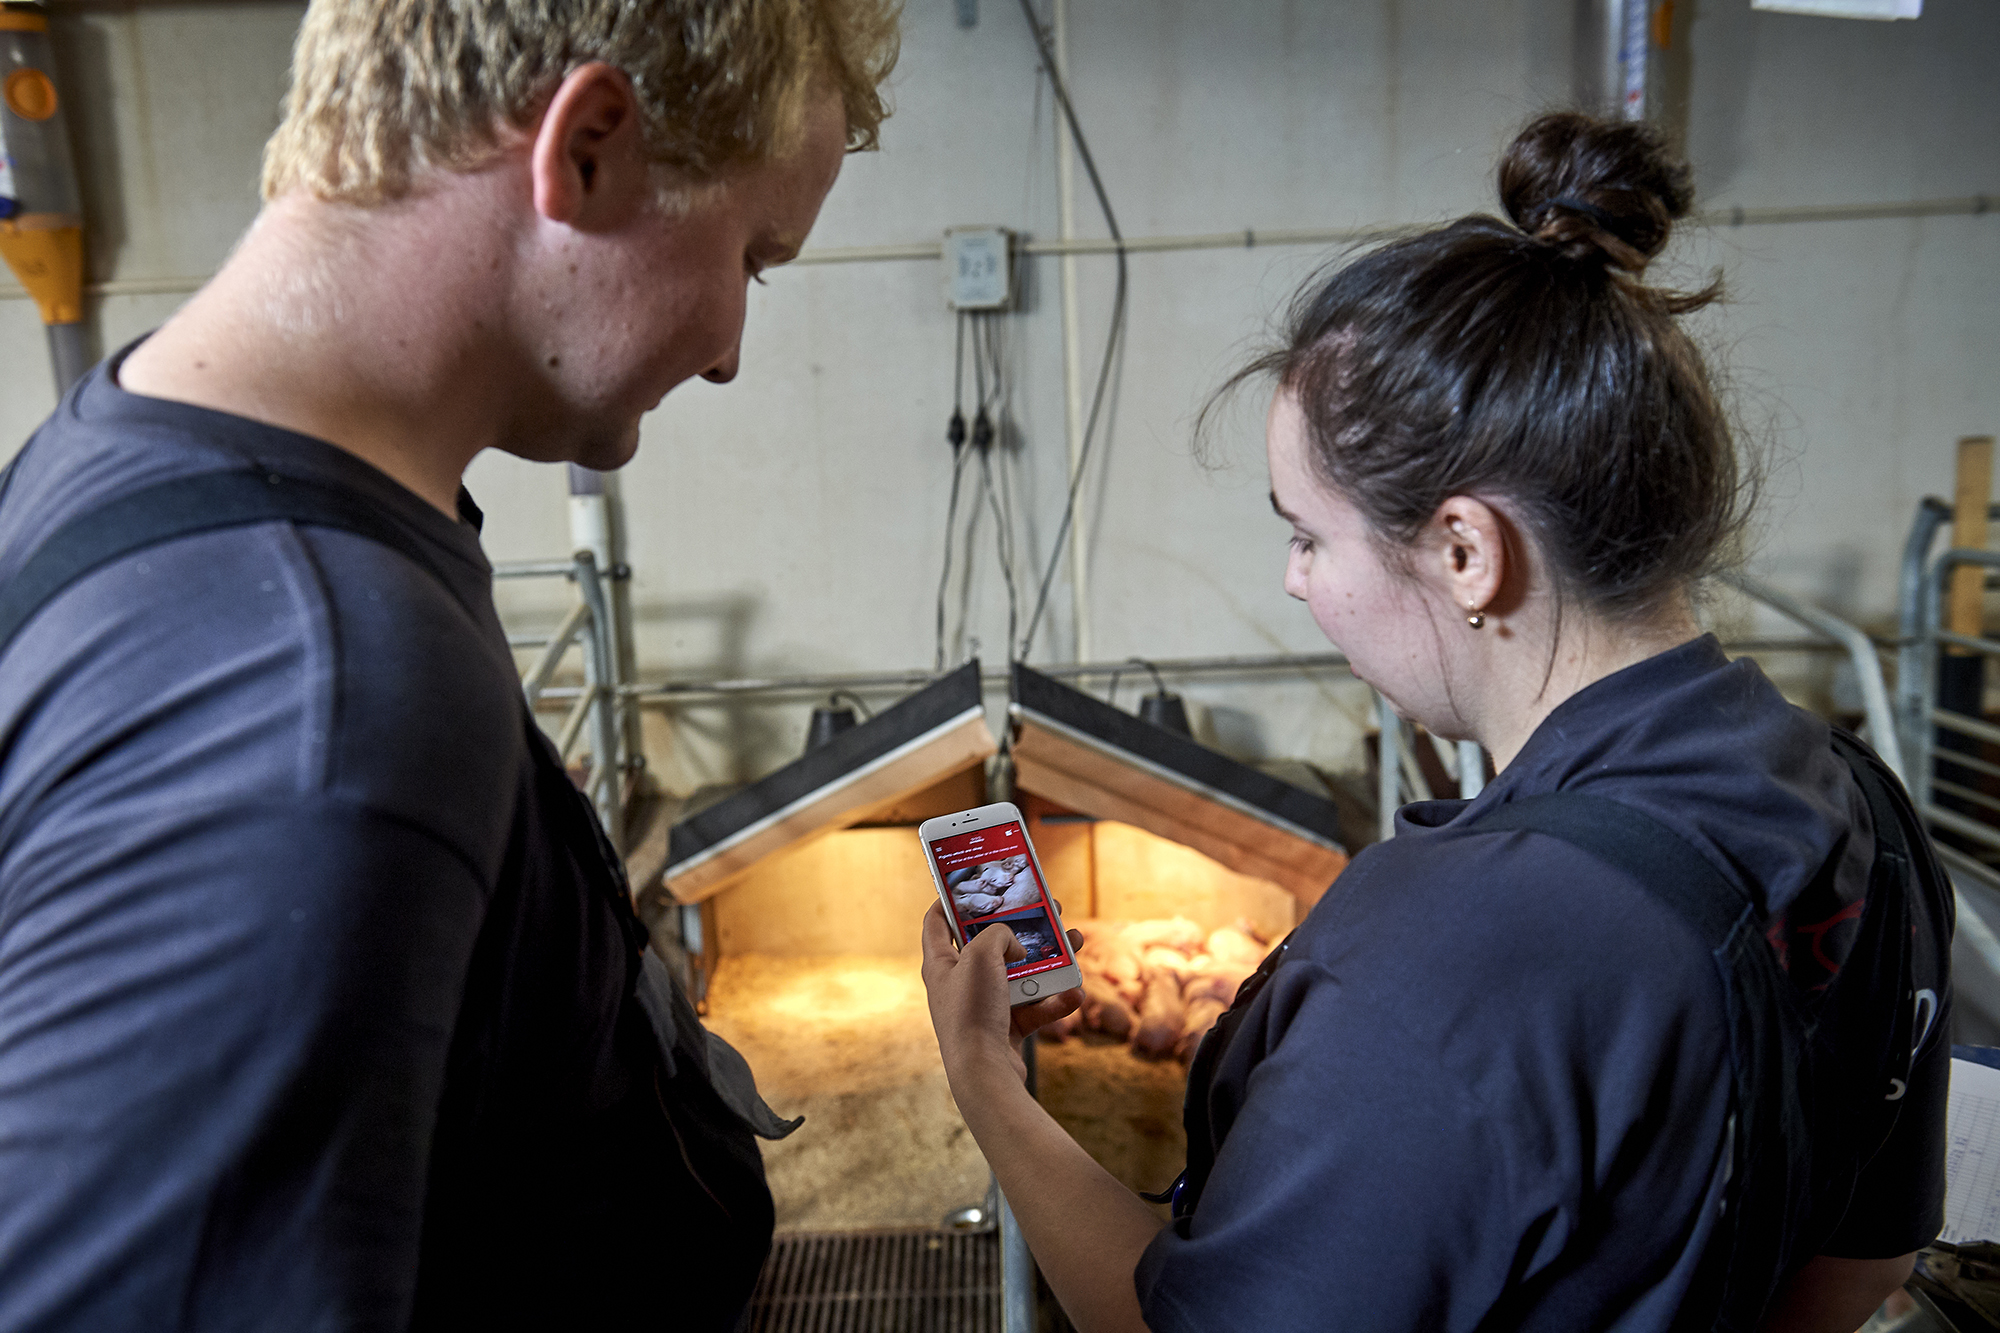
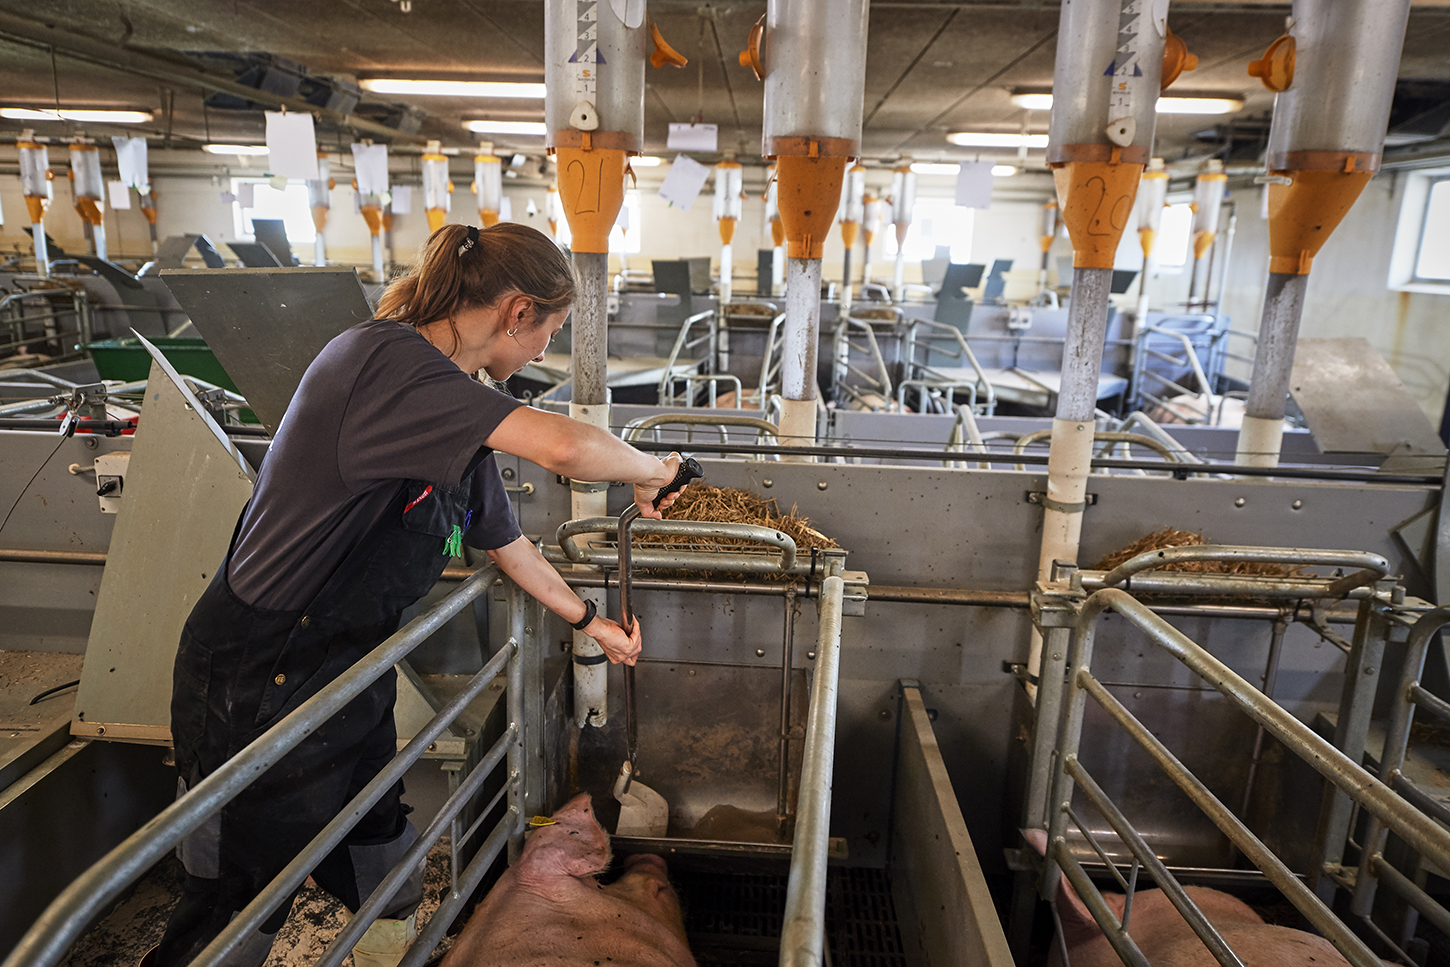
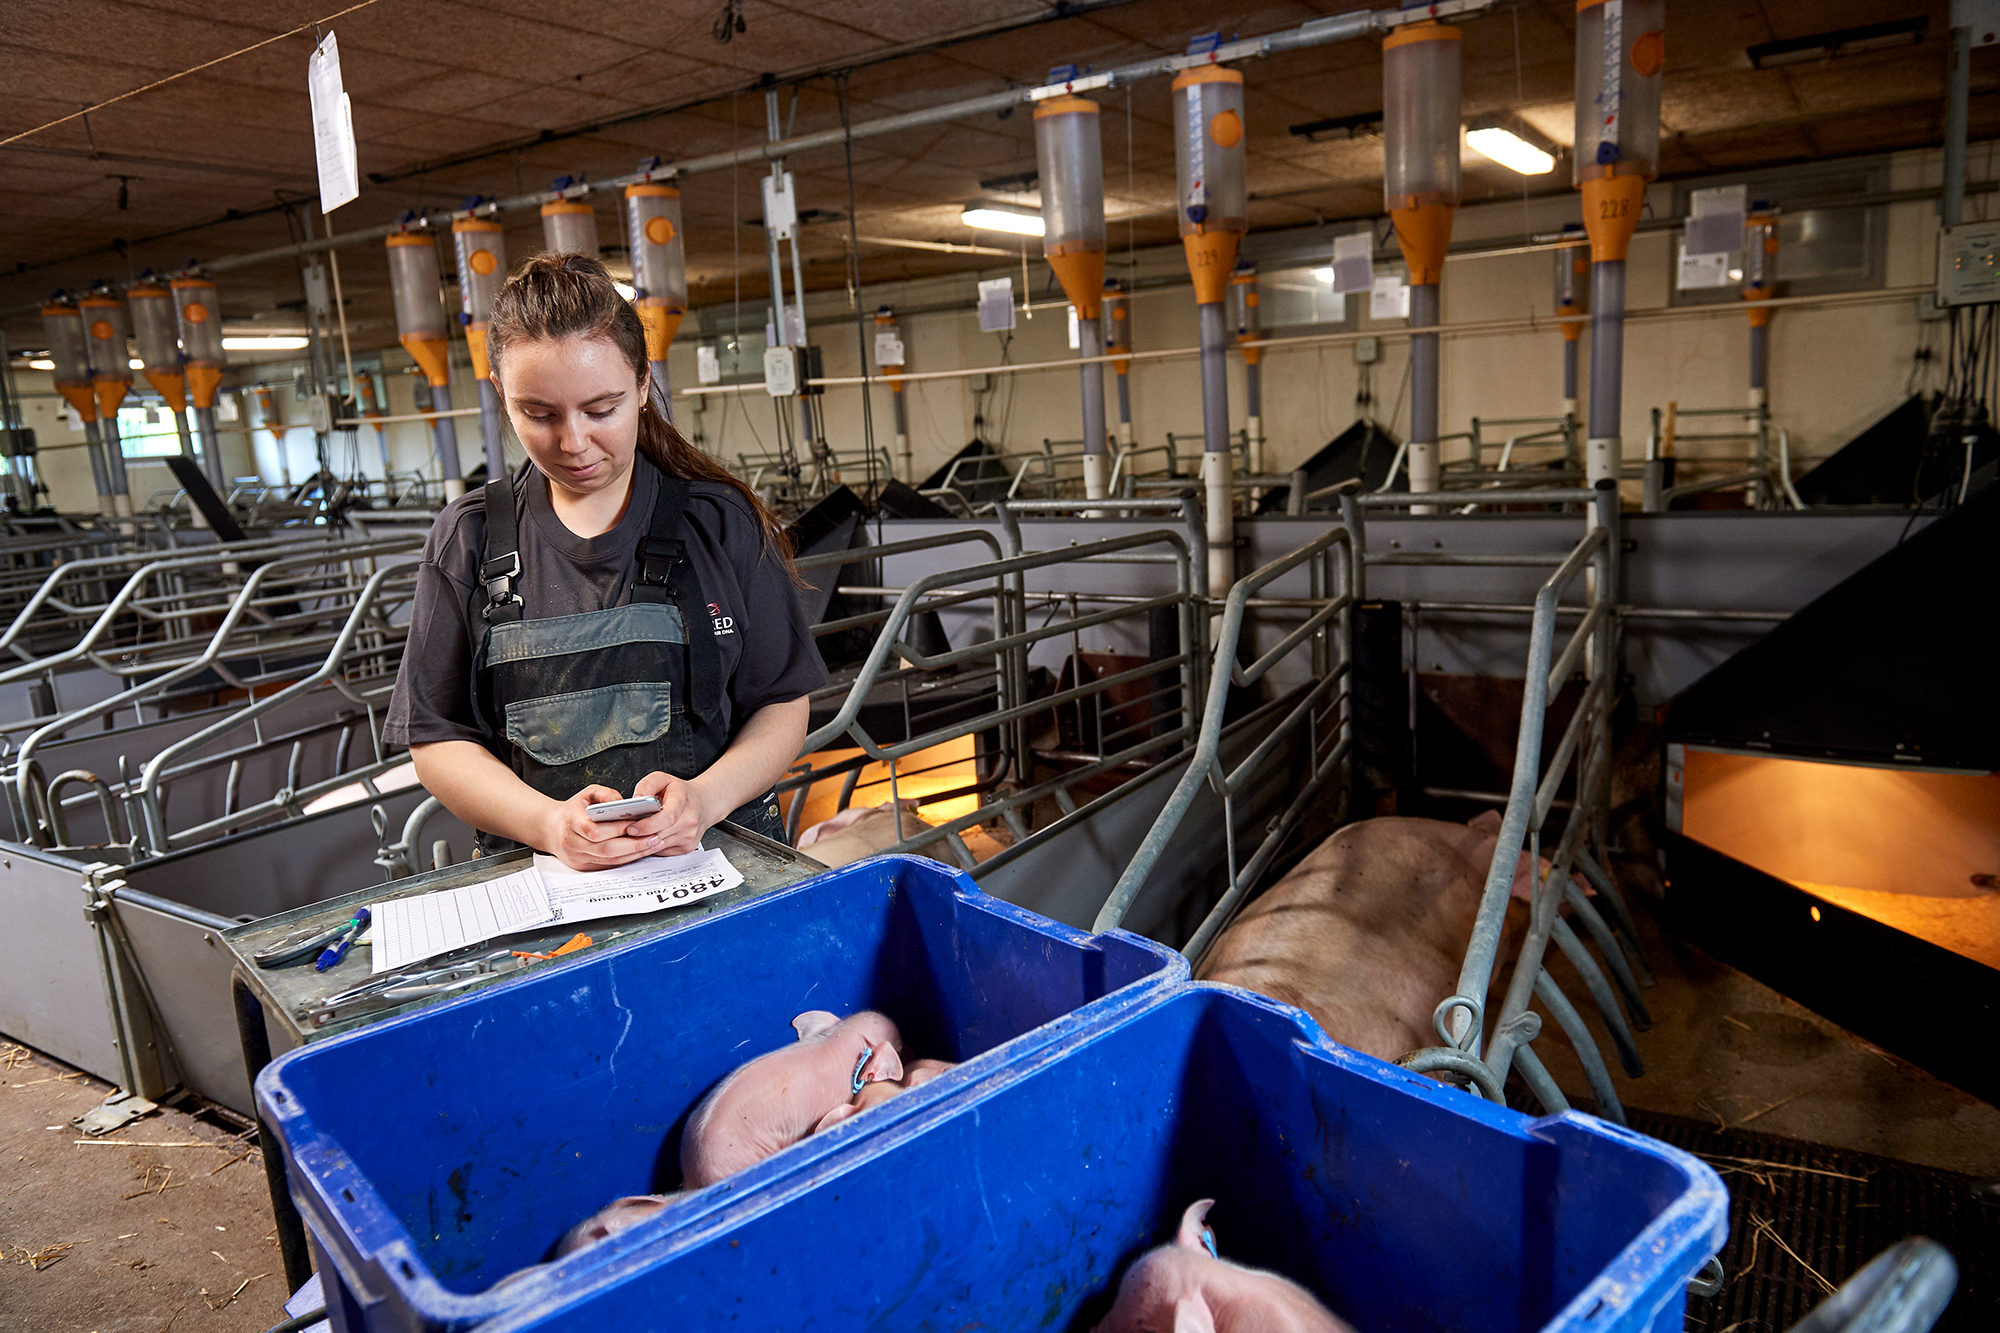
It can be beneficial to have uniform routines to handle breeding litters within the farrowing unit. It should be made obvious when the sows are moved from gestation into the farrowing unit where the breeding litters will be. This could be done by placing sows with breeding litters together, hanging their sow cards and also differentiating between breeds, if more breeds are present in the herd.
|
|
|
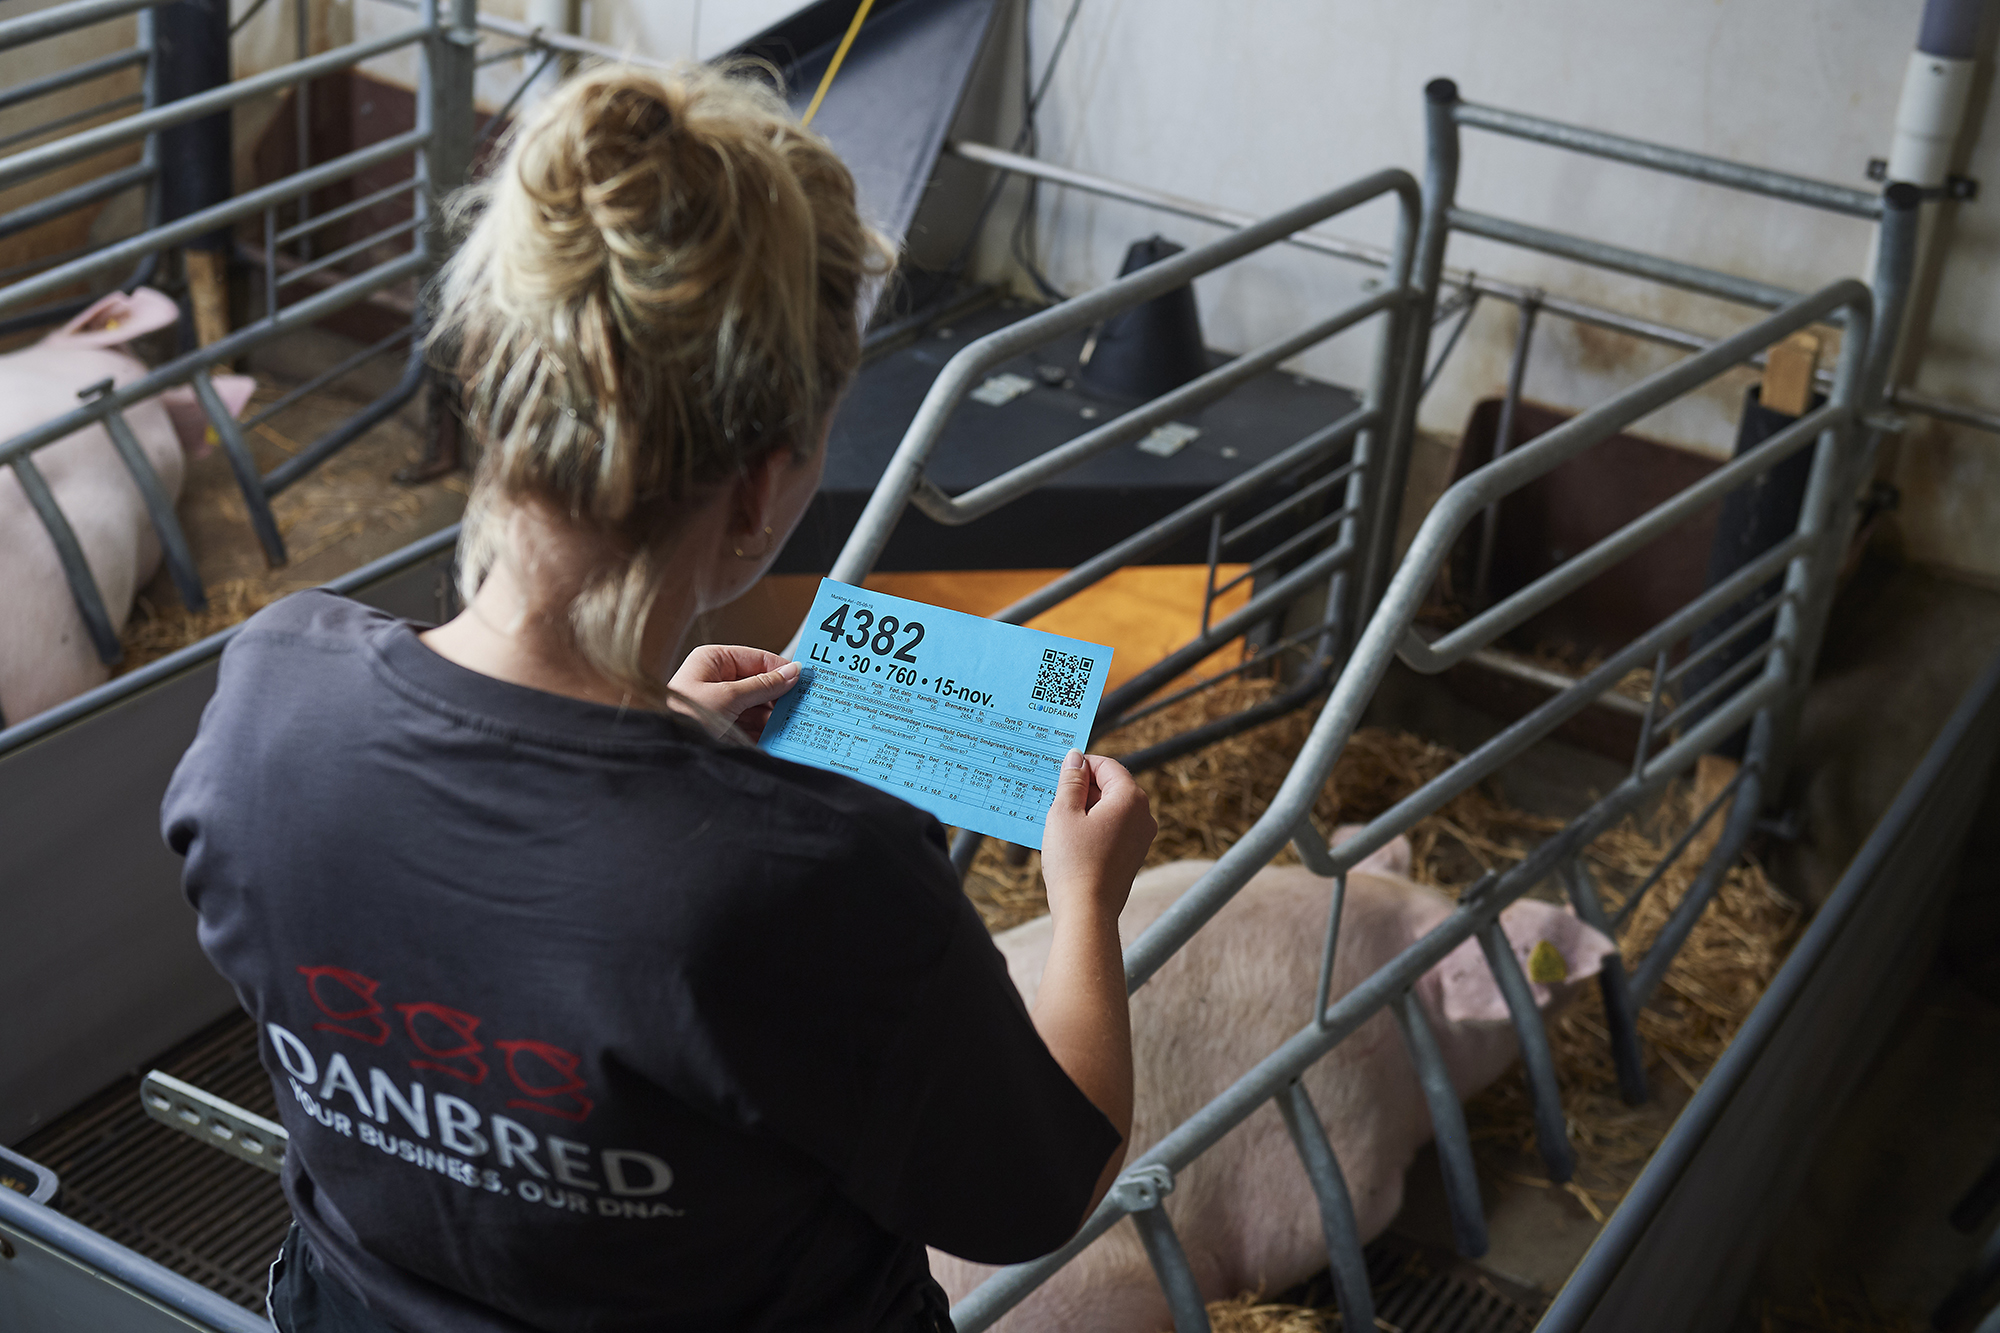
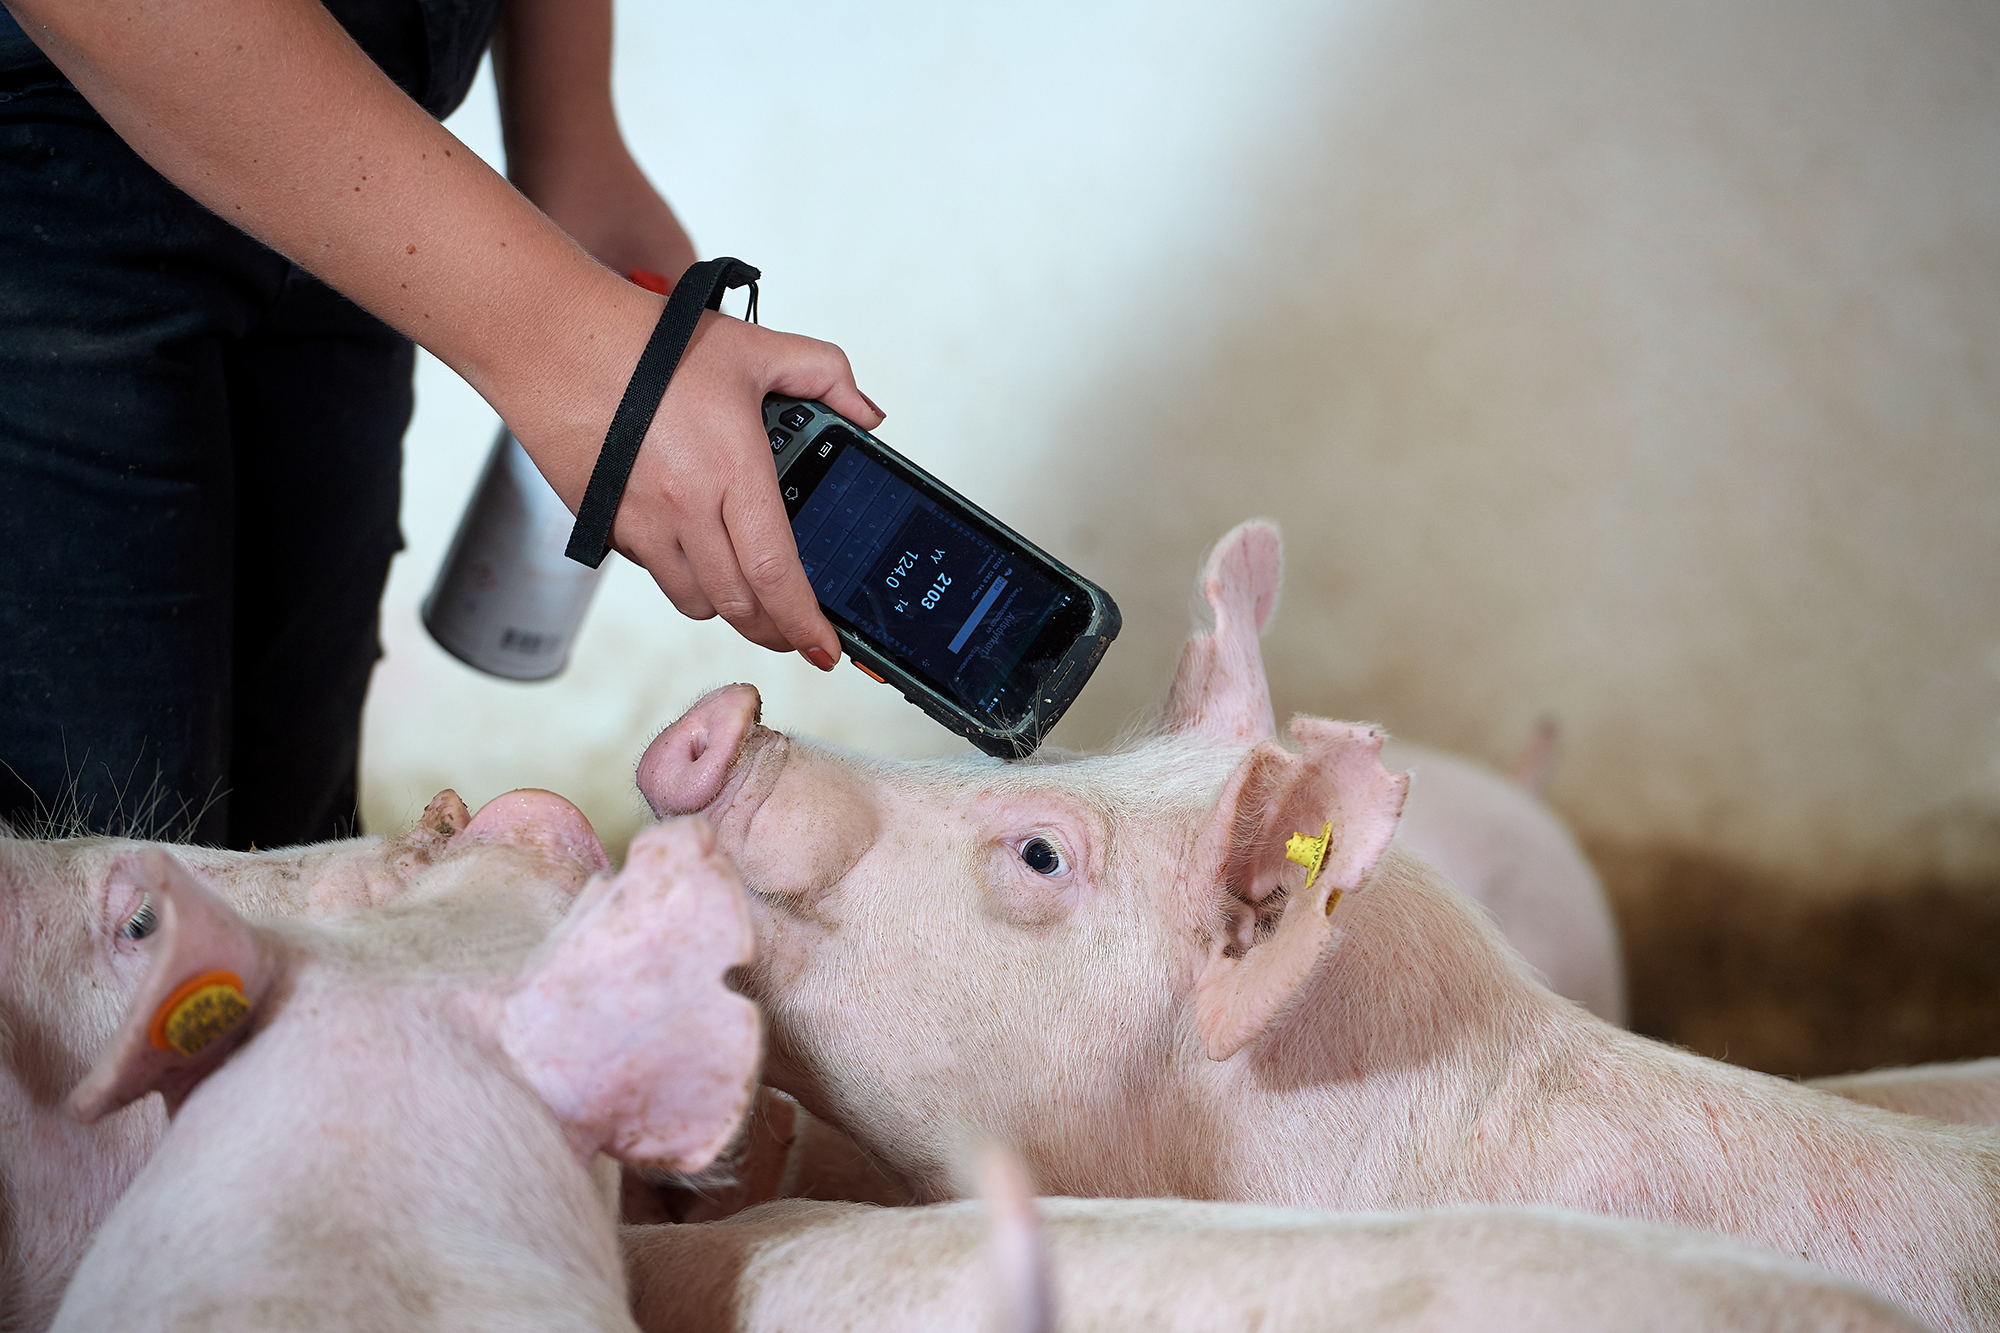
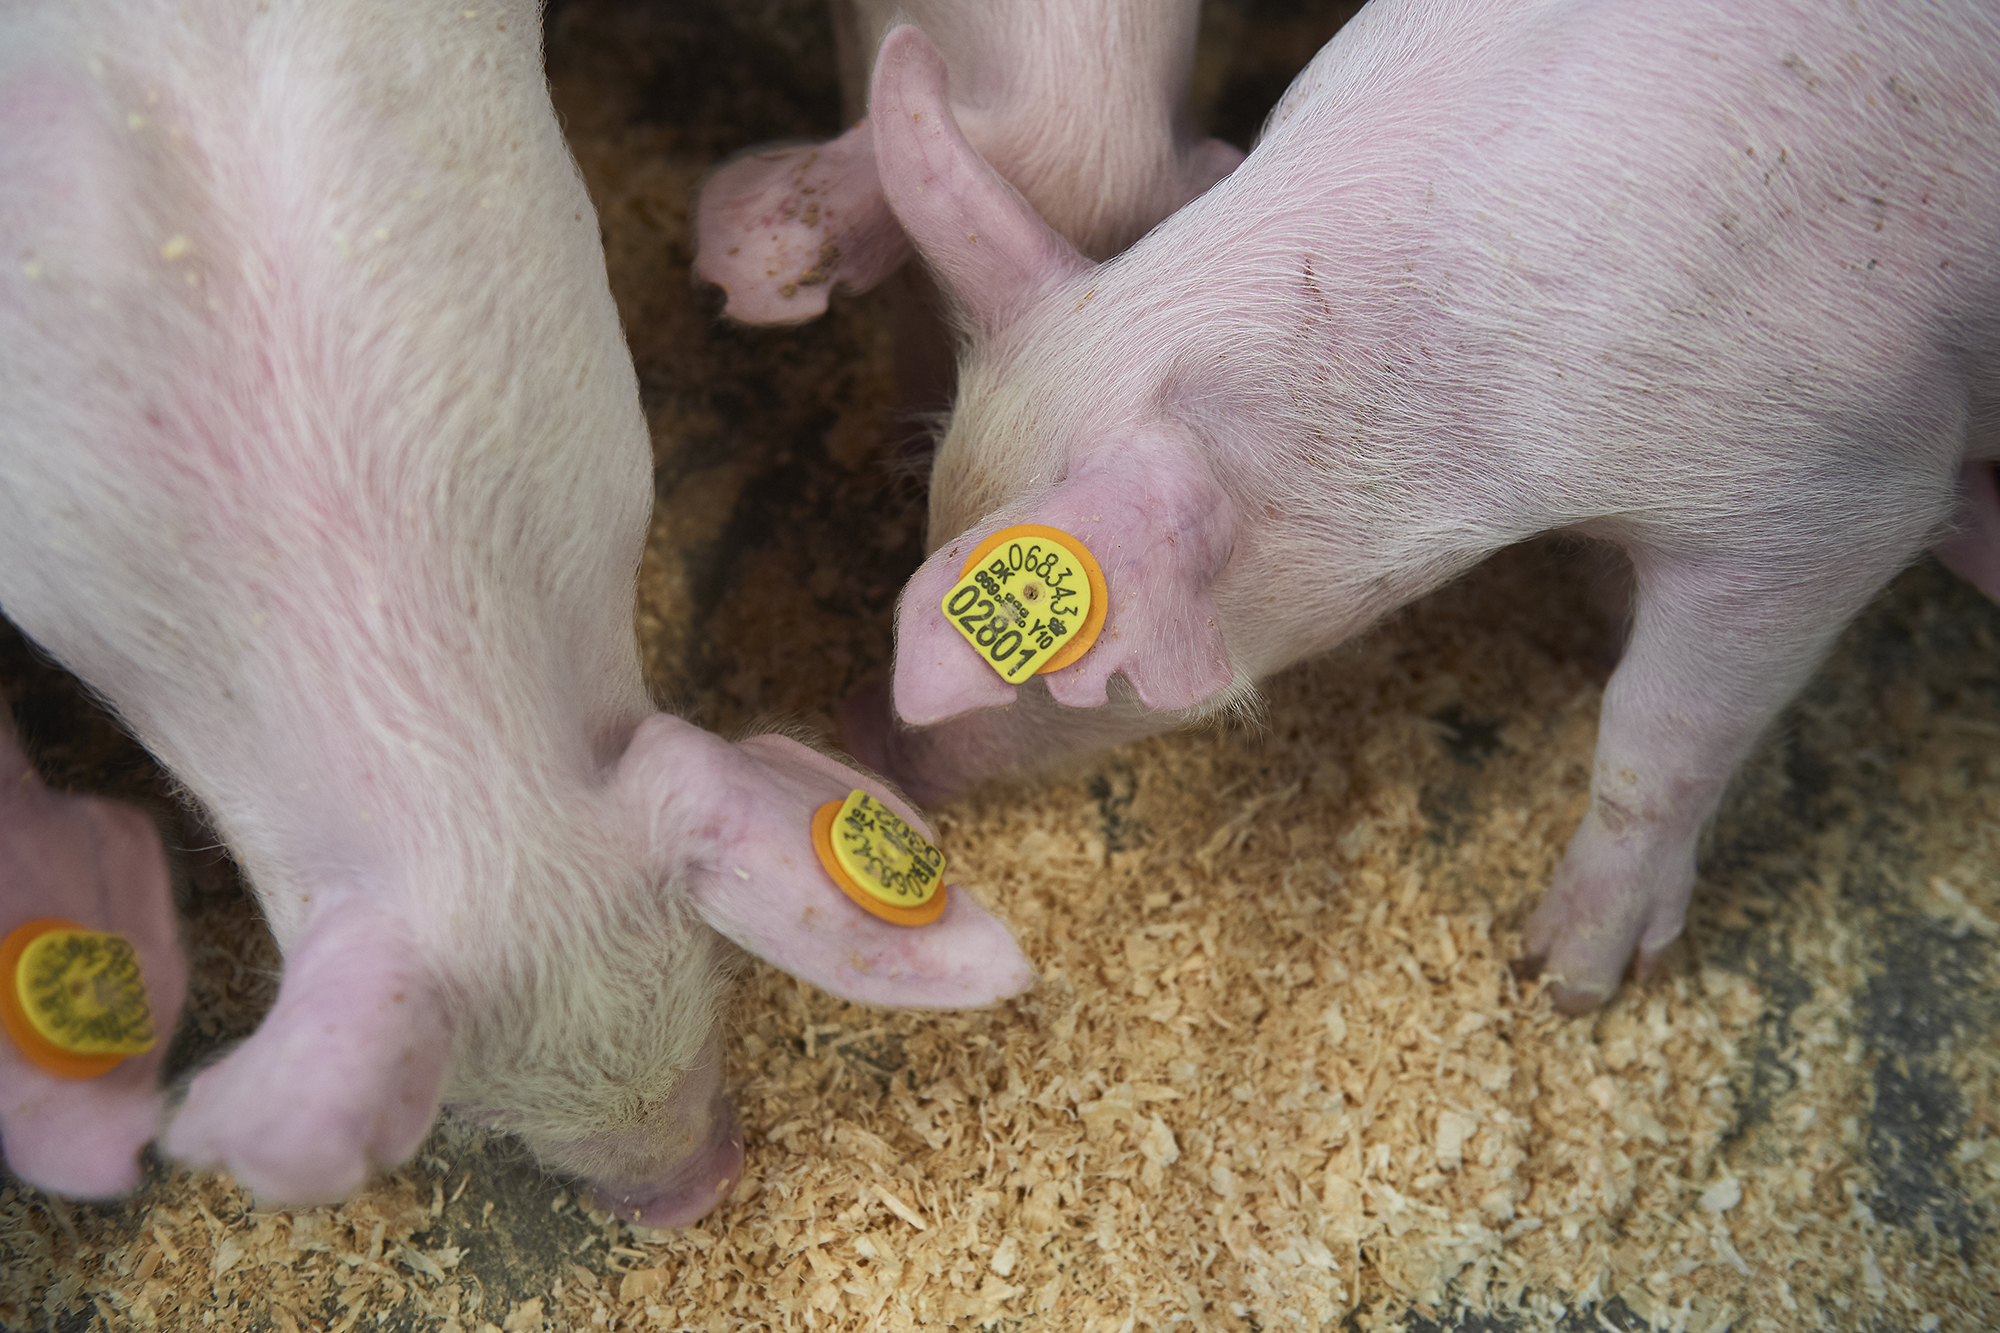
Immediately after farrowing, there are several needs in the litters, but what differs most in the breeding litters is the need for further registration, ensuring traceability and quality assurance of the litters. Individual identification is crucial in doing this and is easiest achieved by ear tagging the animals.
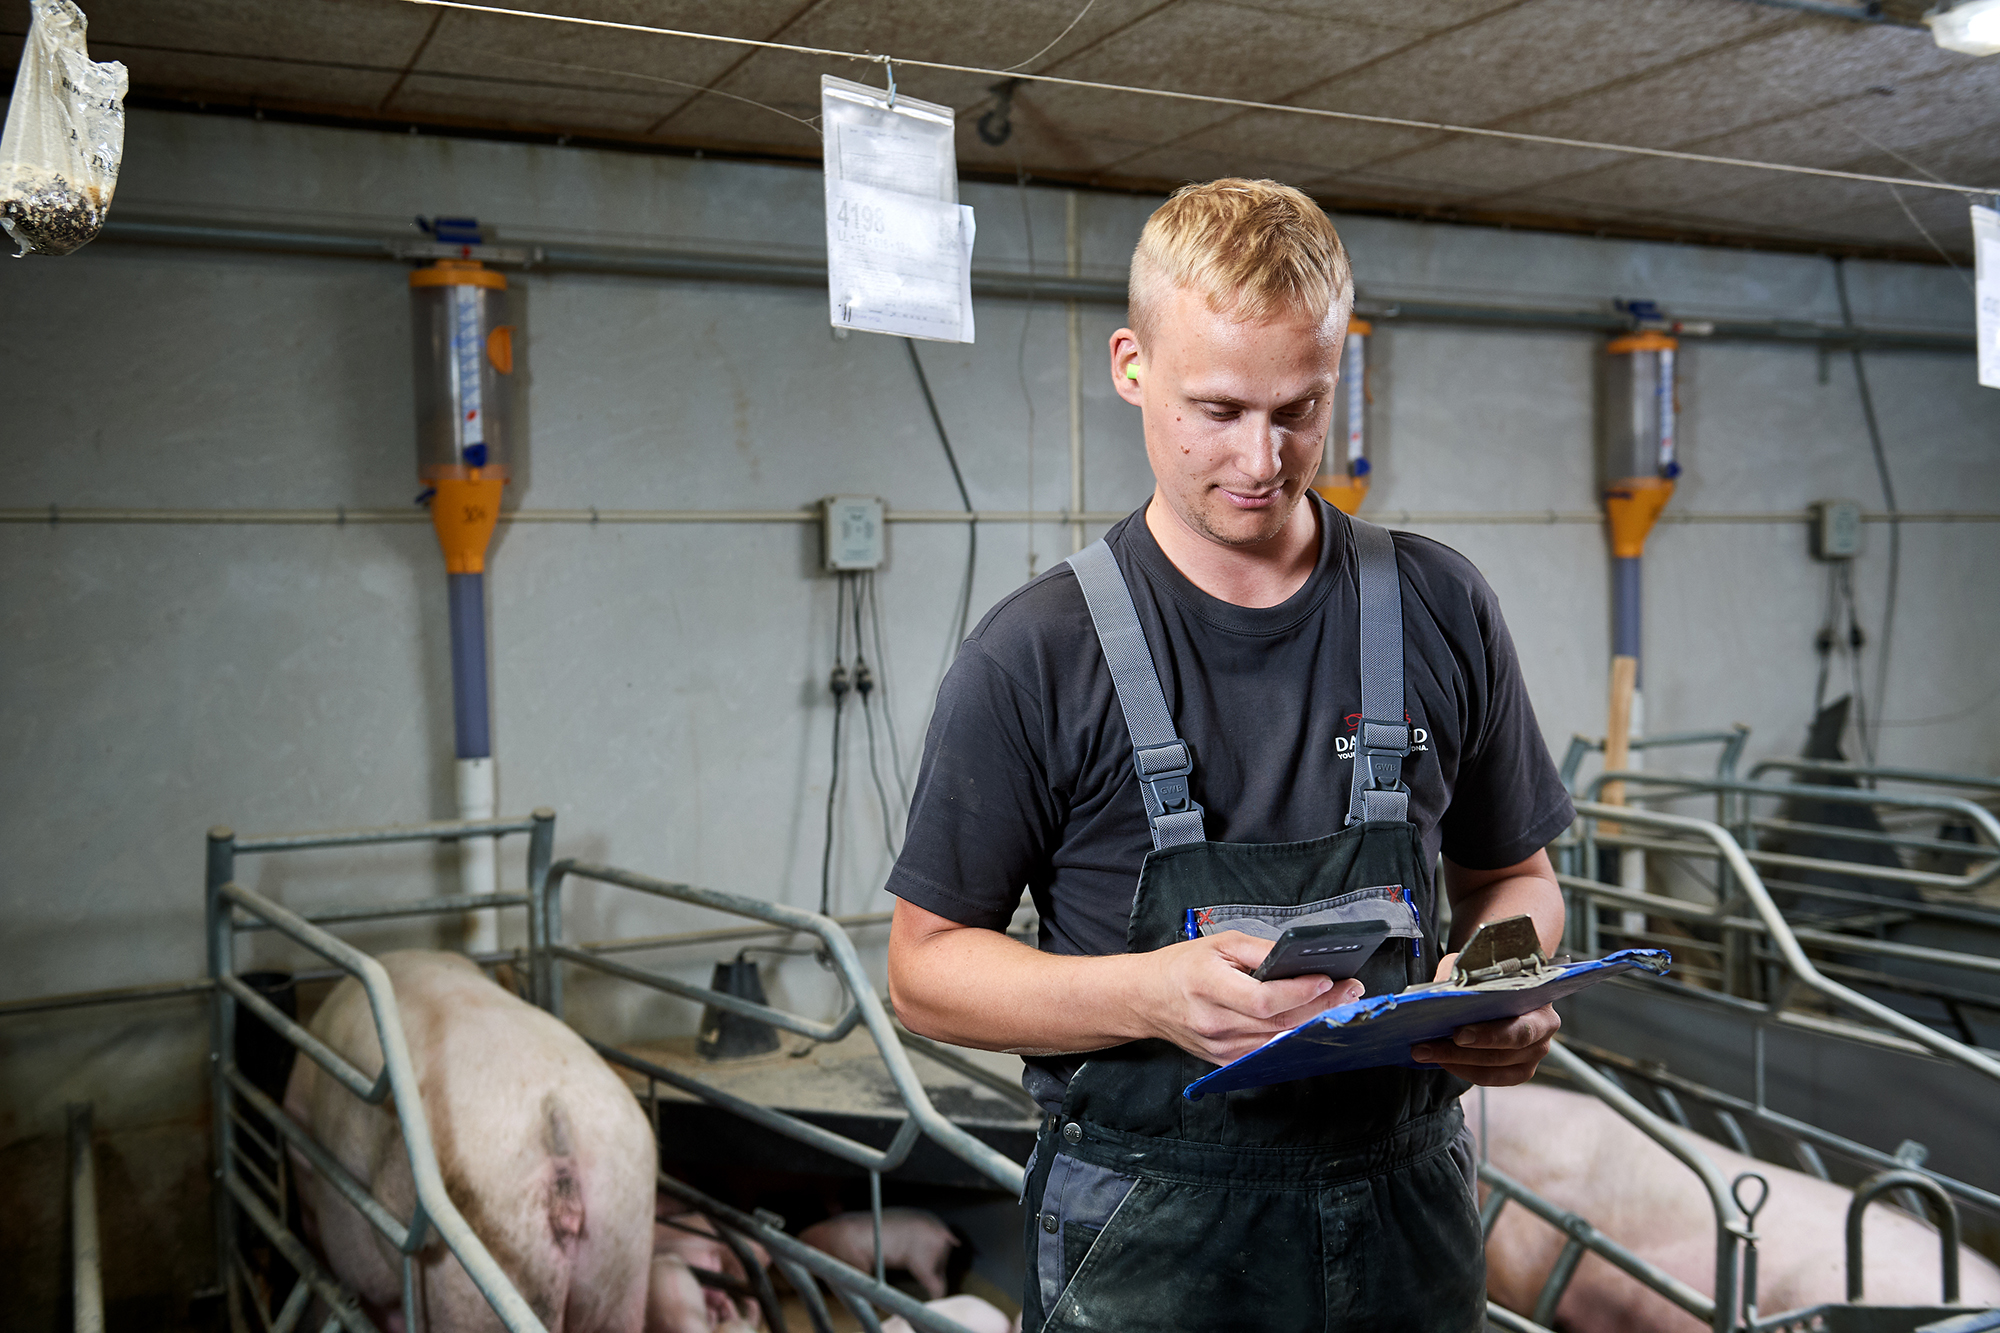
Registrations in the farrowing unit
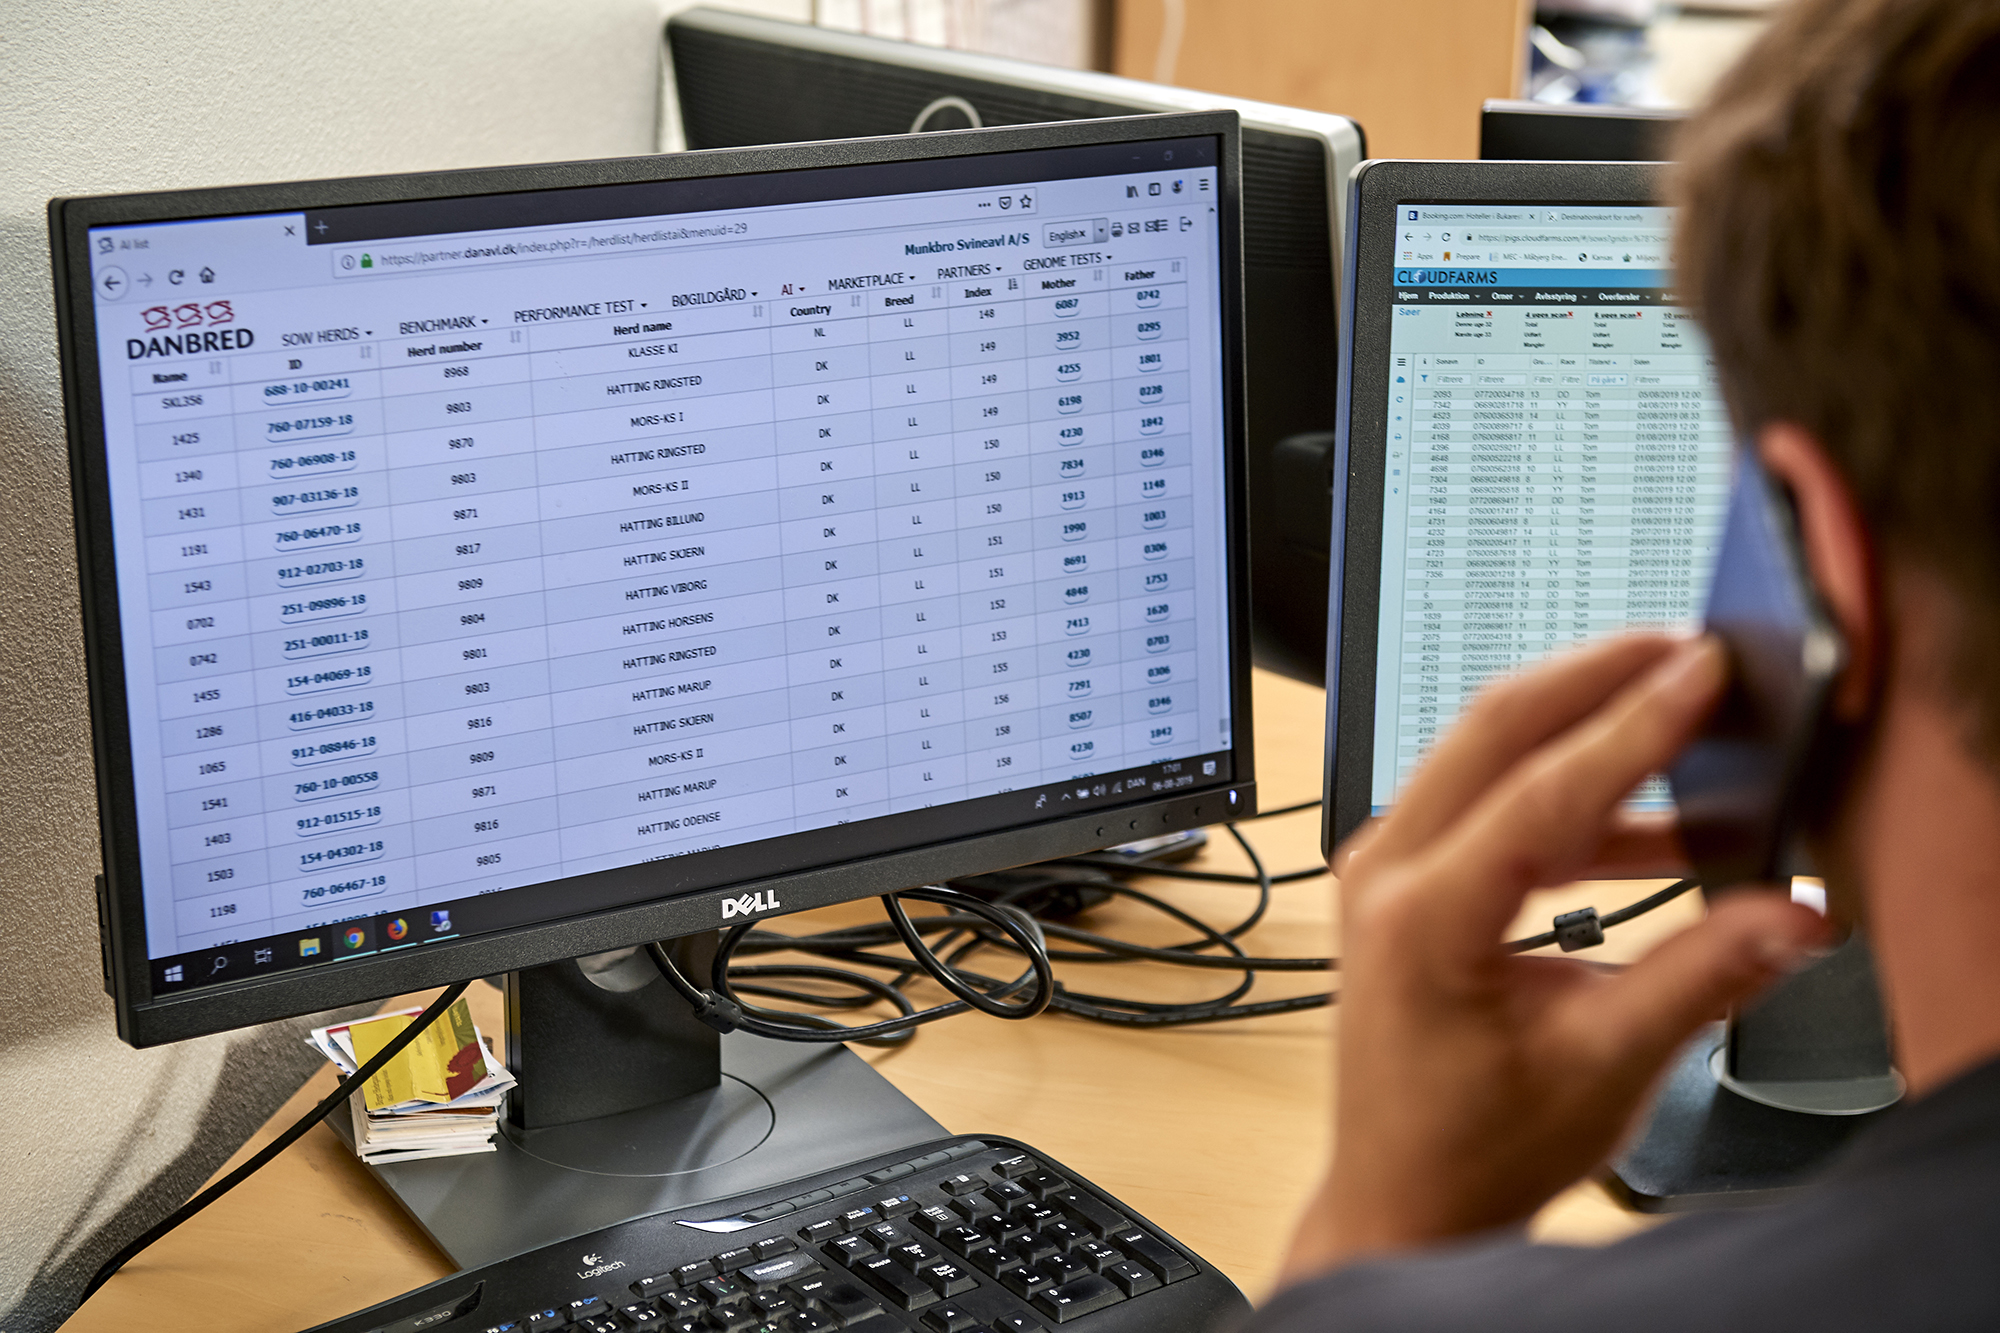
Traceability and data quality are just two of the parameters that support the quality within DanBreds breeding system. Thus making registrations within the herds essential, starting already from the very first registration of the breeding animals. Within the first registrations and the accuracy that goes into this task, the very baseline for the breeding animals’ future quality is ensured.
|
|
|
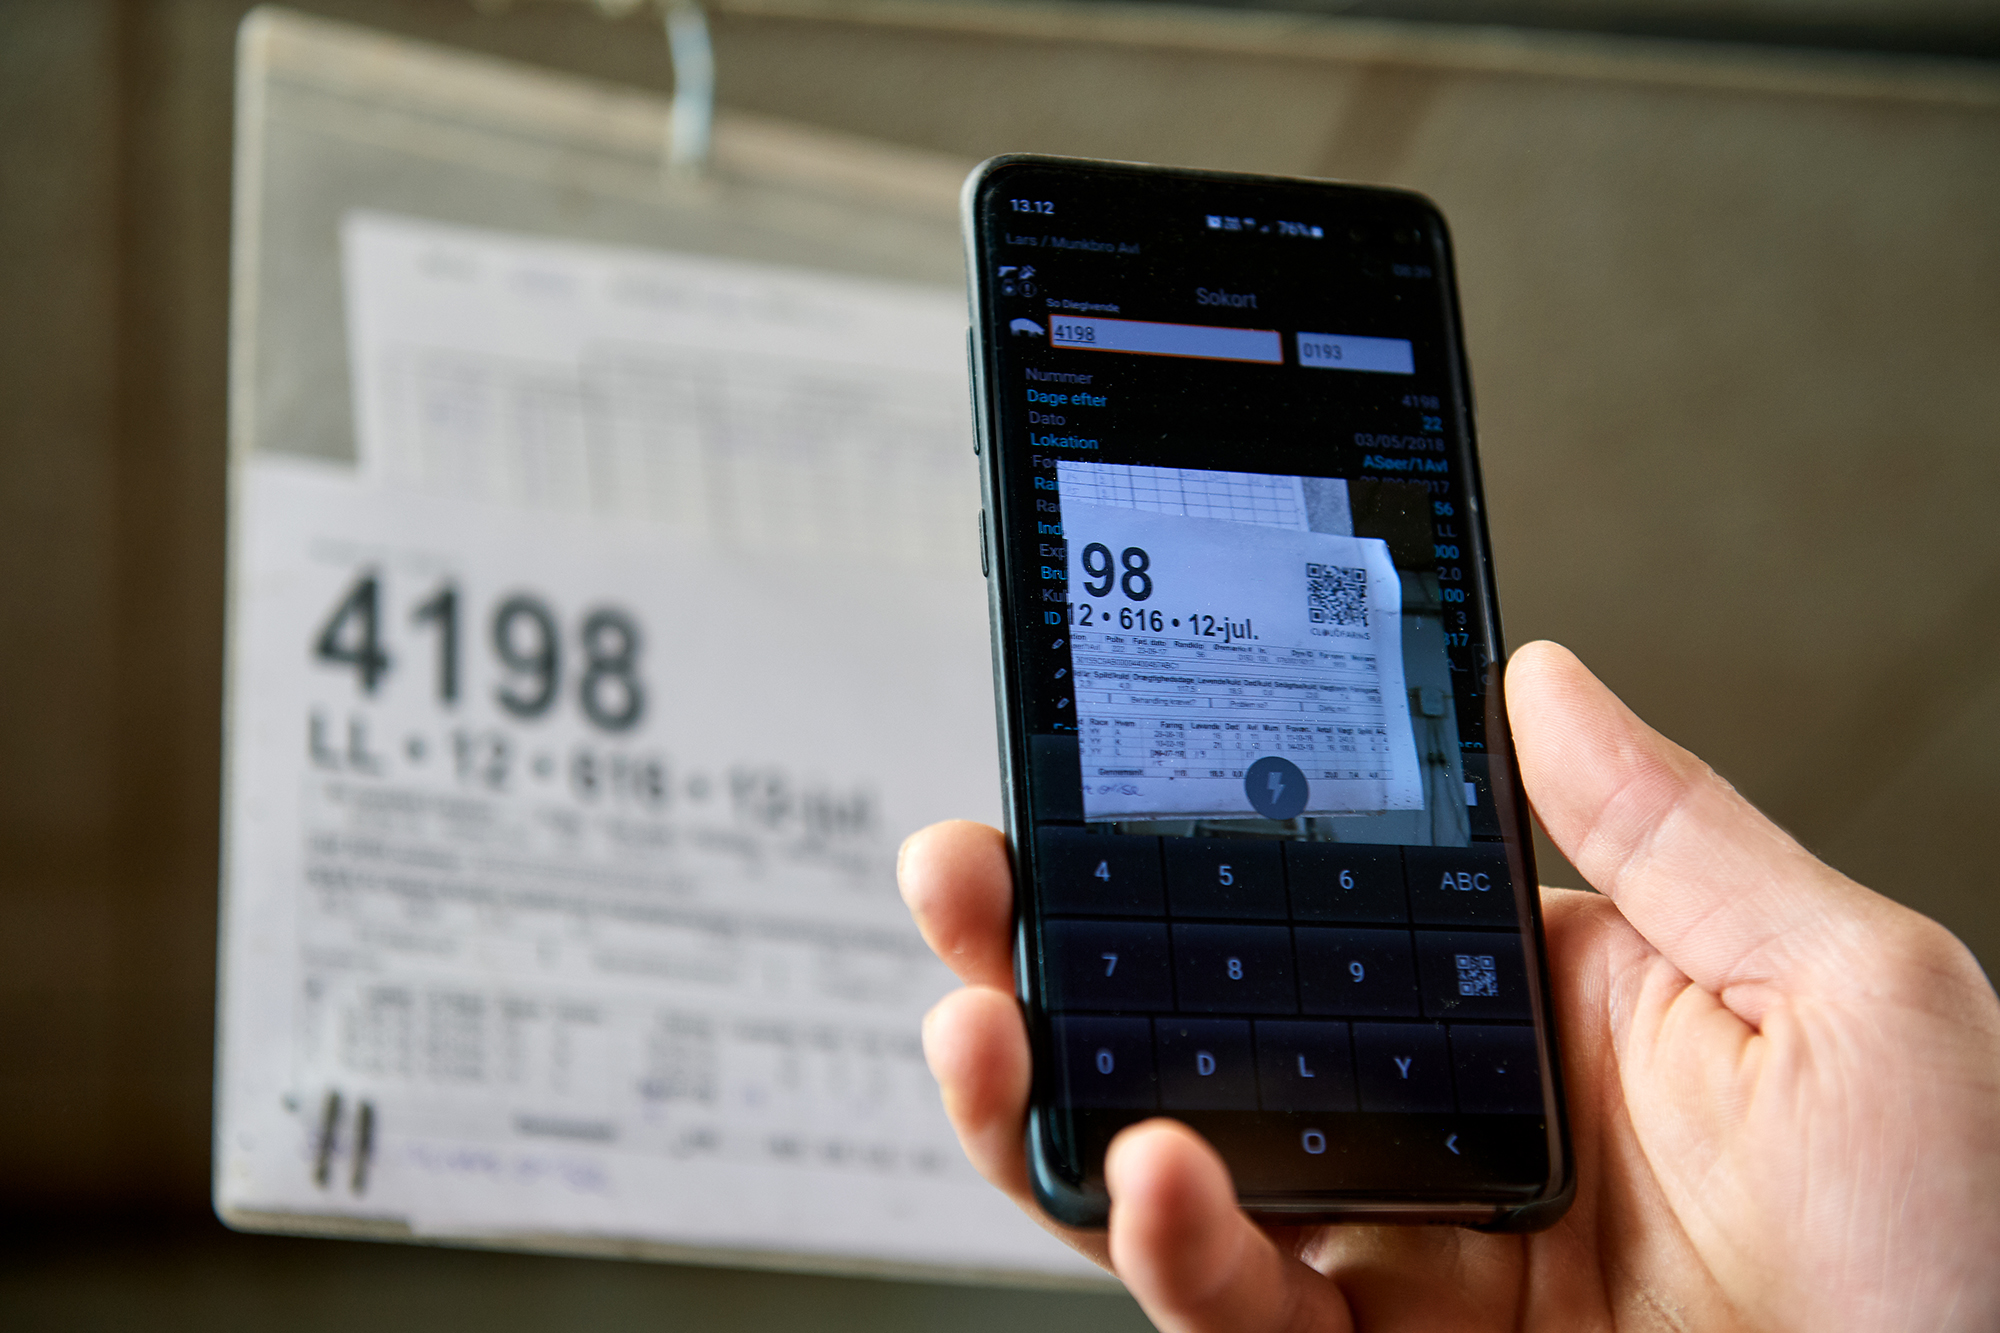
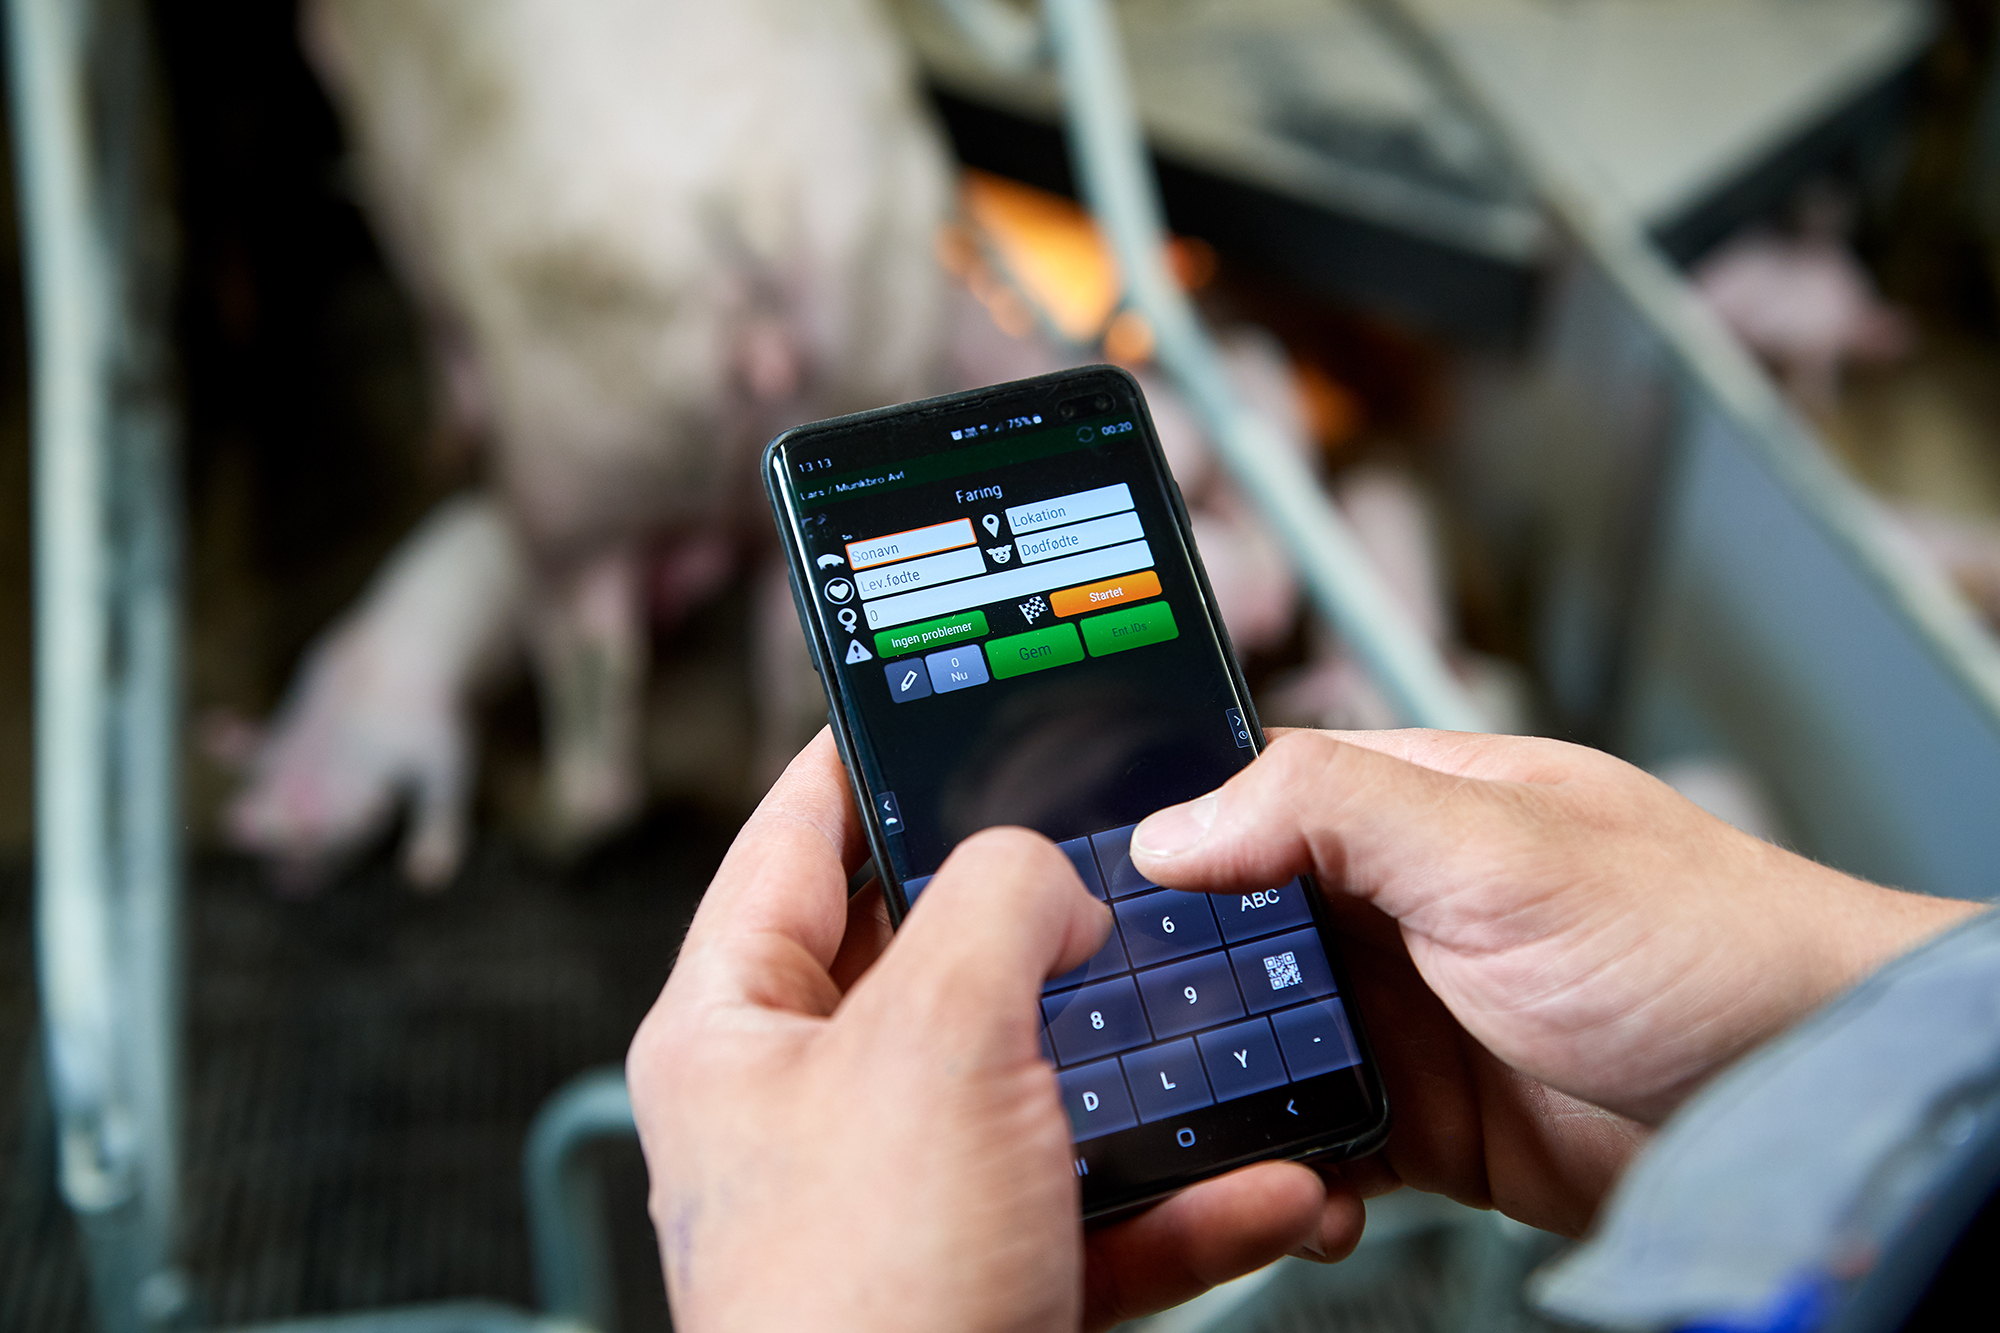
The following information is registered in the selected software system and exported to the DanBred databank no later than 14 days after farrowing.
- The sows name and ID-number
- Date of farrowing
- The number of piglets born (split into female- and male piglets)
- Tagging of the piglets – individual ID-numbers
- DK – both male and female pigs
- Outside DK – female pigs
- Breed definition and usage code are automatically added based on previous registrations, herd type etc.
- Subsequently, every week, indexes for breeding animals can be downloaded.
|
|
|
|
|
|


Ear tagging
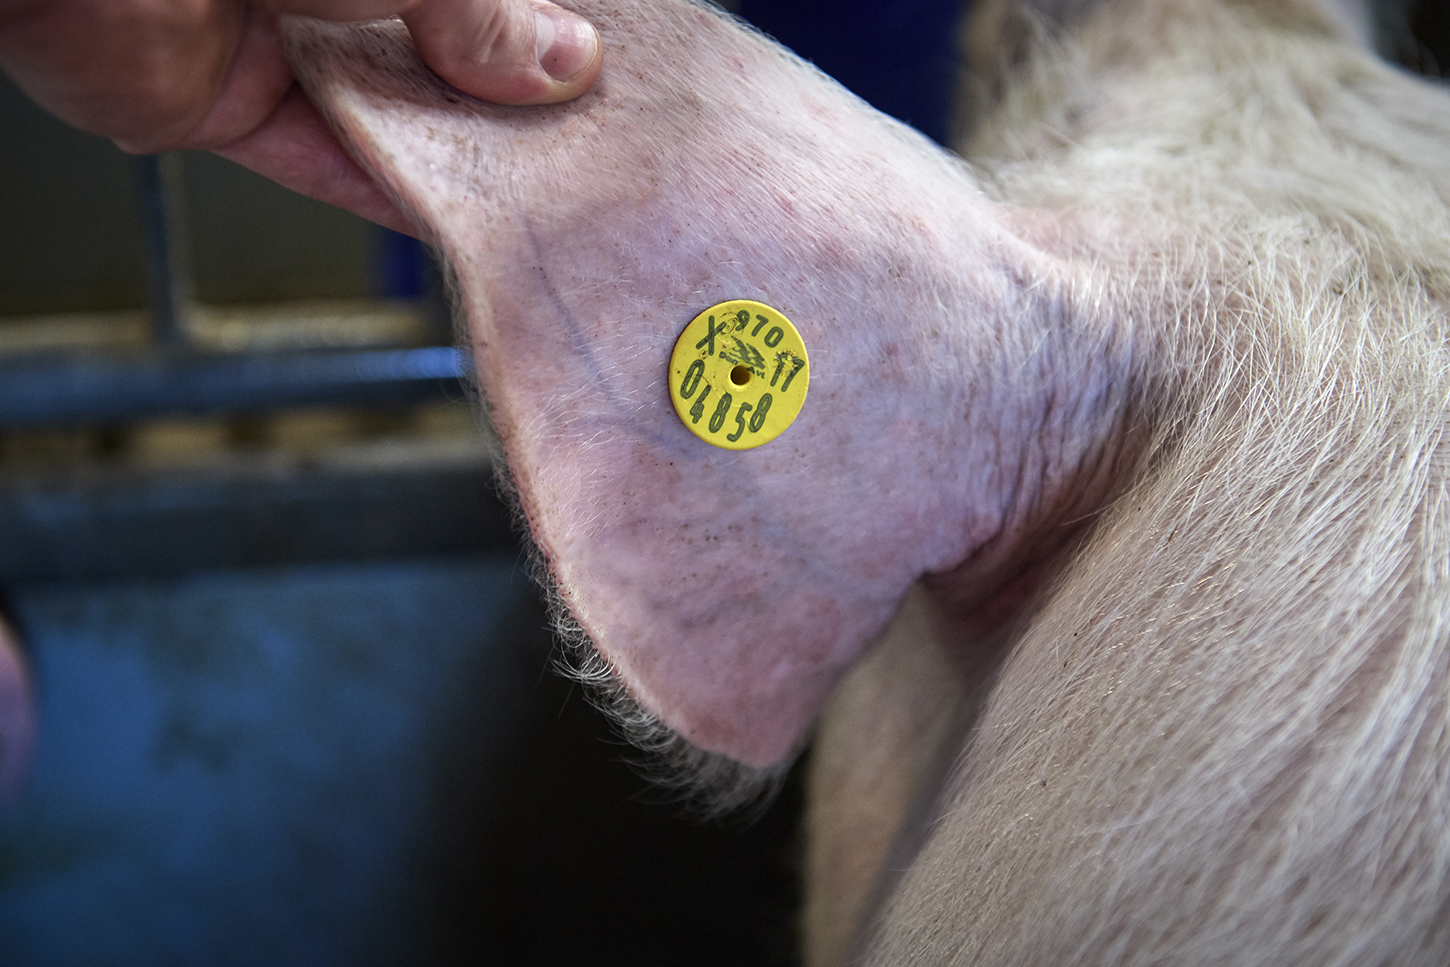
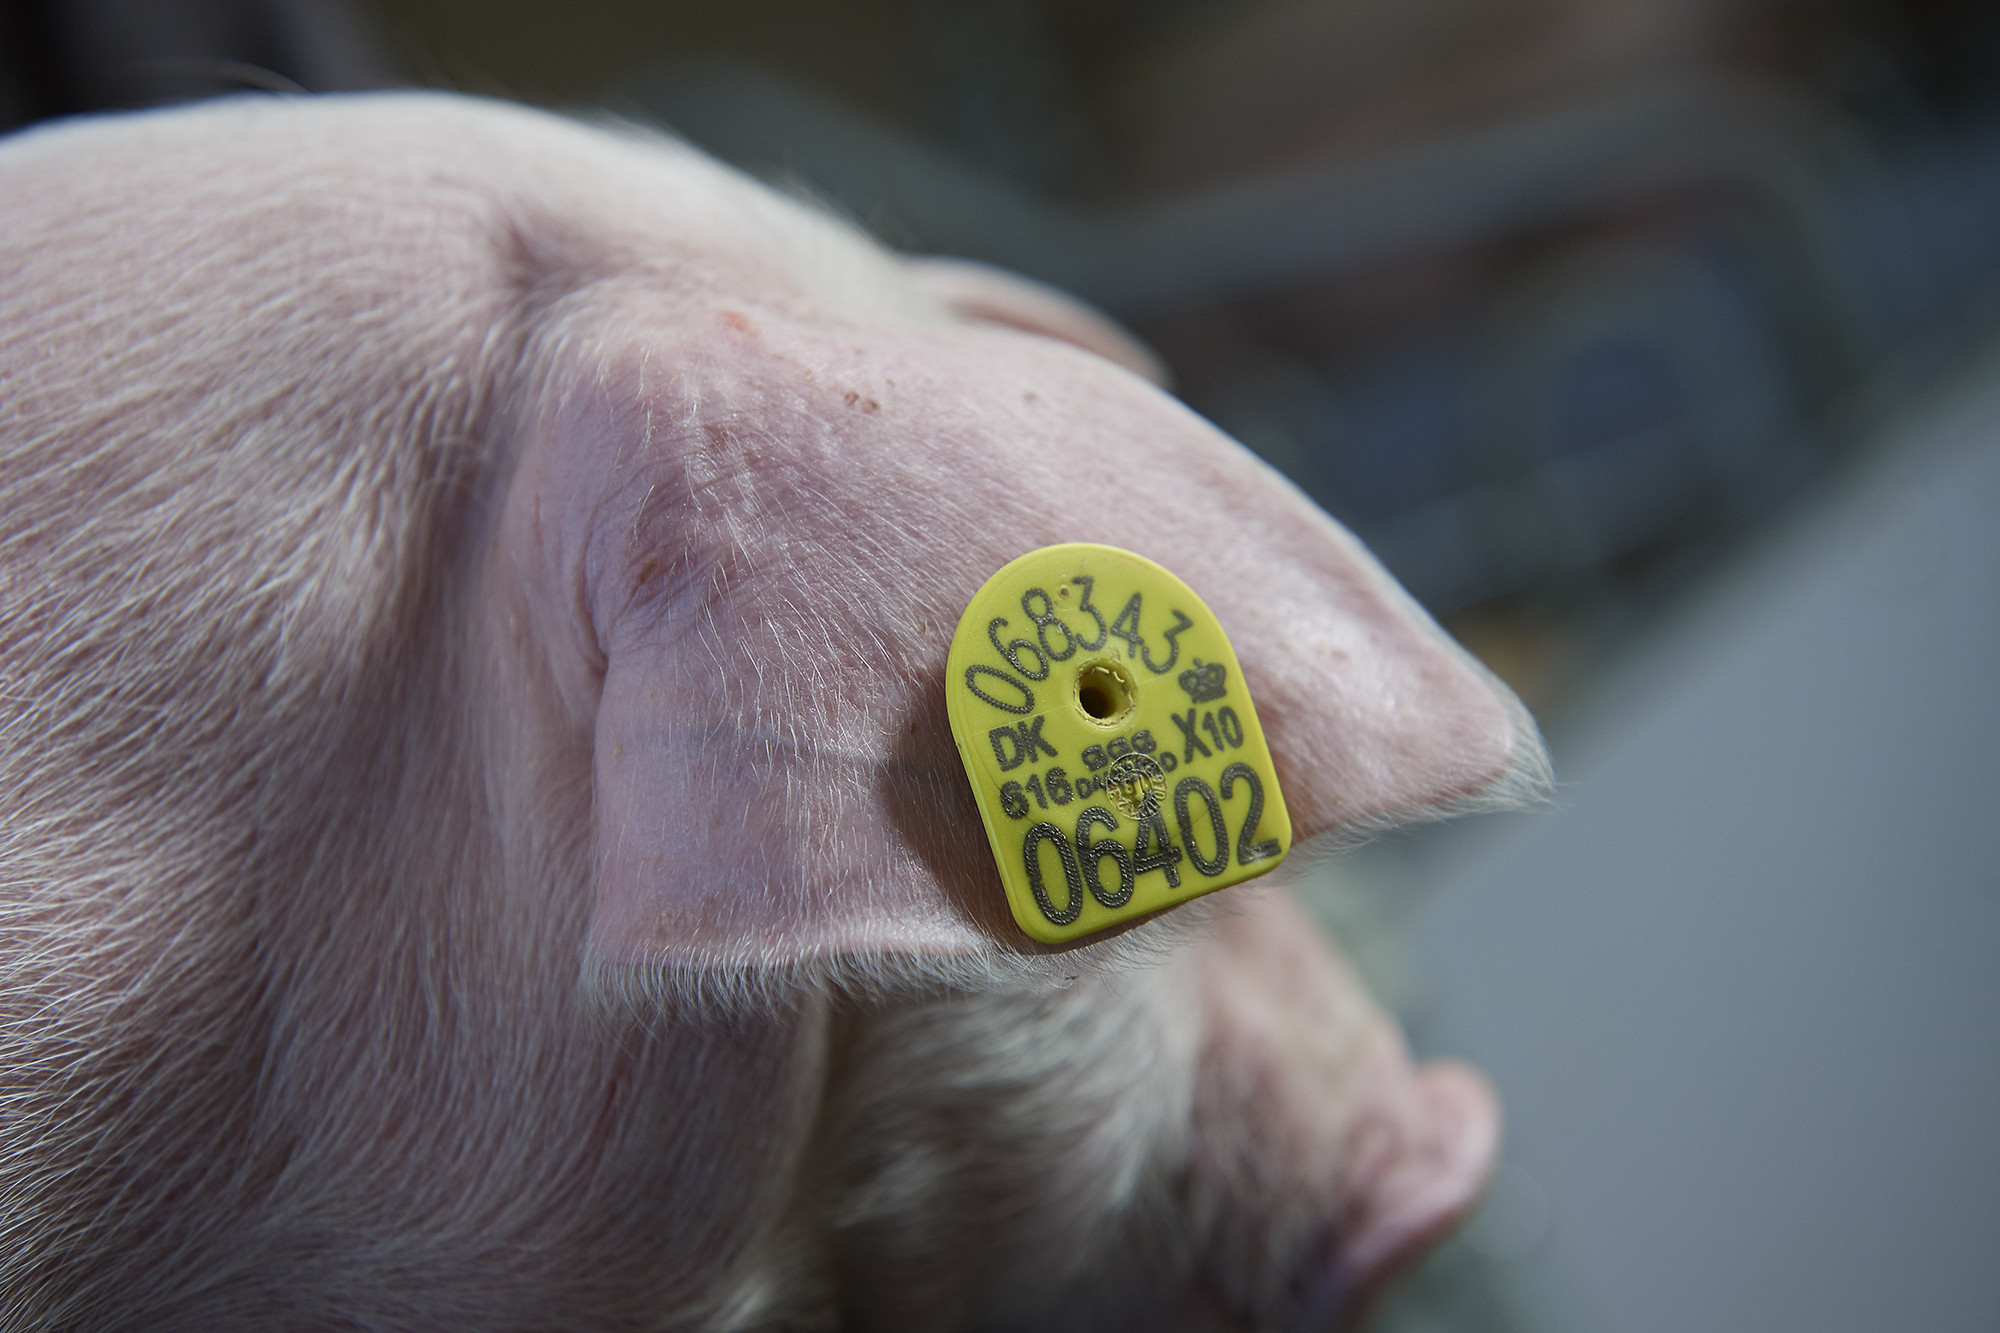
All DanBred breeding animals are registered with an individual ID-number, printed on the animals’ DanBred ear tag. All registered DanBred ID-numbers, including pedigree data and the current breeding index, can be found on the DanBred Partner Site, where the ID-number is the number one identification of each animal.
|
|
|

Approved DanBred ear tags are to be used in Nucleus- and Multiplication herds, in all animals. Other herd types can freely choose between various ear tag producers and the type of ear tag – however, it is recommended to use the tags approved by DanBred. The approved DanBred ear tags can be seen in the DanBred ear tag catalogue.
DanBred ear tags
All DanBred ear tags must be printed with the animals’ full DanBred ID-number, and logo, as well as breed definition.
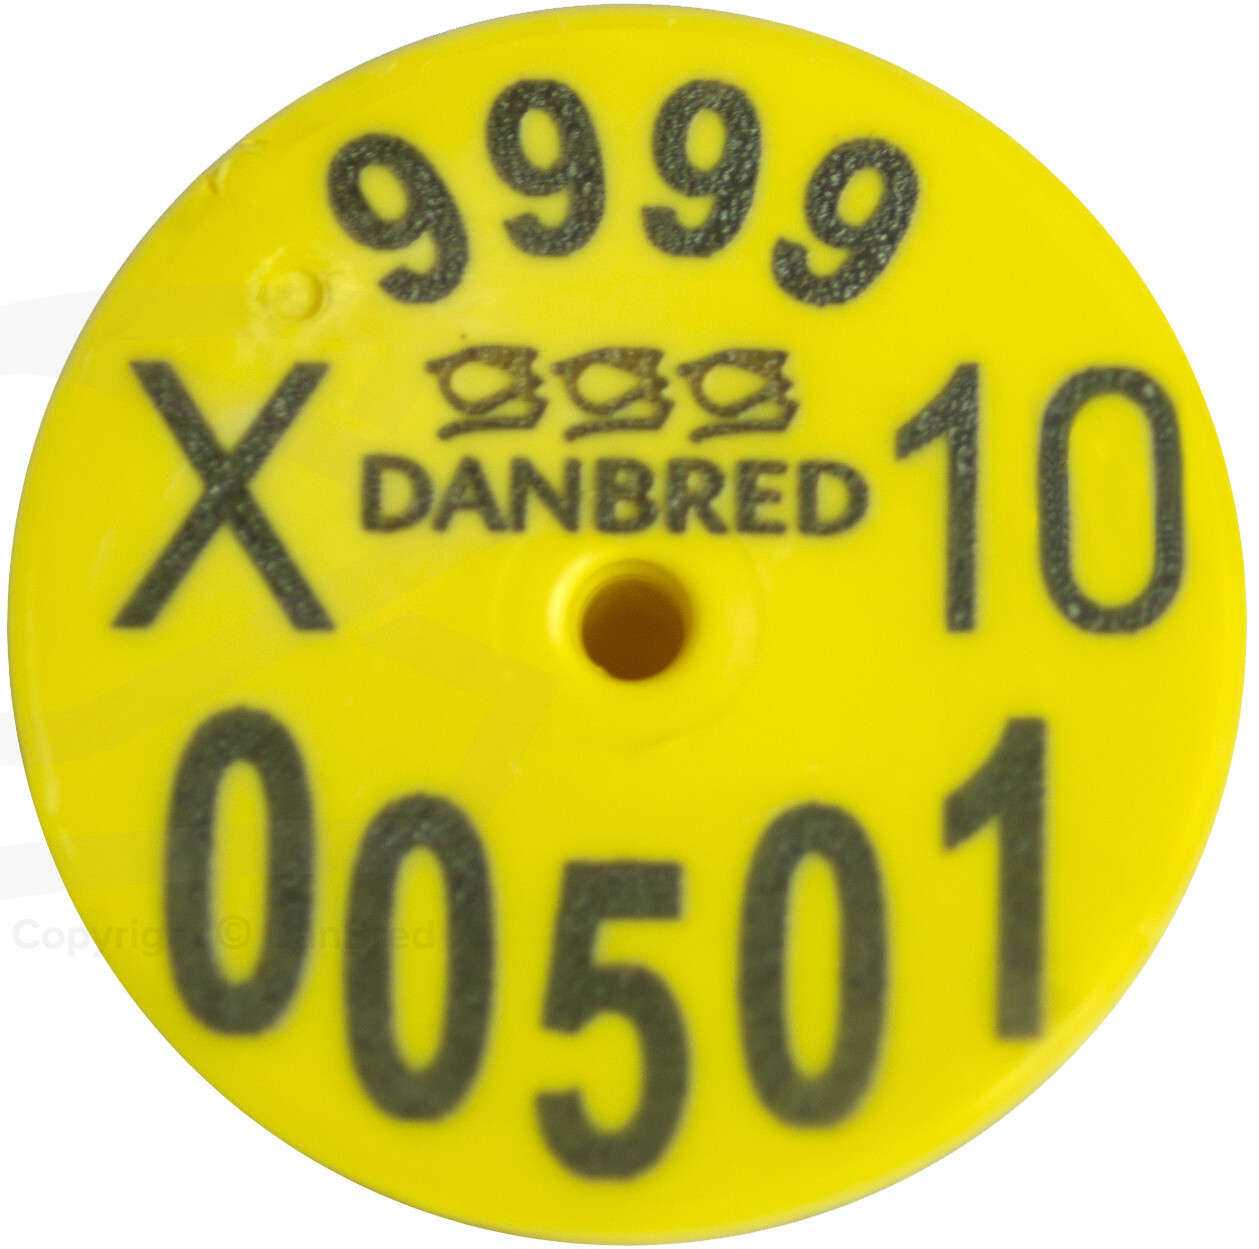
The DanBred ID-number consists of 11 digits in three sections:
- Herd number – the first four digits.
- The major counter – two digits, most often starting at 10 (agreed with DanBred).
- A consecutive serial number (minor counter) – consisting of five digits starting with 00000.
Unless otherwise agreed upon with DanBred, each herd has one herd number, that appears for all animals born within each herd.
Within each major counter, 100,000 consecutive serial numbers can be registered. When all serial numbers in one major counter are used, the major counter changes to 11 (if the starting point was 10), where 100,000 new consecutive numbers can be registered once more and so on.
|
|
|
The design of the ear tags may reflect much different information on one animal, both through the print itself or colour coding based on the breed of the animal.
| Abbreviation – printed on the ear tag | Breed | Colour code |
|---|---|---|
| L | Landrace | Blue |
| Y | Yorkshire | Orange |
| D | Duroc | White |
| X | Purebred crossbred (F1) | Yellow |
| Z | Criss-cross crossbred (F2) – Landrace father | Blue |
| Criss-cross crossbred (F2) – Yorkshire father | Orange |
**Be aware that there can be local legislation in ear tag colours that must be followed.
|
|
|
The DanBred ID-number is going through a transition phase, changing from an older restricted ID-system (ID-11) to an improved ID-system (ID11K). In the old system, the setup is originally based on the year in which the animal is born and consists of: DanBred herd number (4 digits), serial number (5 digits) as well as the year in which the animal was born (2 digits).
Should there be any questions about DanBreds ID-system, new or old, or ear tags in general, DanBred Technical Service Centre can always be contacted.
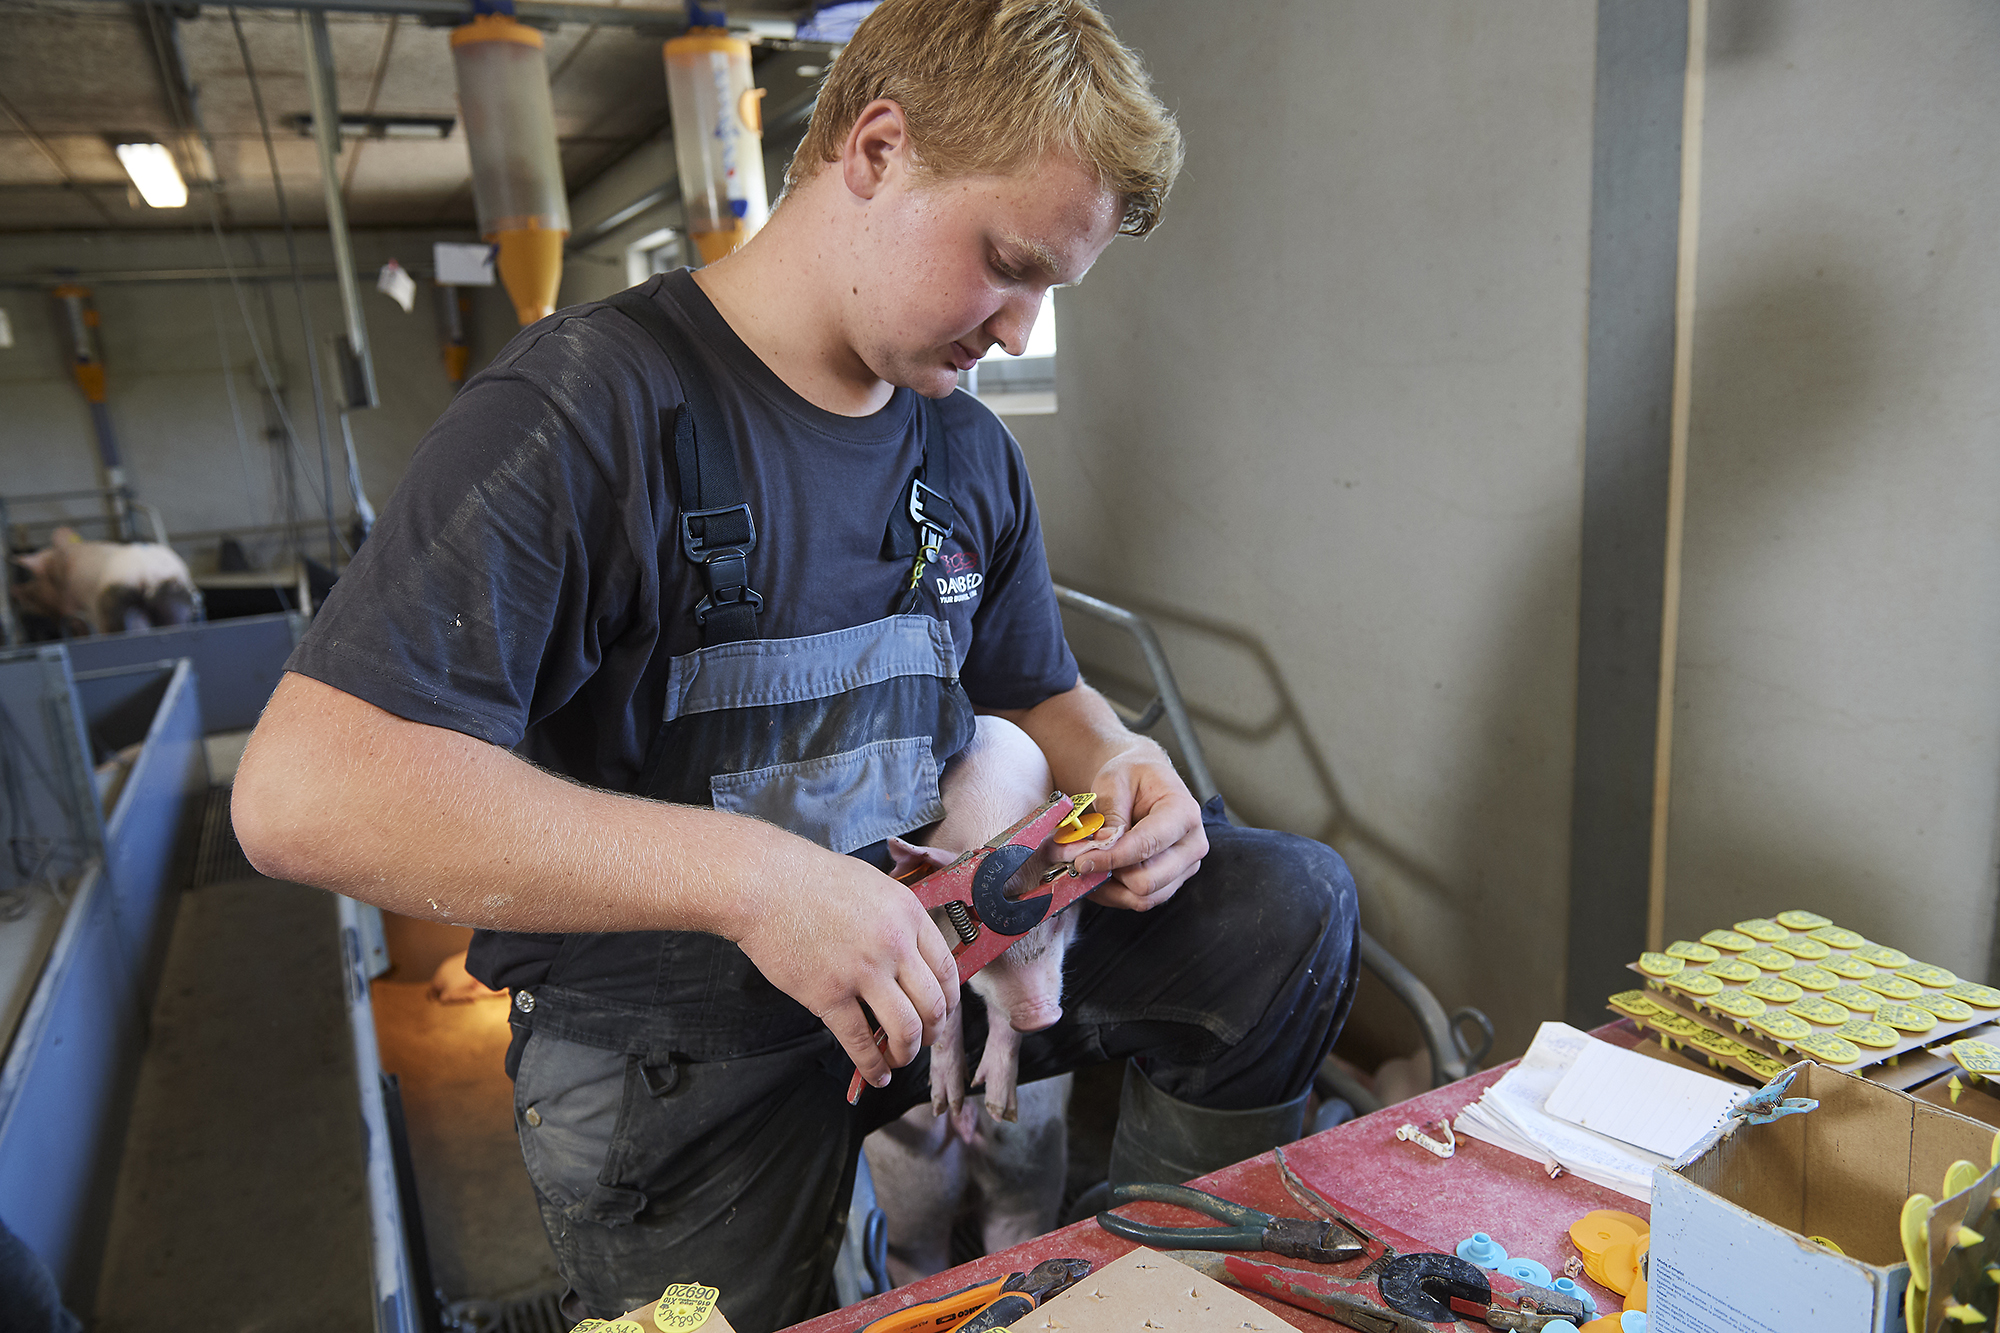
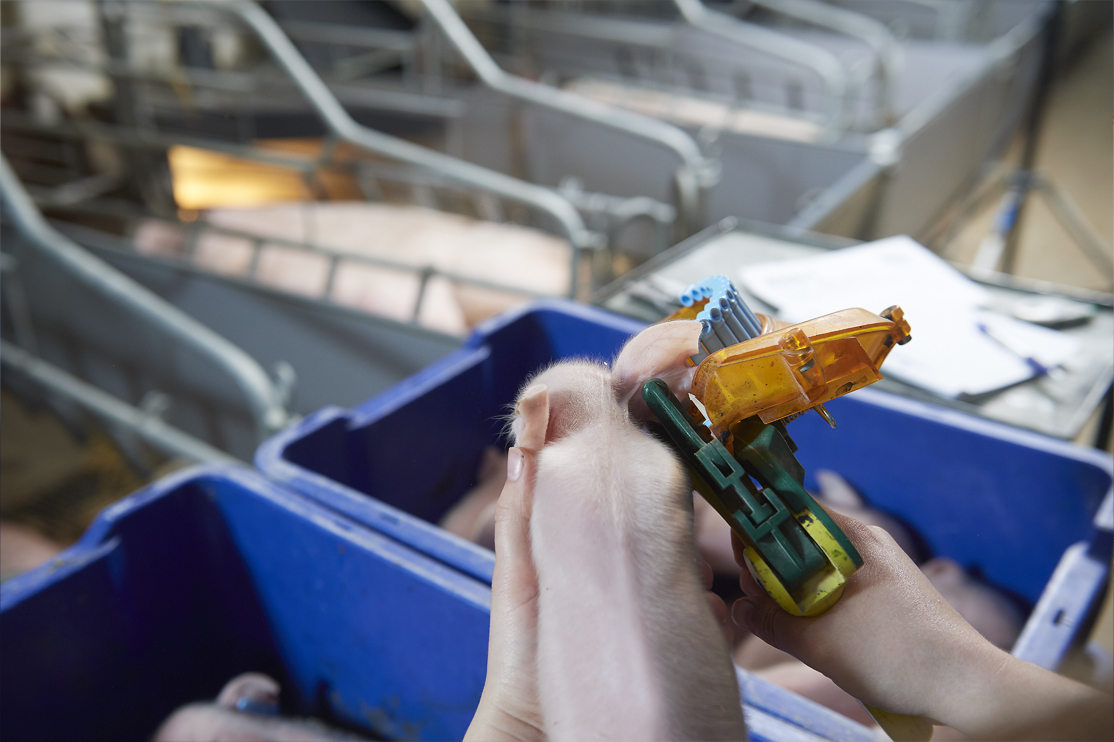
Ear tagging in practice
There are several companies producing approved DanBred ear tags, and several different types of ear tags. Both the producers and DanBred Technical Service Centre are ready to assist on all questions concerning ear tags whether it is ordering or practical routines.
The final choice of ear tags is herd-dependent and should take individual herd conditions as housing into consideration, as this might affect the durability of the tags within each herd. The DanBred ear tag must be inserted no later than weaning, although more and more herds choose to use day-1 ear tags, thus being more time efficient in the replacement of ear tags at weaning. It is important to choose a solution that fits within each herd, and there are various possibilities to make it suit individual conditions.
Ear tag types – when to tag the animals:
- LP5 tags/TagFaster/rabbit tags to be inserted at farrowing – replaced by the approved DanBred ear tag, no later than weaning.
|
|
|
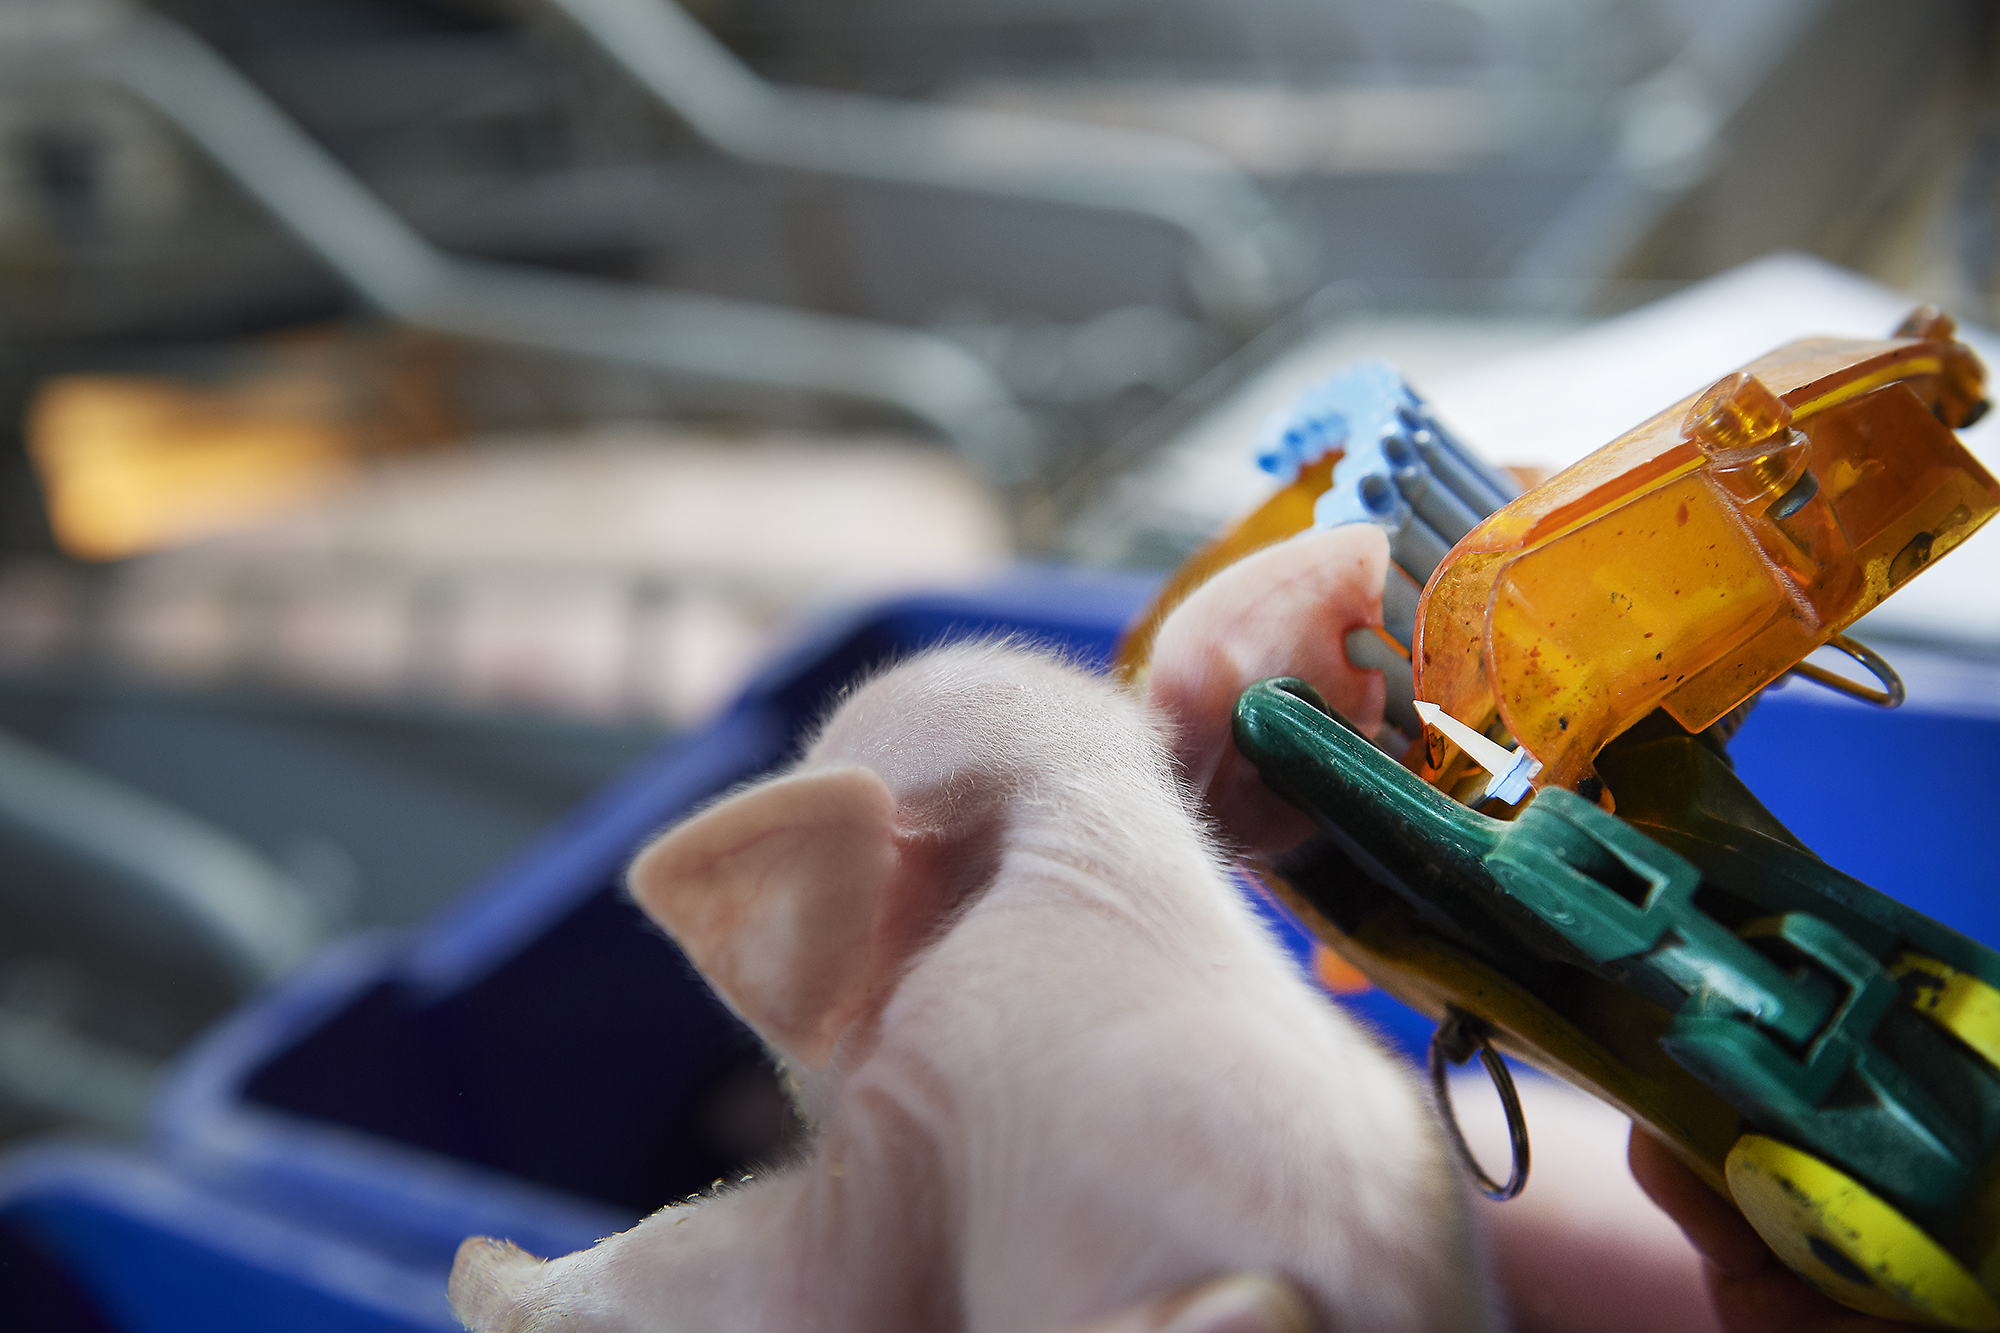
- Day-1 DanBred ear tag to be inserted at farrowing – if needed supplementing with an additional ear tag at weaning (also recommended).
|
|
|
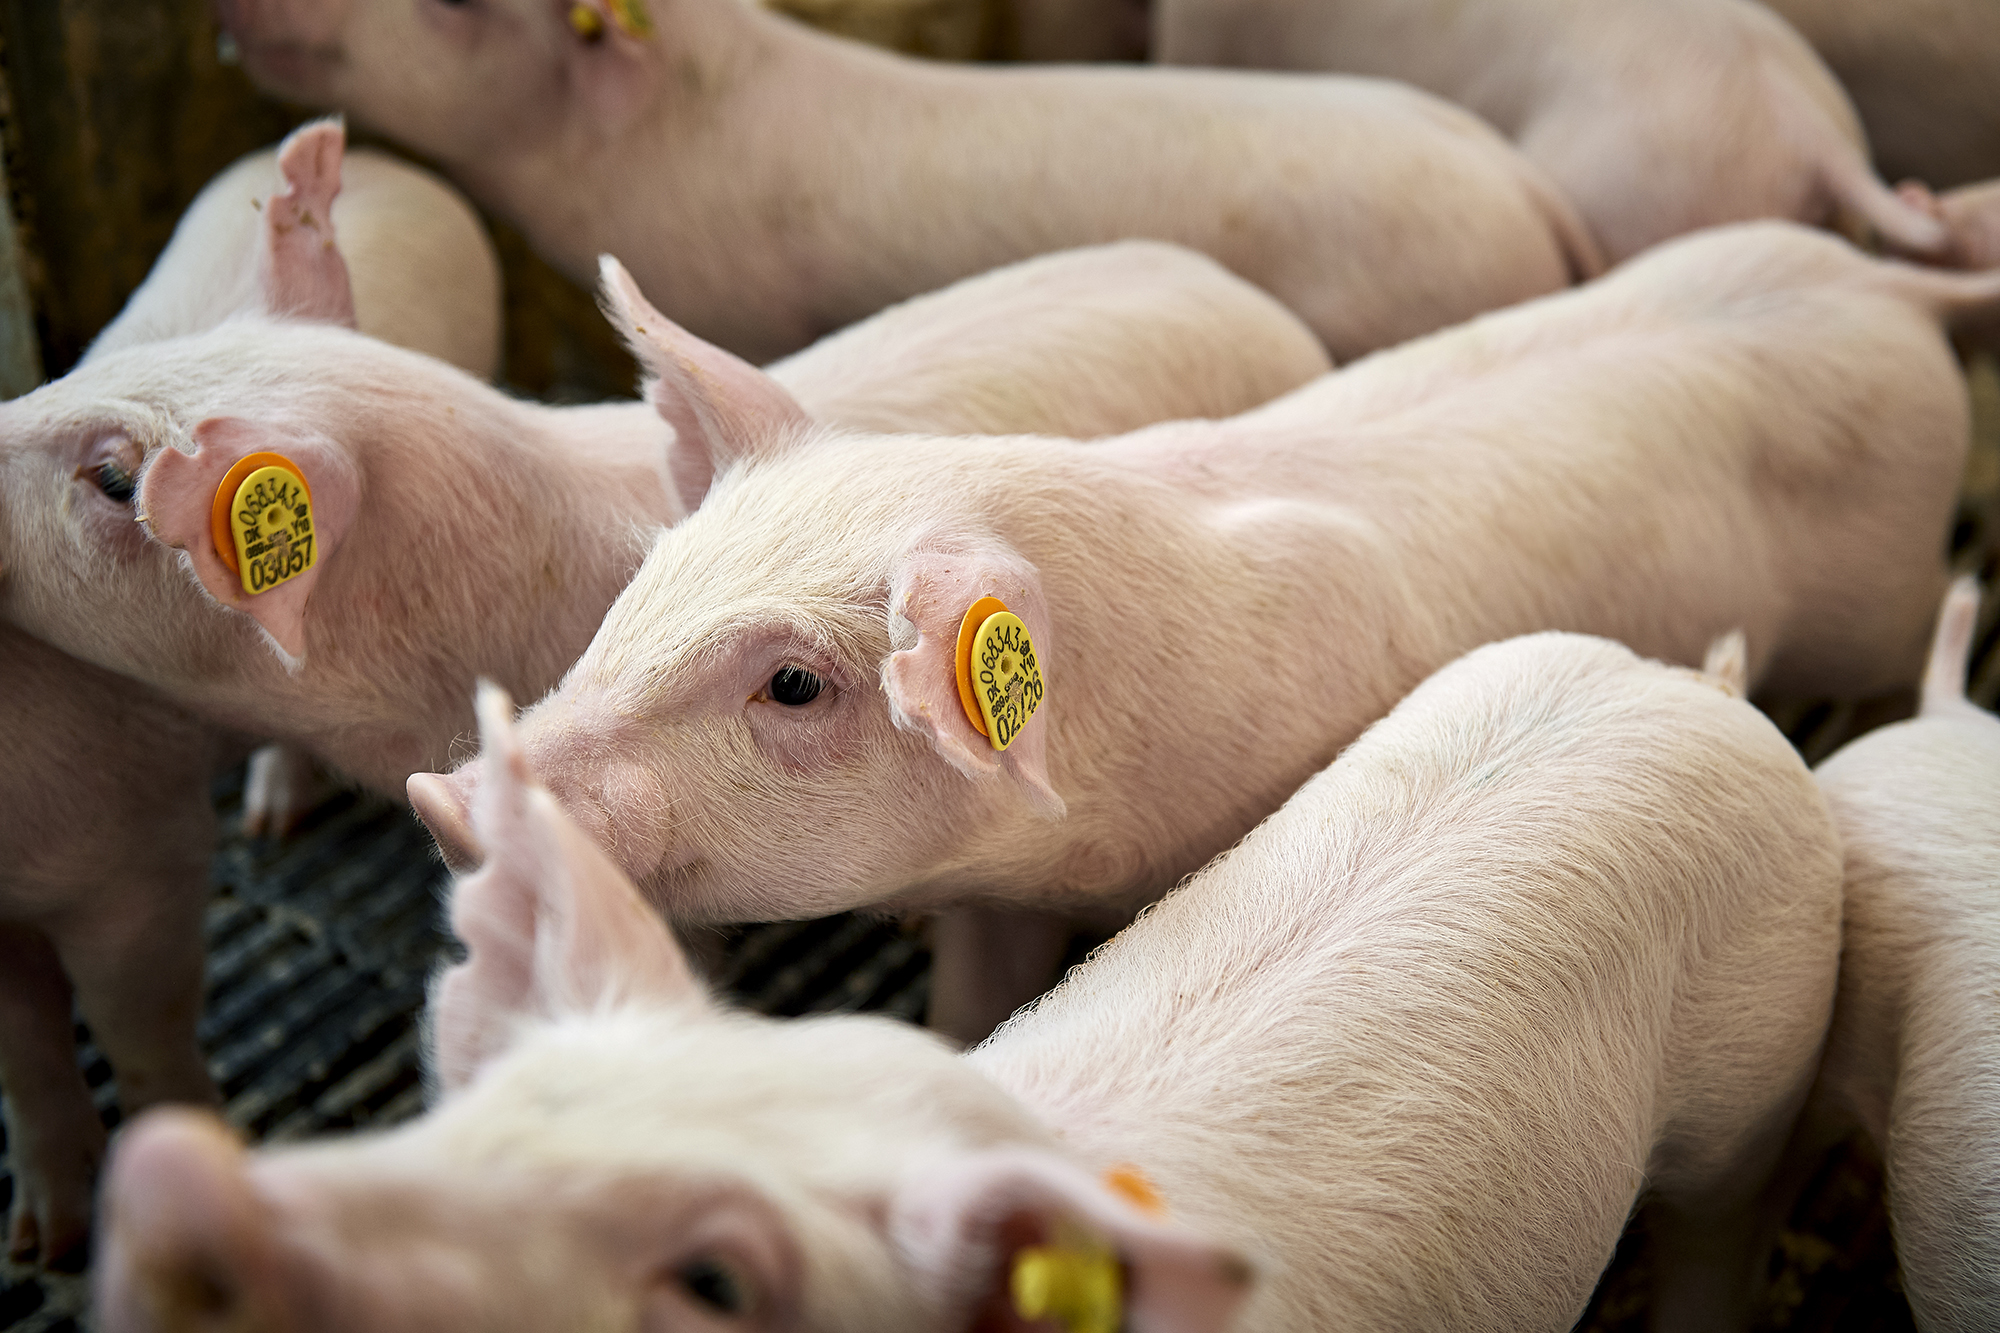
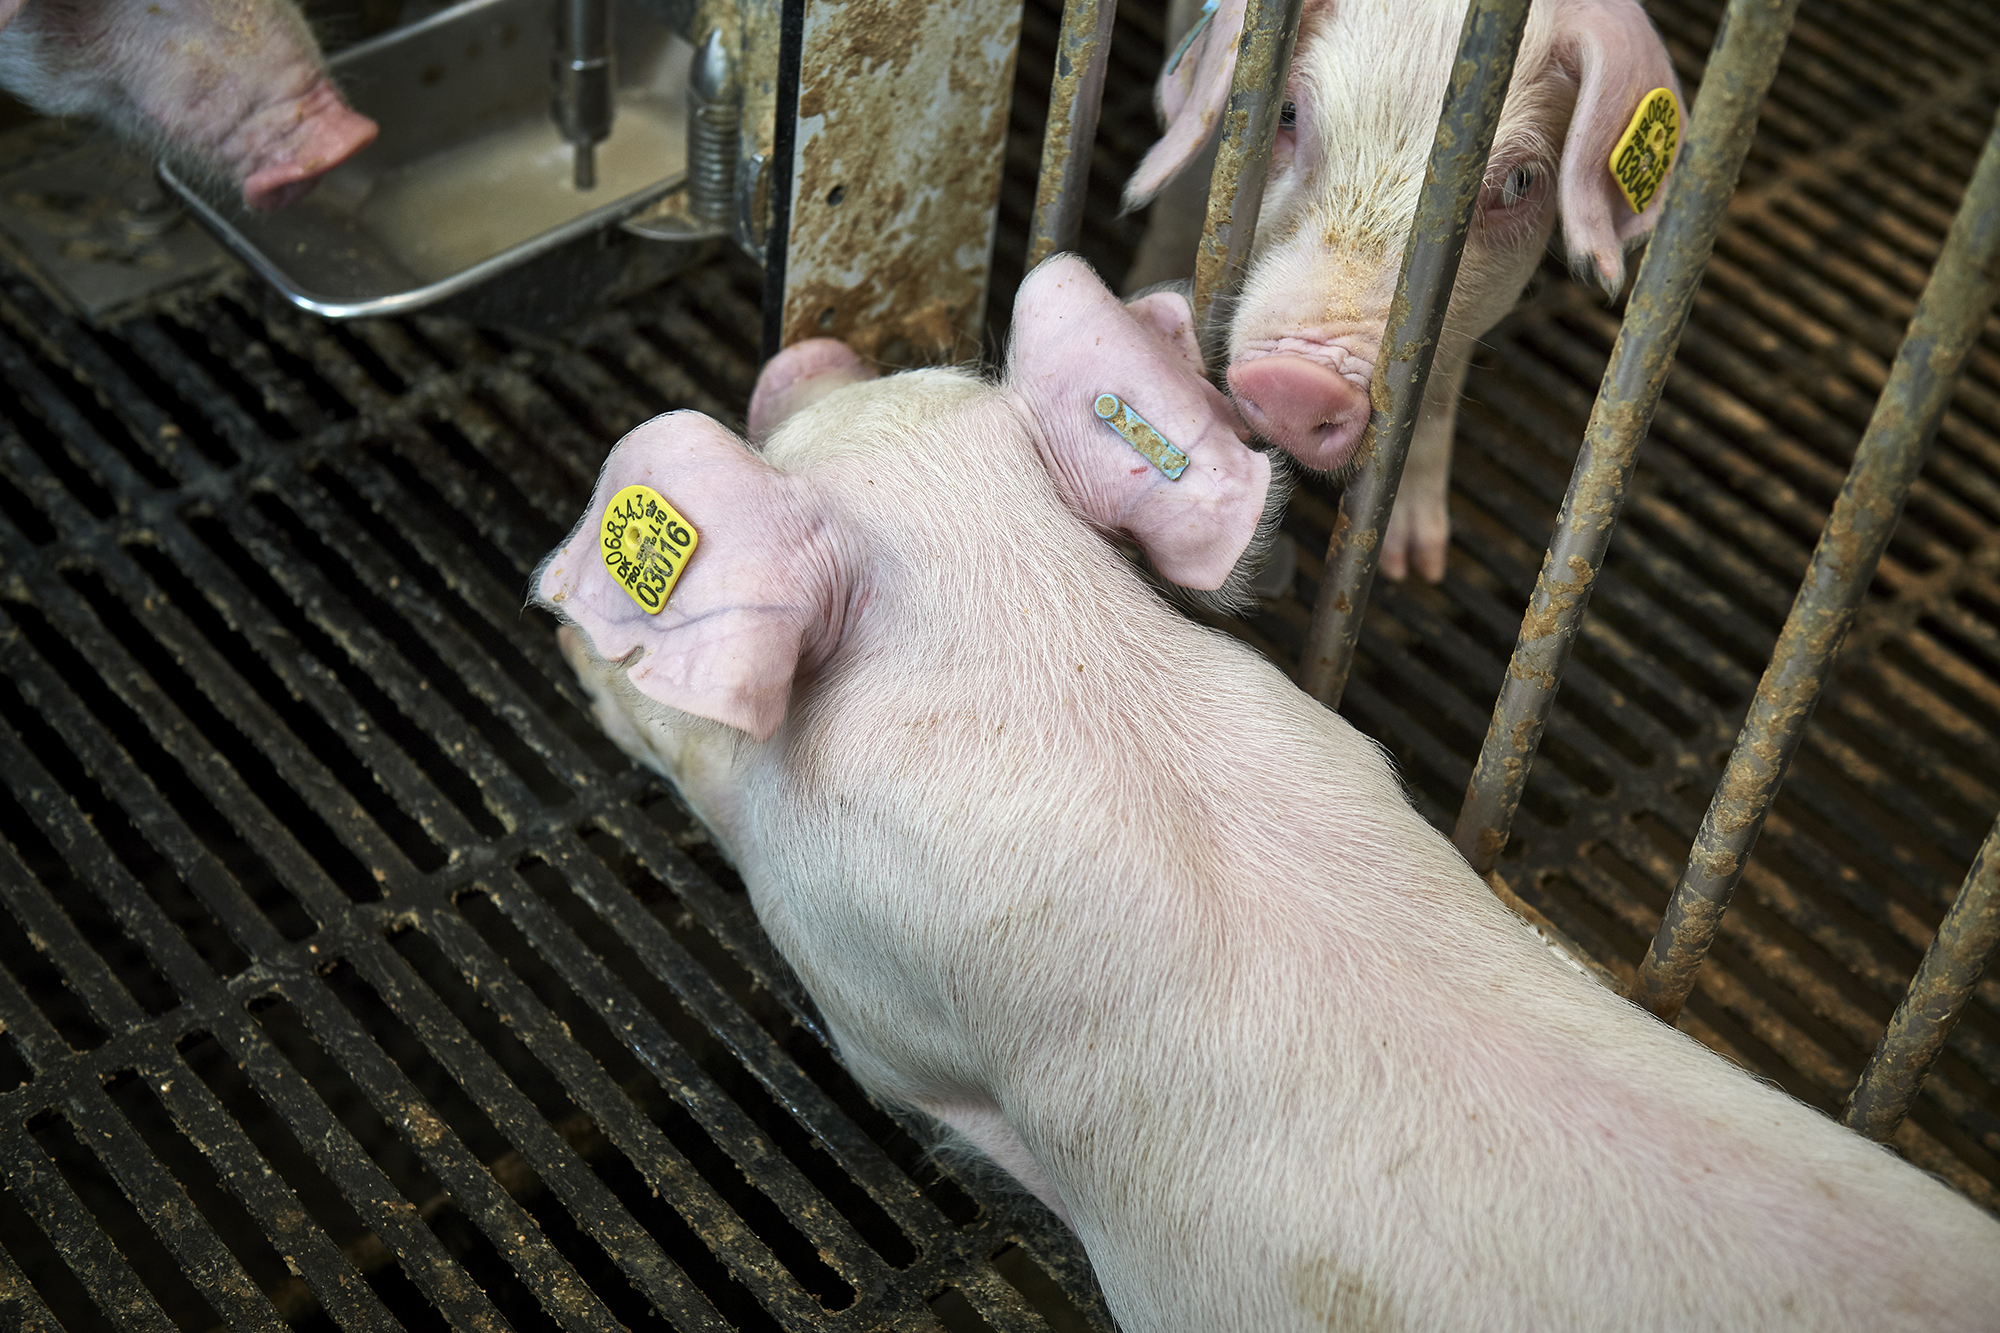
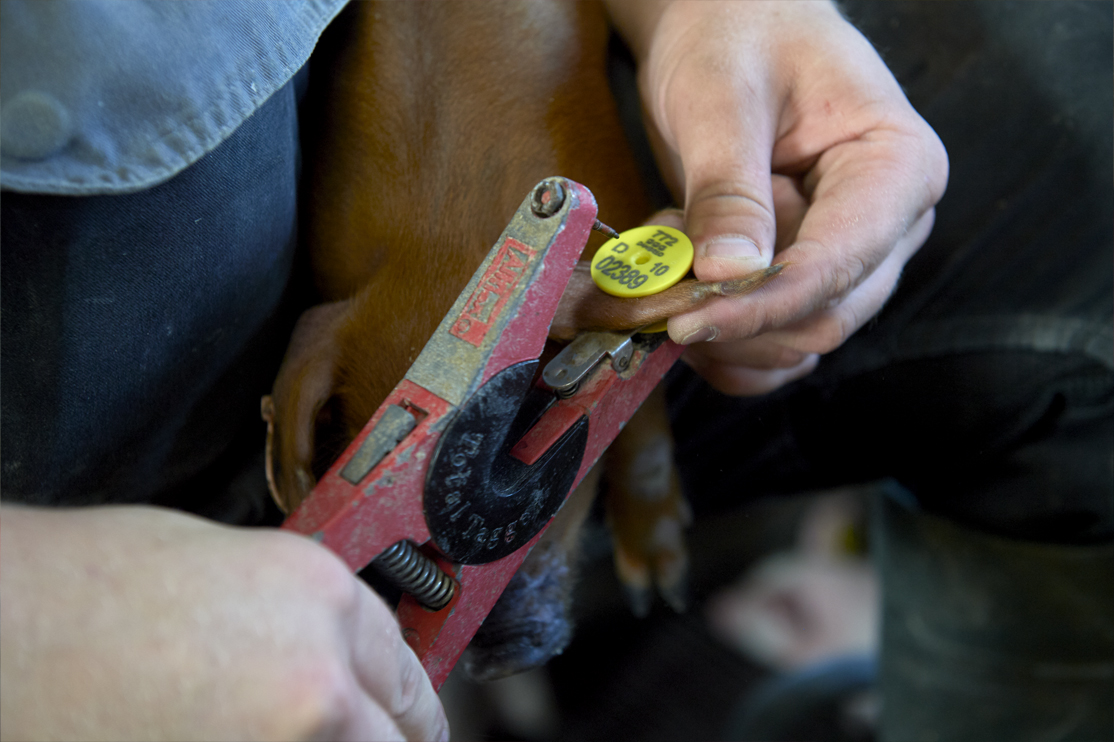
Tagging the animals – placement and uniformity
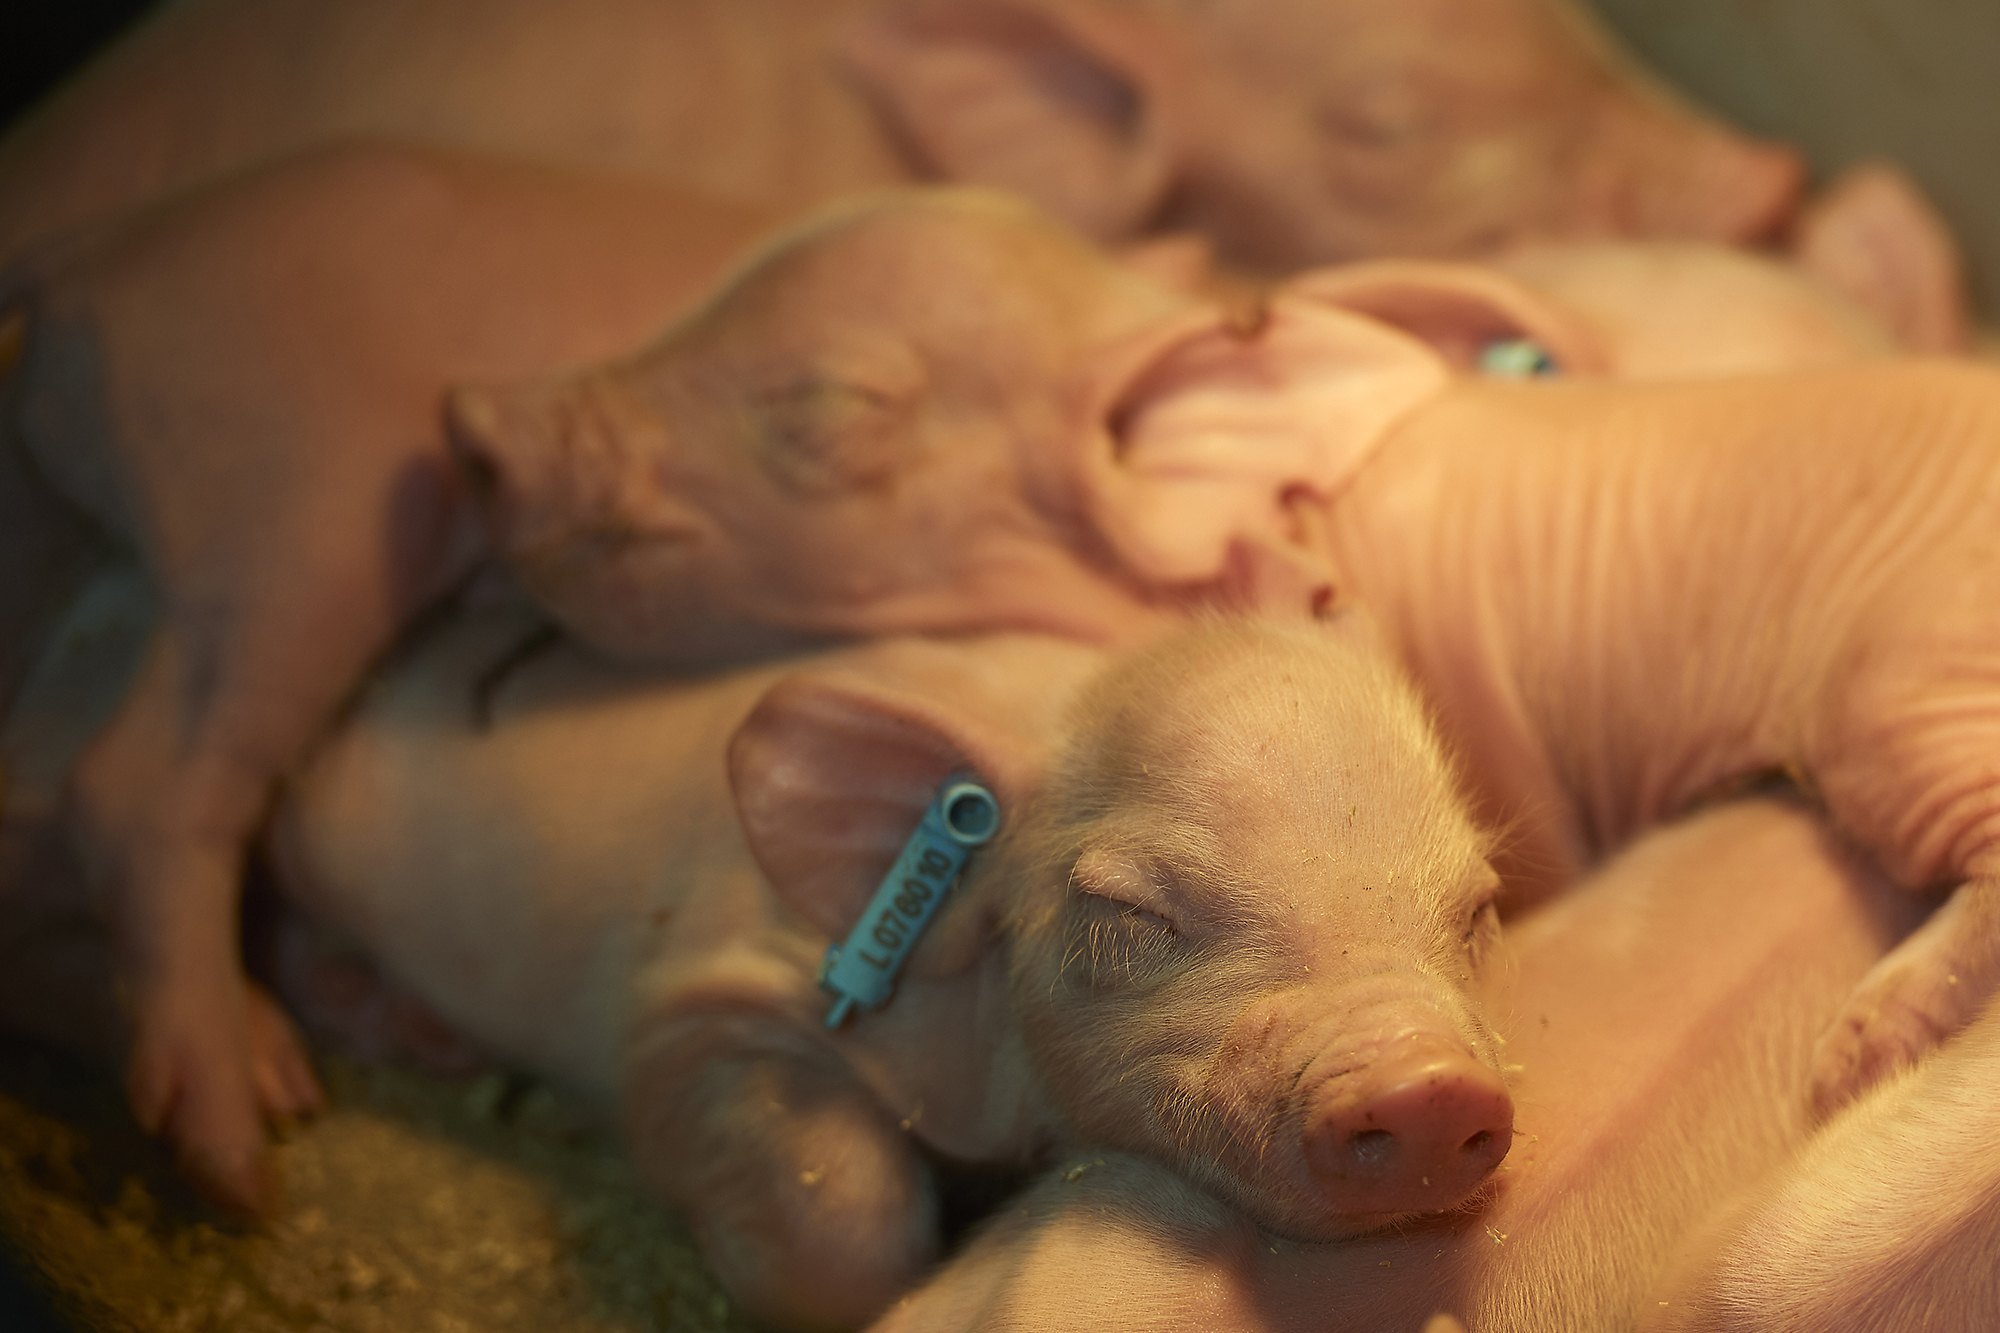
The official DanBred ear tag containing the ID-number should always be placed in the left ear (unless other arrangements have been made). The ear tags must always be placed in the same ear within the same herd, to ensure uniformity in the breeding animals, so there is never any doubt about the DanBred identification.
When placing the ear tags, the focus should be correct tagging first and foremost but also proper placement of the tag as well as the correct handling of the piglets. So when tagging the piglets, there are a few things to bear in mind.
- Avoid grabbing and holding the piglets by the ears when placing the tags – grabbing the ear can injure the piglet.
|
|
|
- Place the ear tag in the centre of the left ear, as close to the cartilage edge as possible – approved DanBred ear tag.
- Place between the two blood vessels in the ear.
- If additional ear tags are used, they should be placed in the opposite ear.
|
|
|
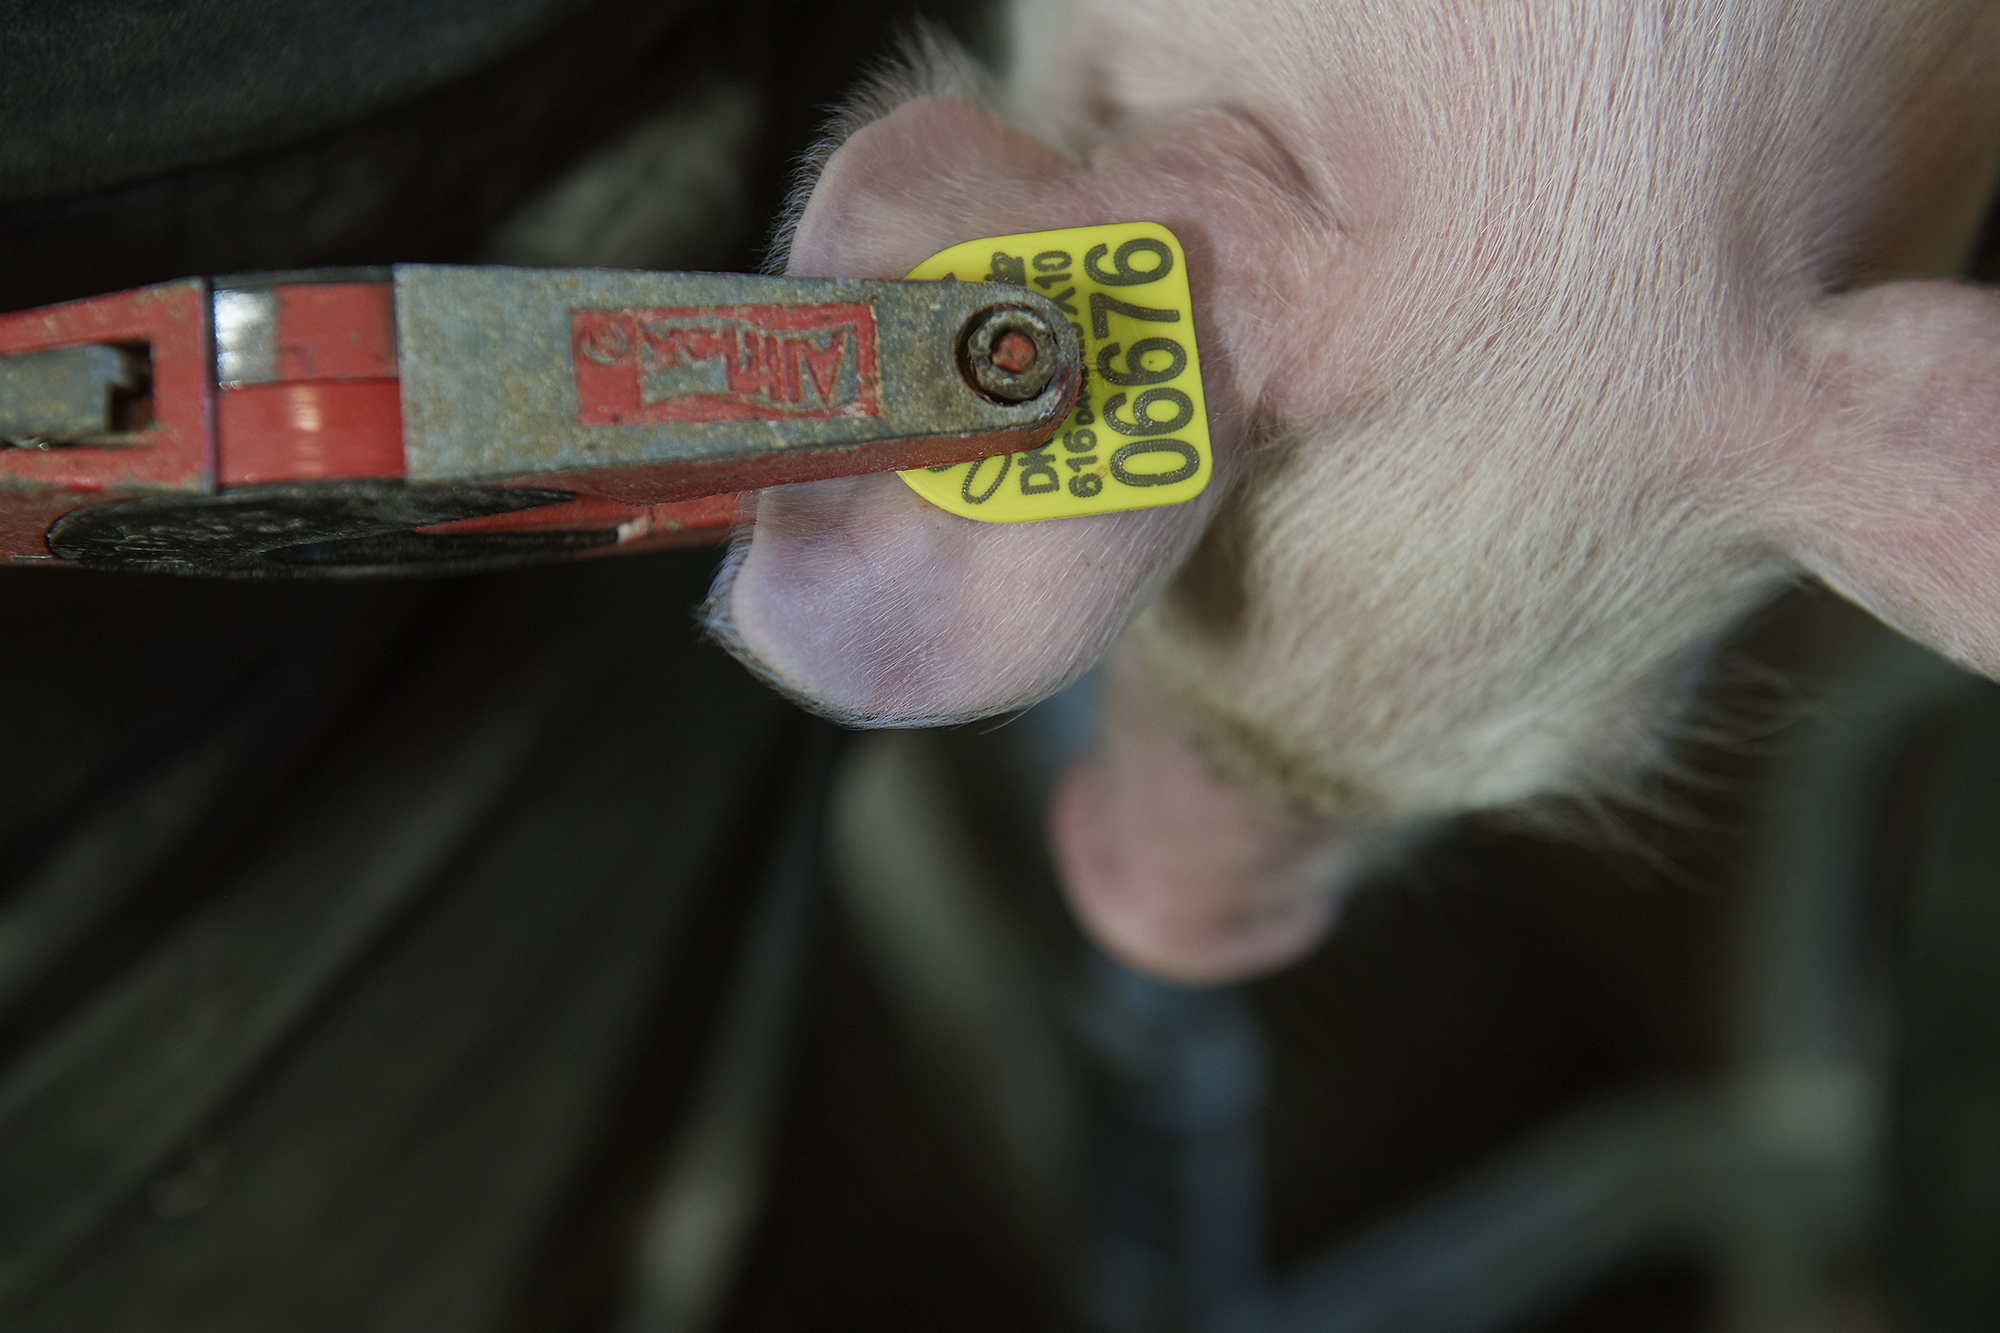
- Ear tags should be placed straight through the ear – if the tag is pressed unevenly into the ear, the risk of lost ear tags increases.
During ear tagging, hygiene should always be of the highest priority. Make sure to always have sharp pins which match the actual ear tag type so that the ear tag is not damaged. These standard protocols must be taken no matter how the tags are inserted – by cart, machine or individual.
|
|
|
Ordering ear tags
Ear tags can easily and quickly be ordered through DanBred Technical Service Centre, by using the official ear tag order template.
|
|
|
*It is not required for herds using Nucleus Management to order ear tags through DanBred, but it is strongly recommended, in order to avoid unfortunate errors and miscommunications in the database.
When placing an order, the following information should appear:
- Herd number – 3-4 digit DanBred herd number.
- Ear tag producer, and the type of ear tag.
- Whether the ear tags should be electronic or not.
- Start number/number series.
- Total number of tags.
- Colour.
- Breed.
- Delivery address.
The pre-printed ear tag should follow the recommendations regarding breeds and colour combinations unless there are specific conditions within the herd. It is possible for all herds to choose freely amongst a variety of DanBred-approved ear tags in most colours.
|
|
|